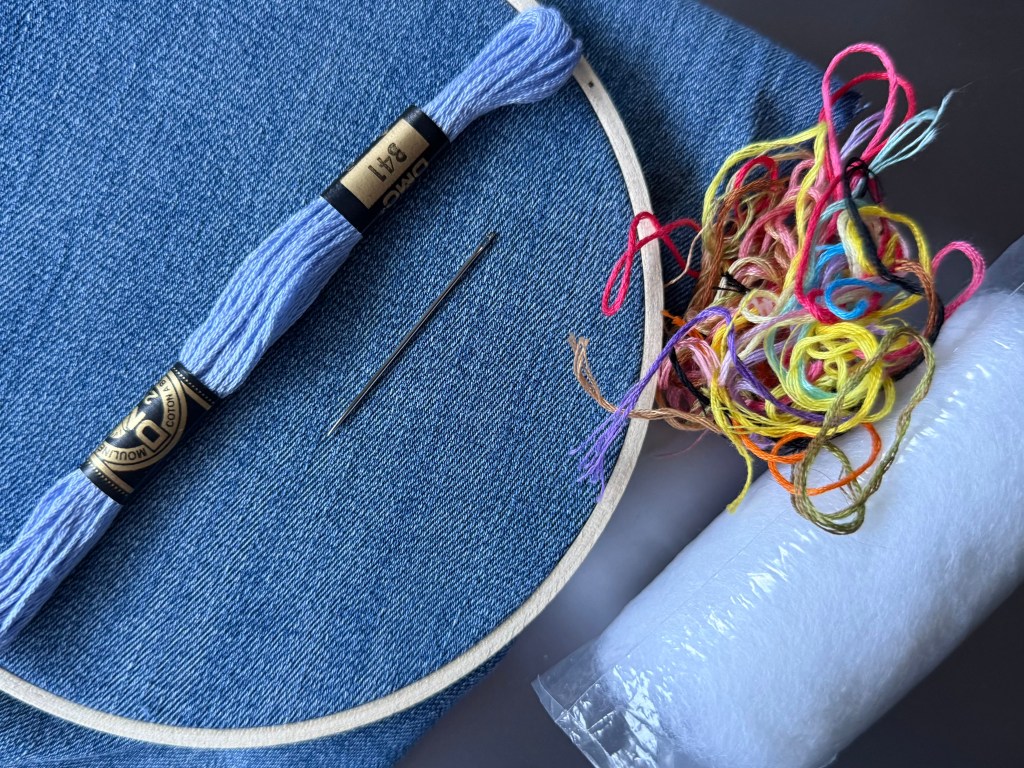
Materials you will need:
- fabric of choice (I’m using an old pair of jeans)
- embroidery hoop
- embroidery thread of choice
- your favorite needle
- leftover scrap thread or stuffing
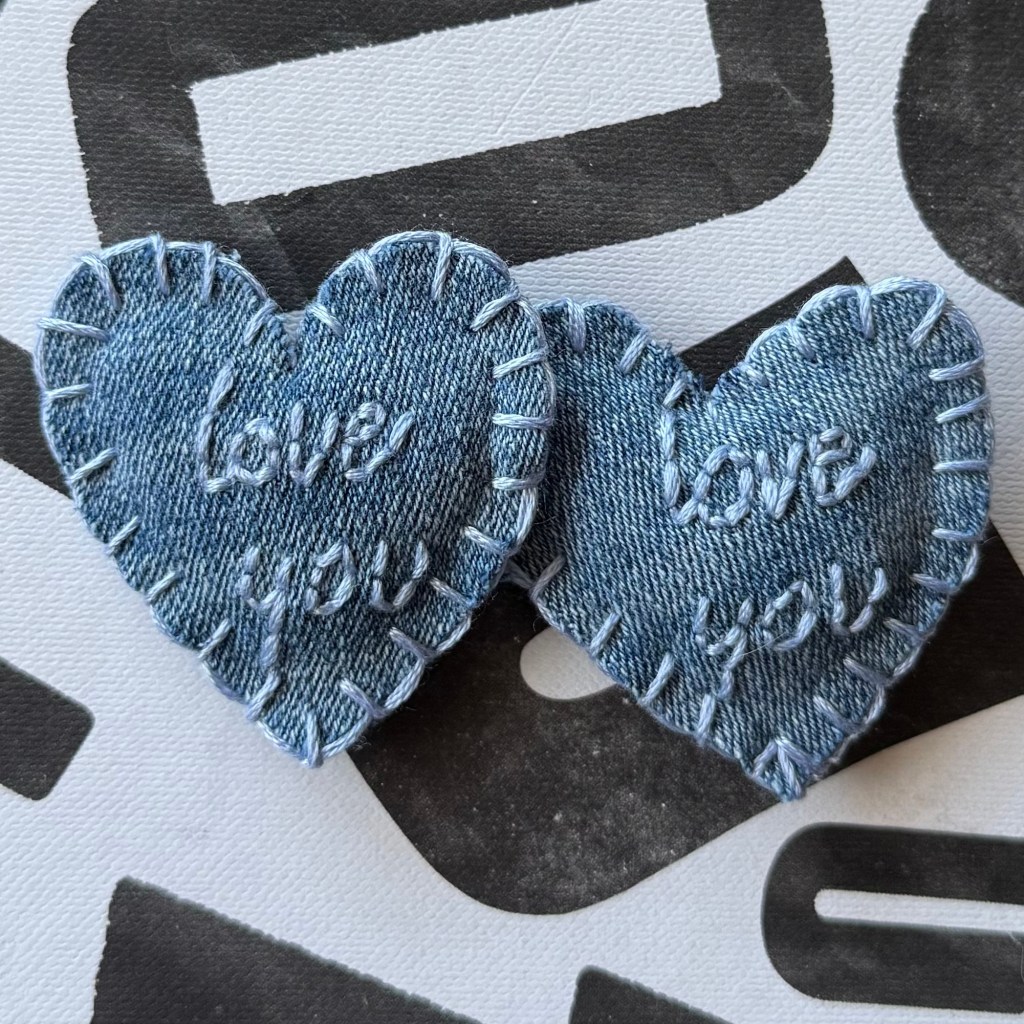
Inspired by Valentine’s Day approaching, I decided to come up with a small gift of love and appreciation that didn’t feel too over-the-top. I wanted something simple, and landed on the idea of a little heart with the words “love you” on it.
These hearts are simple to make, and I might just end up making a little basket of them!!
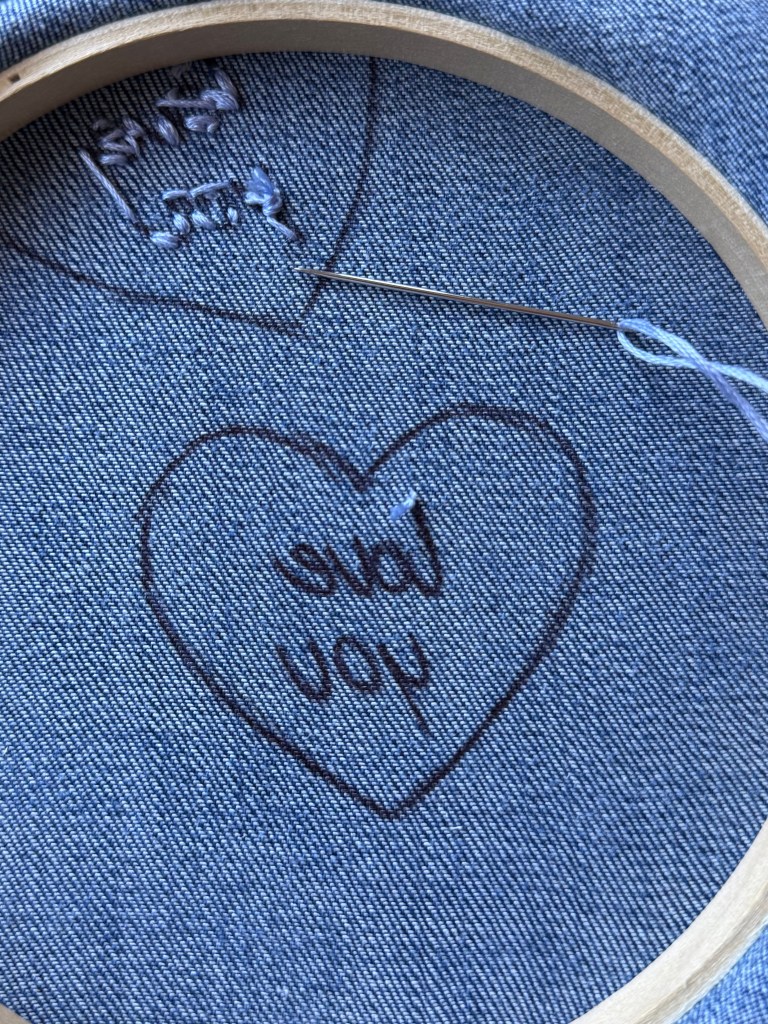
To begin making your own, go ahead and grab your fabric of choice and put in your embroidery hoop, pulling the fabric tight and flat. Make sure you have the “front” side of your fabric on the outer side of the hoop.
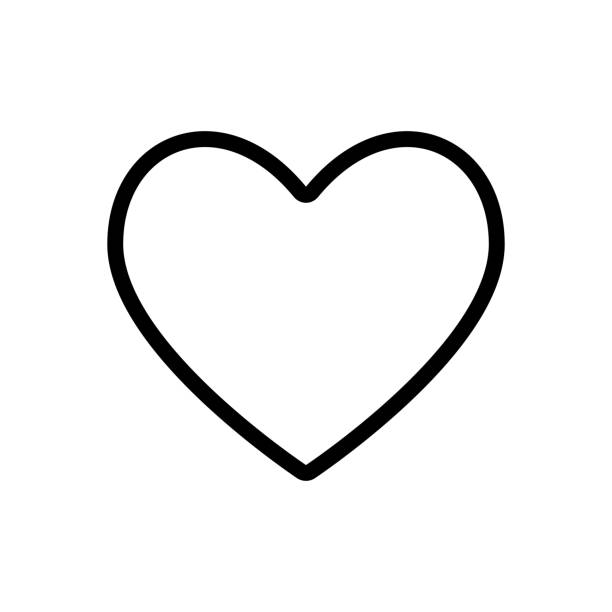
For the designs, I went a very simple route and searched up “cartoon heart outline” on google to get the heart shape. Then, I used a font generator to find a handwriting font I liked for my project and typed in “love you” to get the letters.
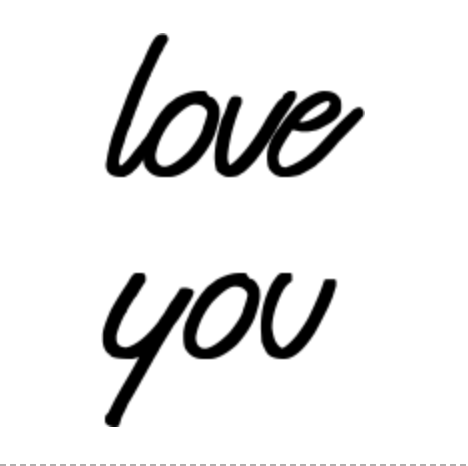

Feel free to use the font I did, or find your own to fit your personal style better!! Just remember to mirror the image of the words since we need to trace it onto the back side of the fabric!
Whenever I trace my designs for embroidery projects, I like to pull up the images on my laptop to easily see everything on a larger screen.

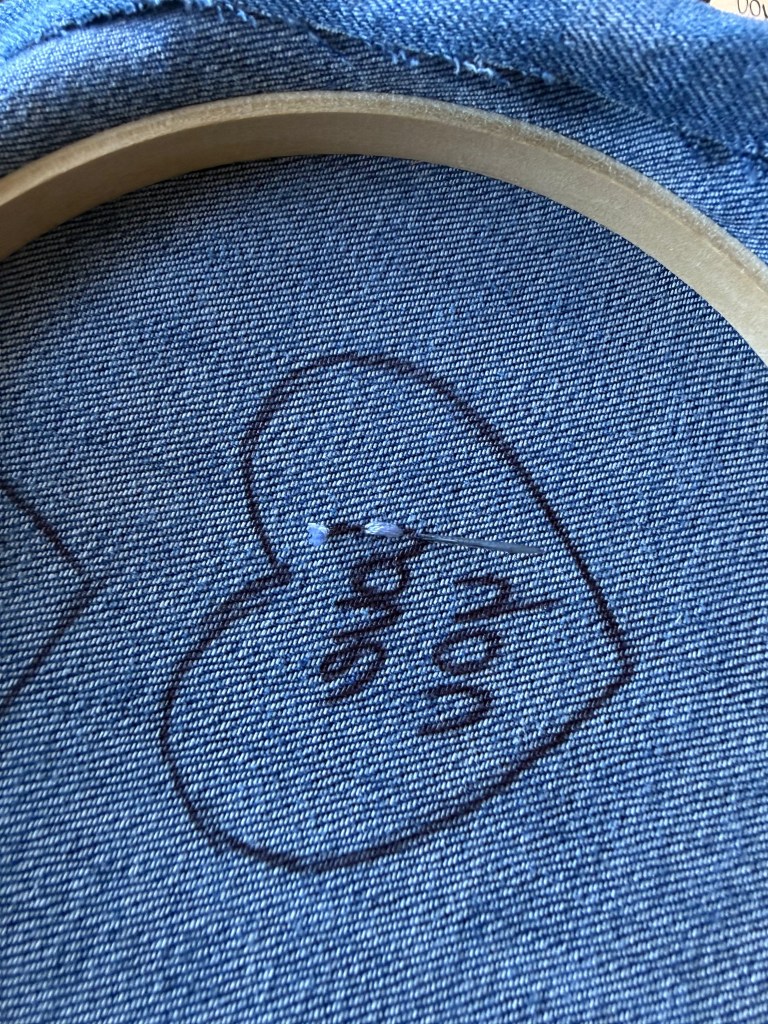
Once you have the heart outline and letters traced onto the back of the fabric, grab your thread, put it through the needle, and tie a small knot at the end of the strand.
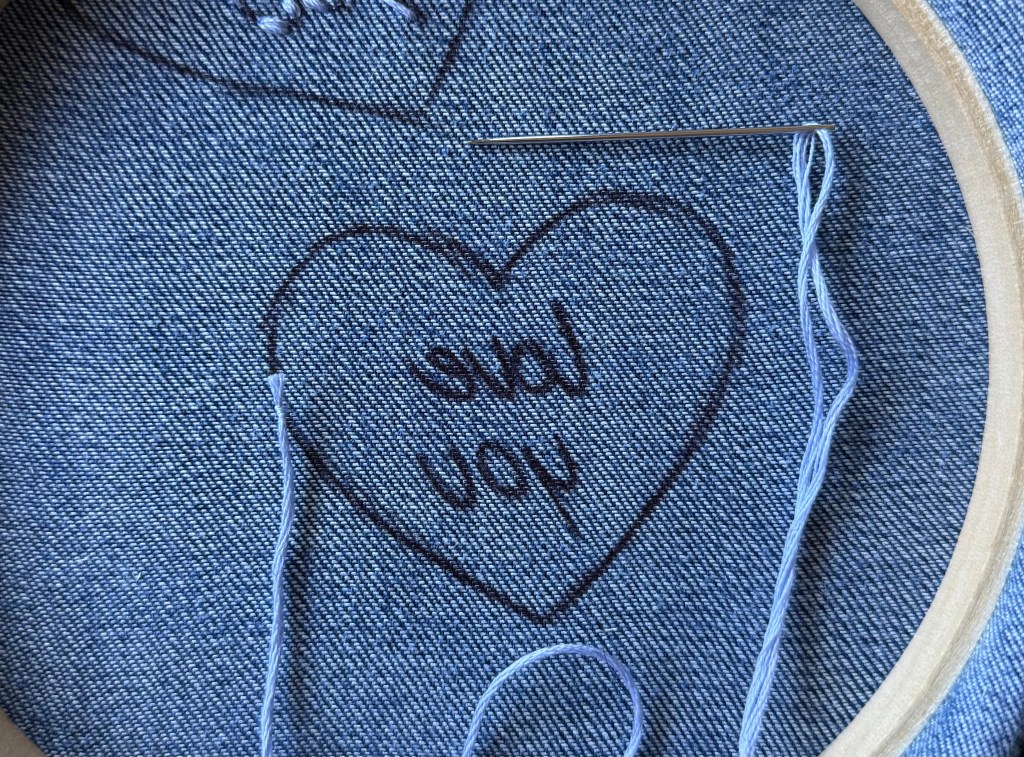
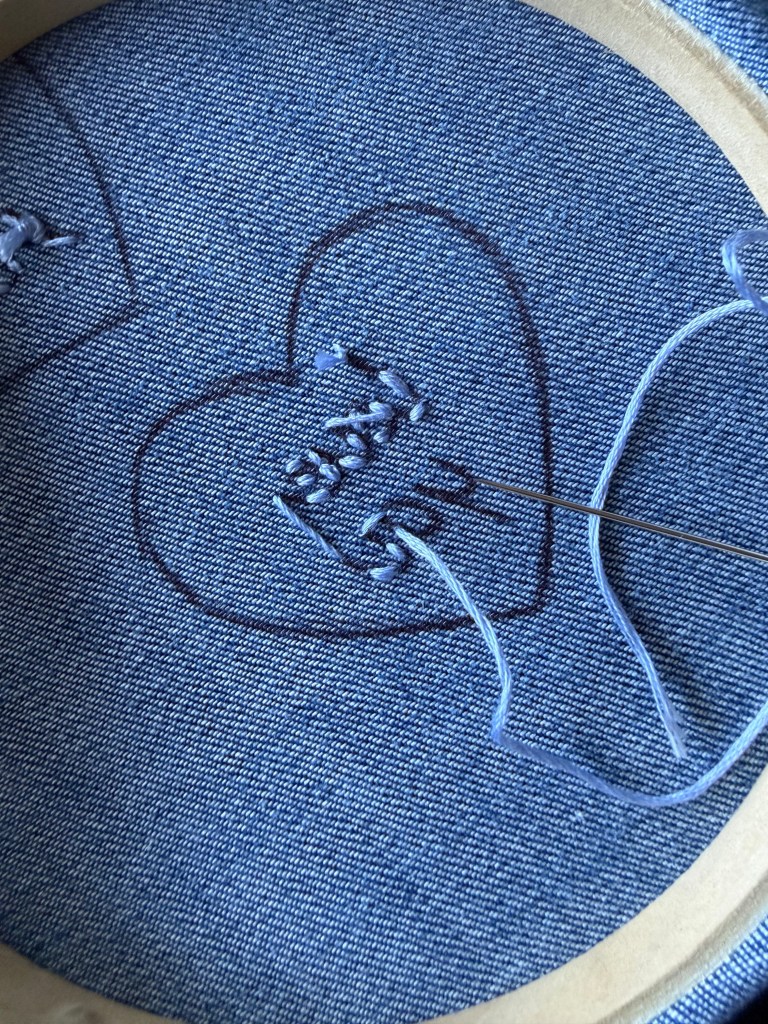
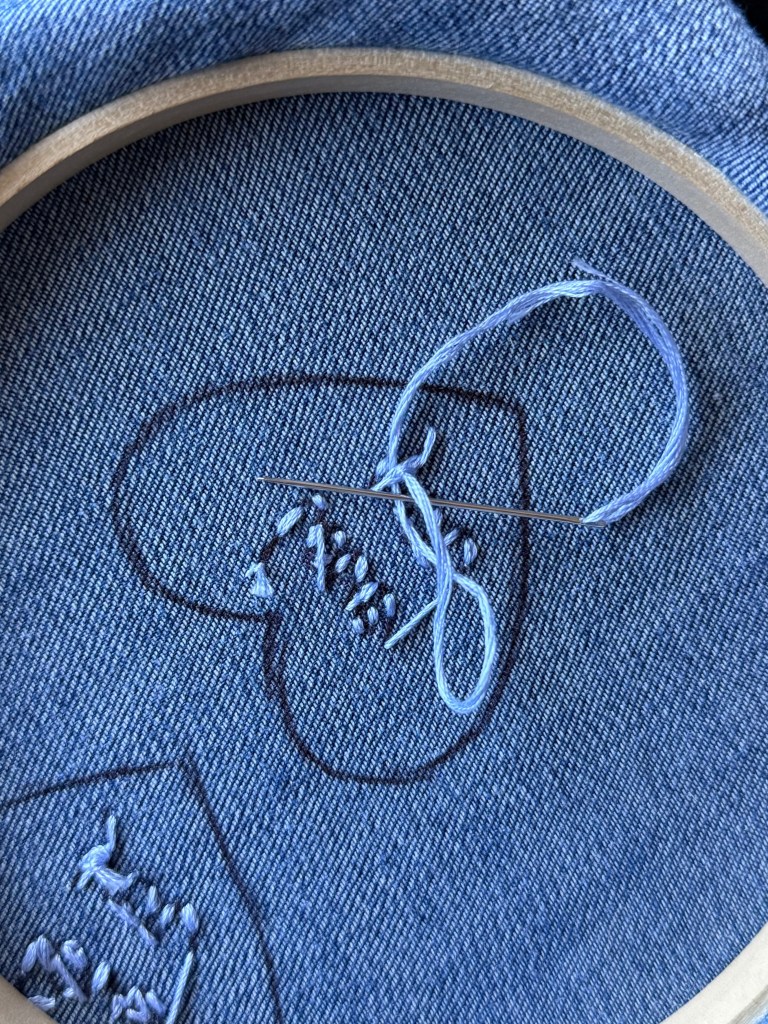
There’s quite a few different ways to embroider anything, but the way I did this stitching is a pattern of two sets of movements.
First, insert the needle at the top of the L shape and pull the thread all the way through. Then, from the front side of the fabric, move the needle down the letter a bit, and push it back through.
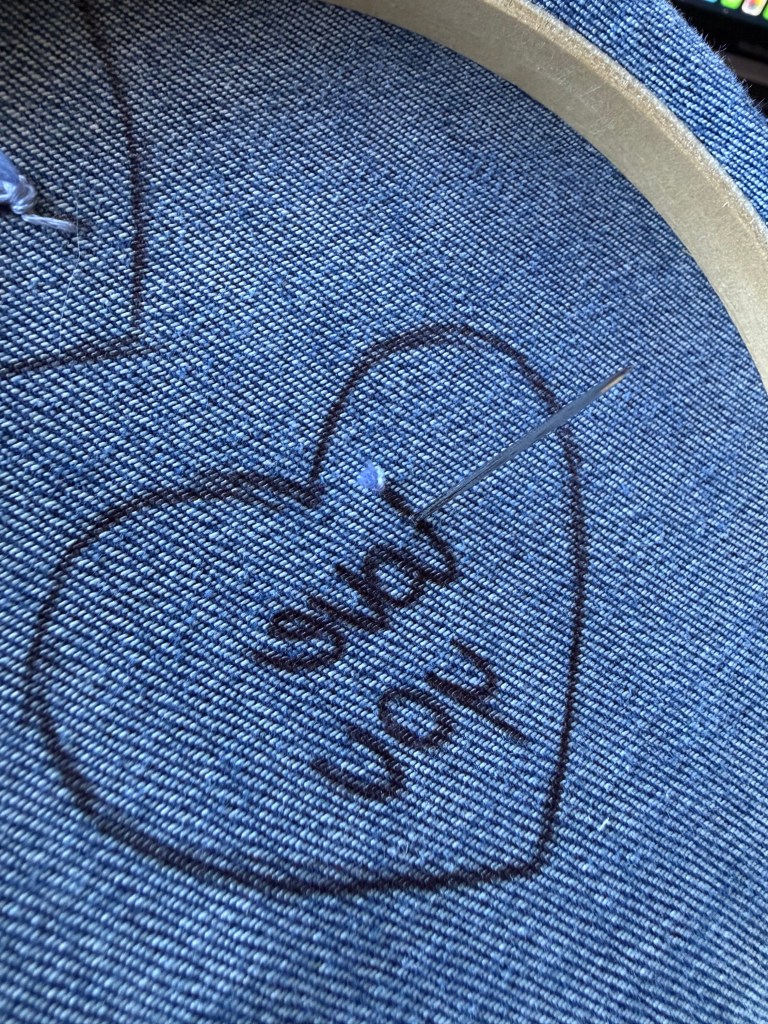
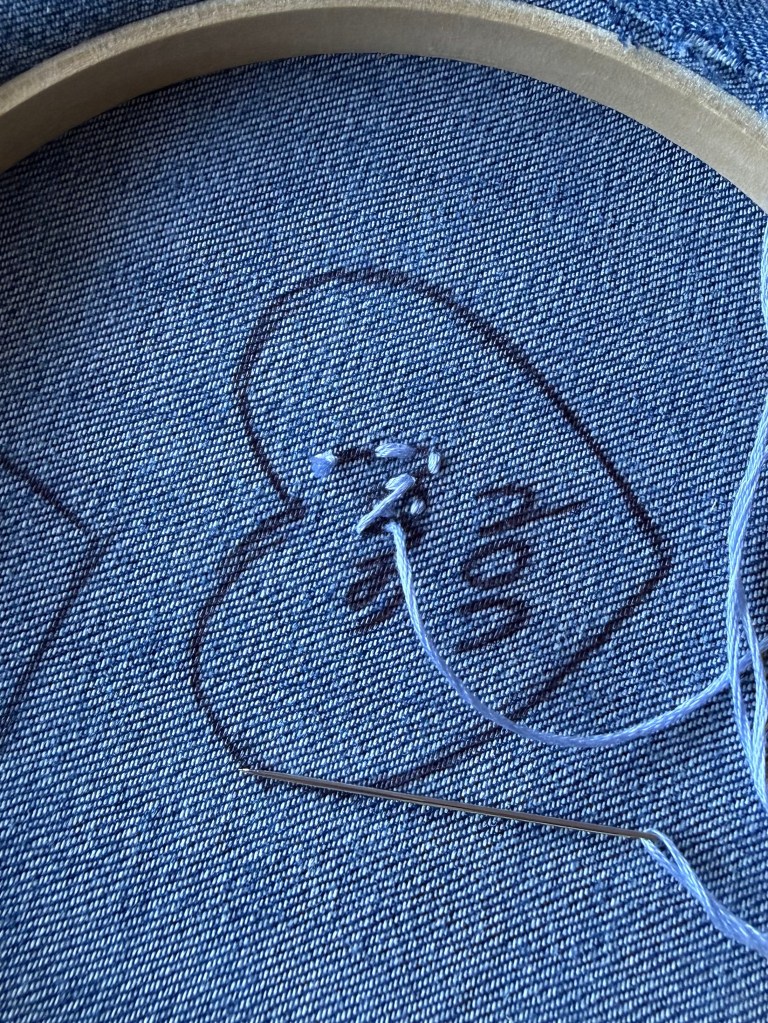
Then, move down the letter a bit more on the back side and push the needle through. Turn the hoop over, and insert the needle where the previous stitch ended to fill in the line.

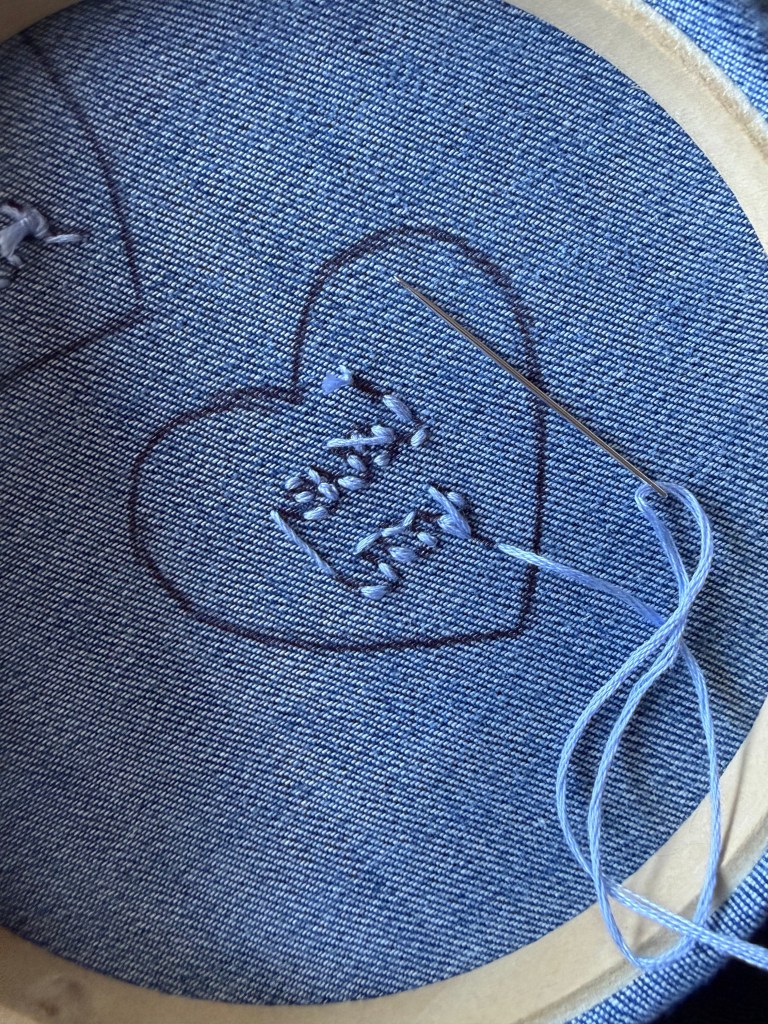
From here, go back to where the newest stitch ended to repeat the steps.
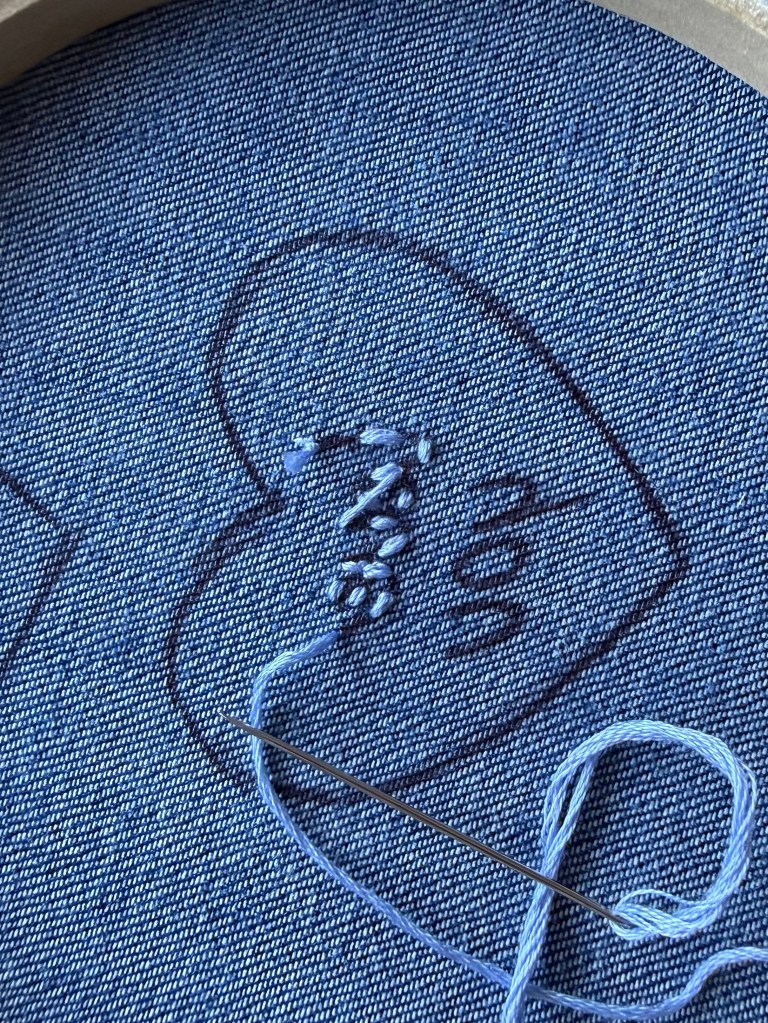
Keep this rhythm going as you make your way through the letters. I like to make the stitches shorter in length when going around a curve in the letter to avoid the lines becoming too stiff and straight.
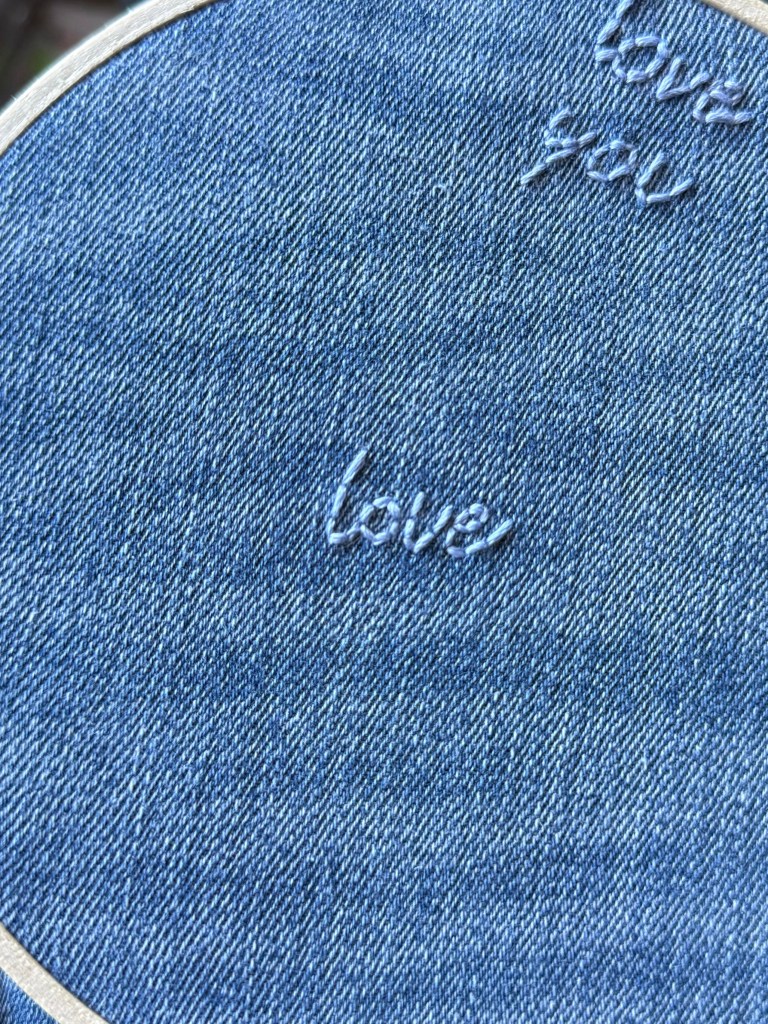
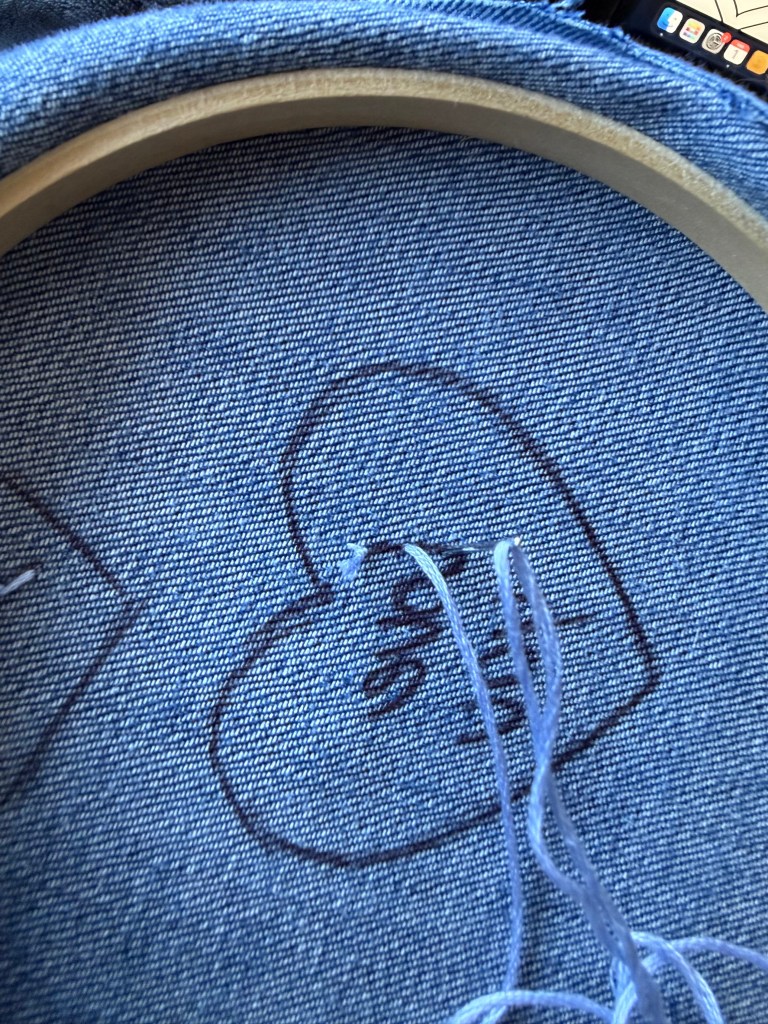
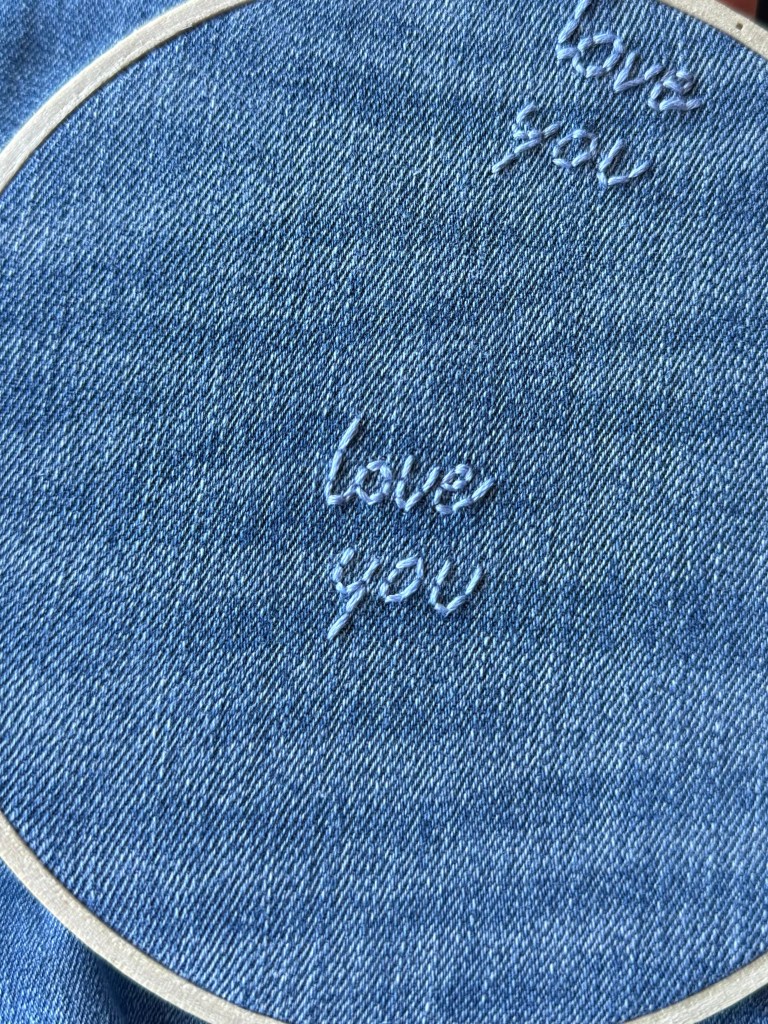
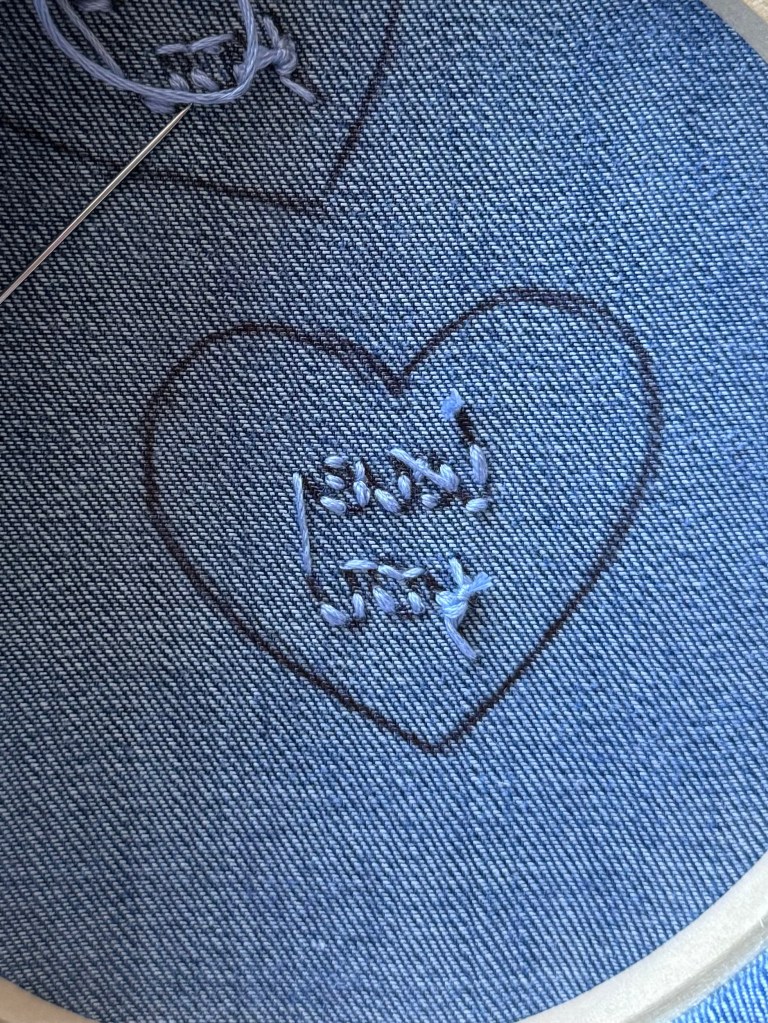
After finishing the “love” section, you can either tie a knot to fasten off each word separately, or move right into the “you” section like I did. Either way will give you the same result. It’s all up to how you like to work!
Follow the same pattern of stitching to fill in the remaining letters.
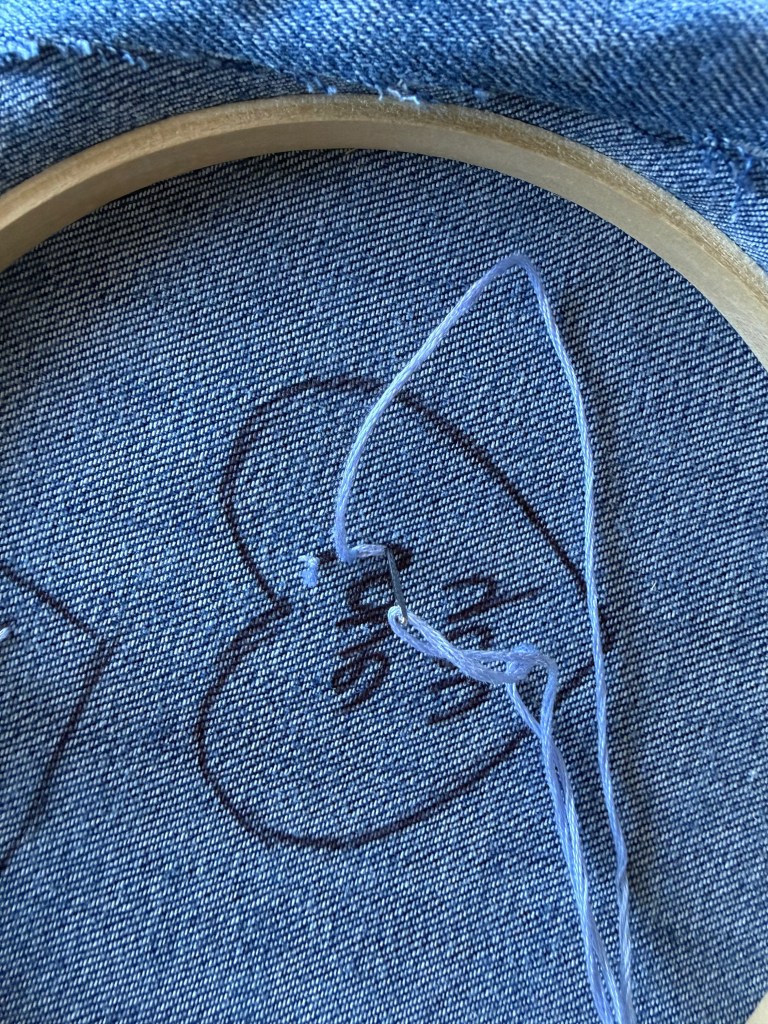
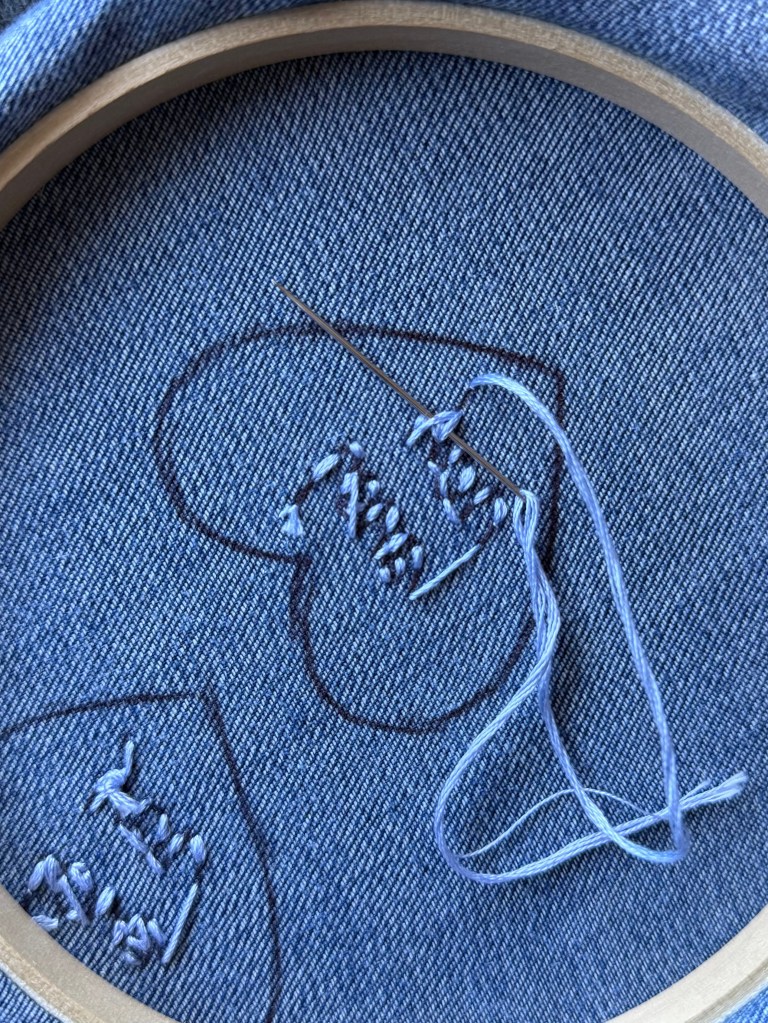
Now it’s time to fasten off your work! To do so, take your needle and feed it through some completed stitches, again through the loop it creates, and pull it tight to tie a small knot. Cut off any remaining thread.
Next, remove your fabric from the embroidery hoop and cut out the heart shape along the guidelines we drew earlier. Then, cut out an additional matching heart from leftover fabric.
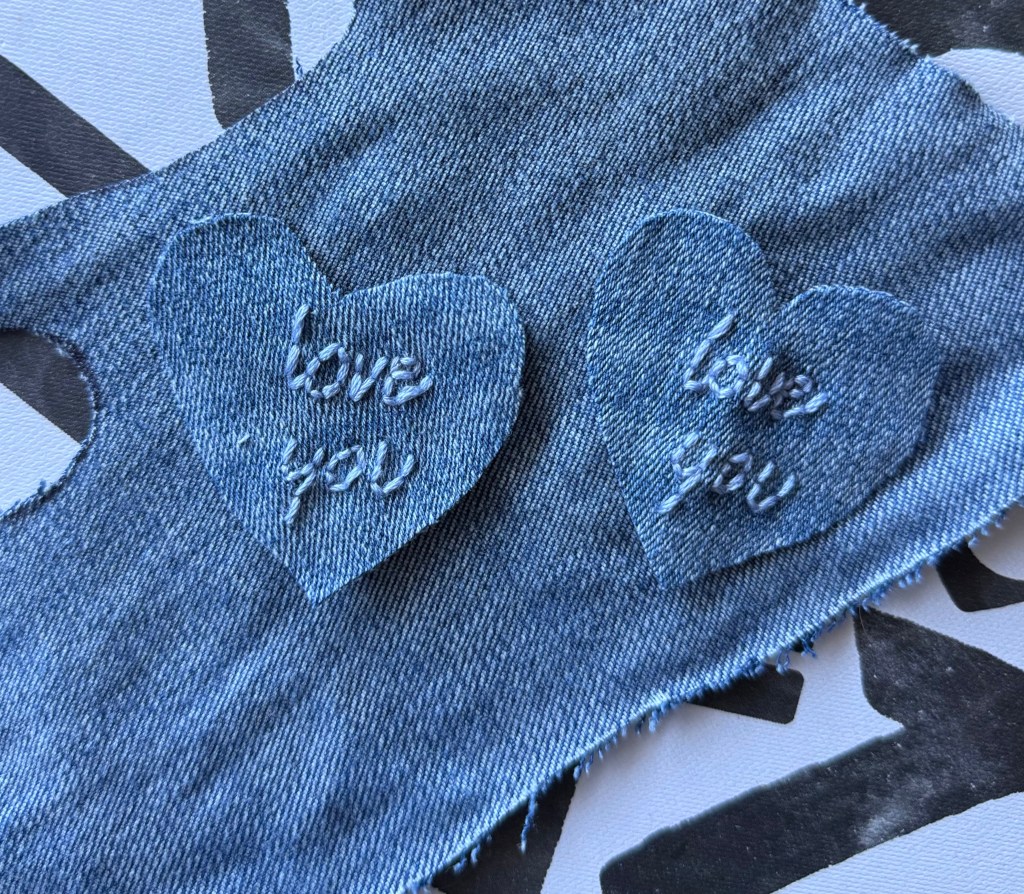
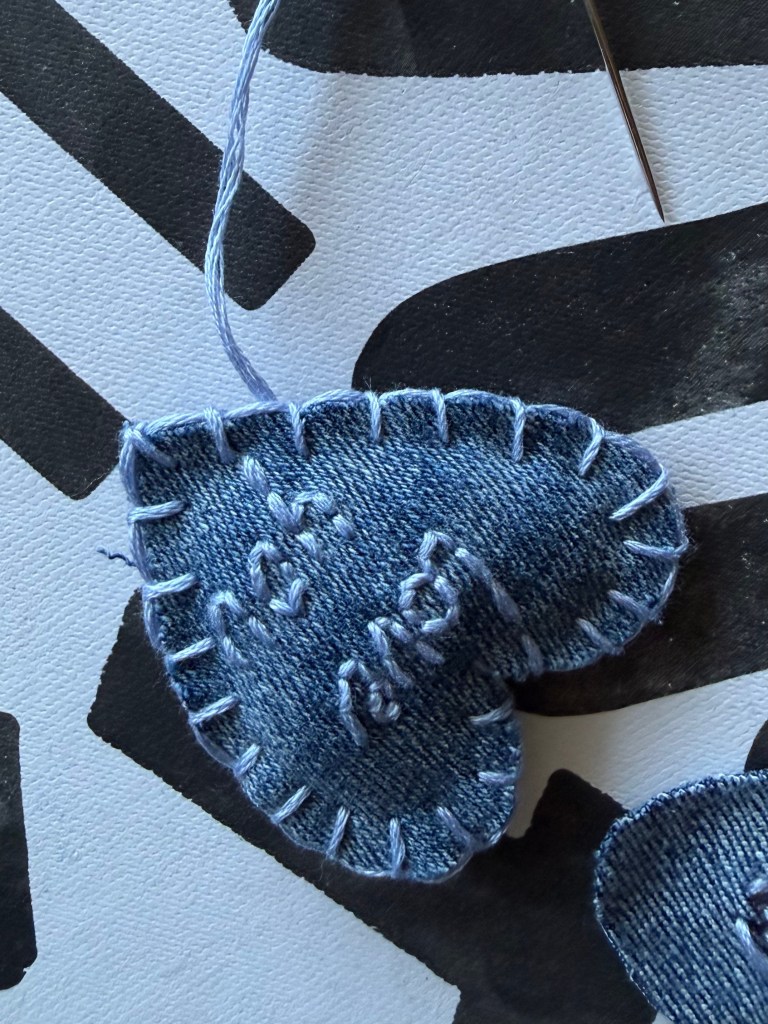
To sew both halves together, I used a blanket stitch method. It’s a pretty easy stitching technique in my opinion, so I use it all the time.
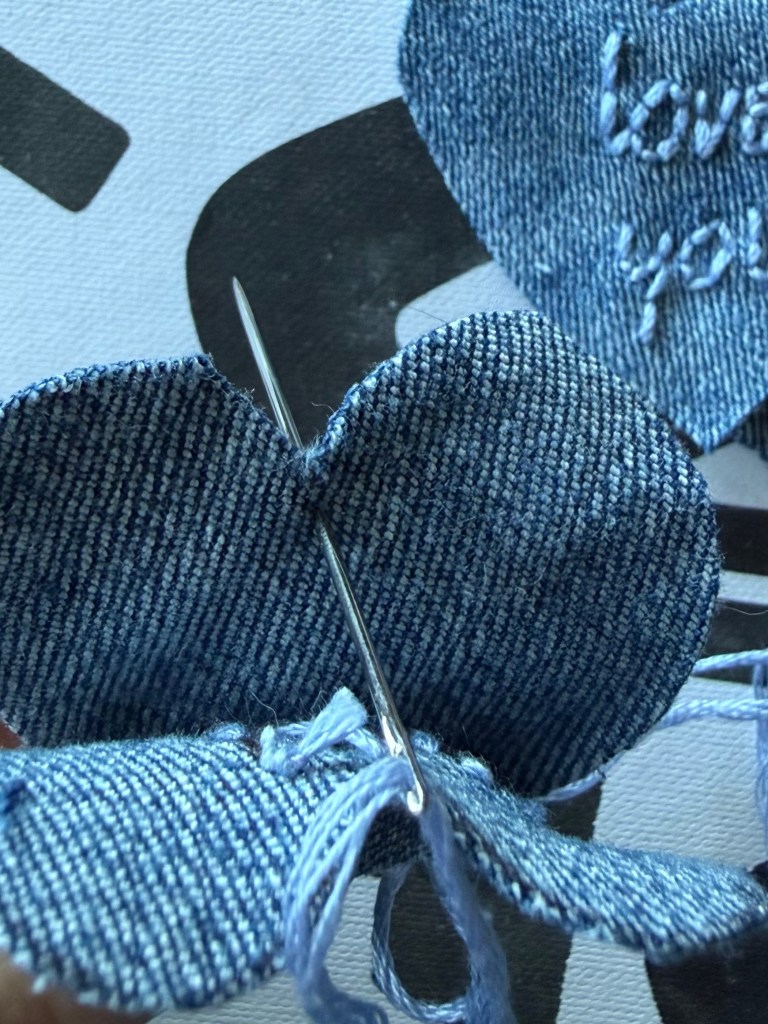
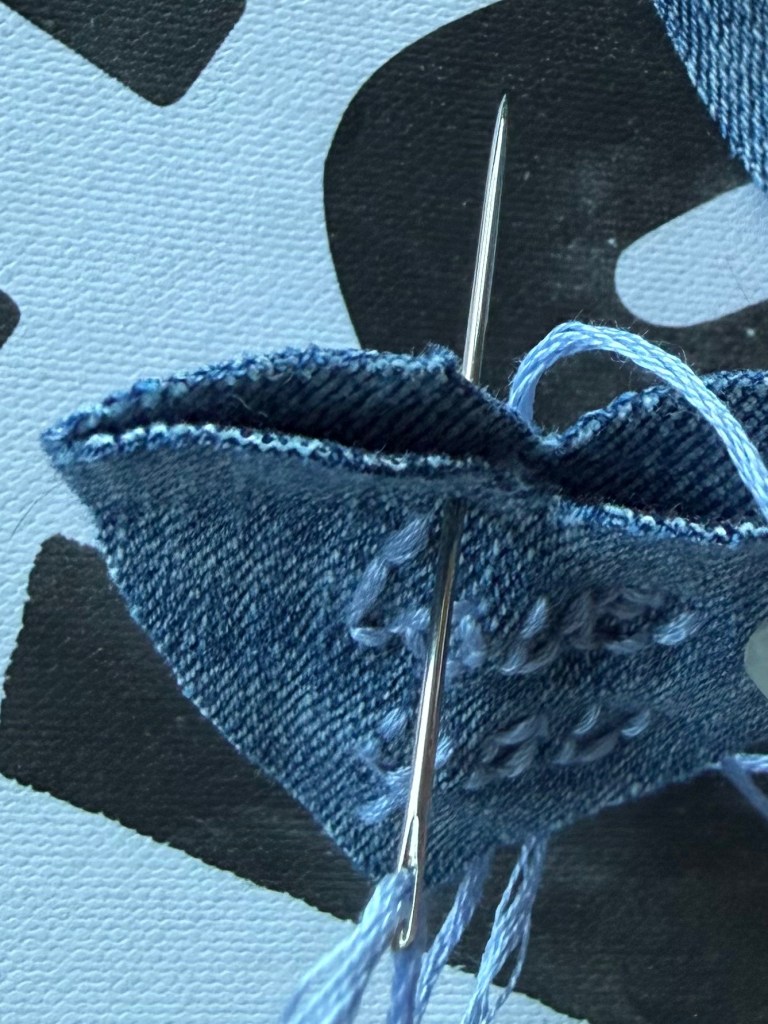
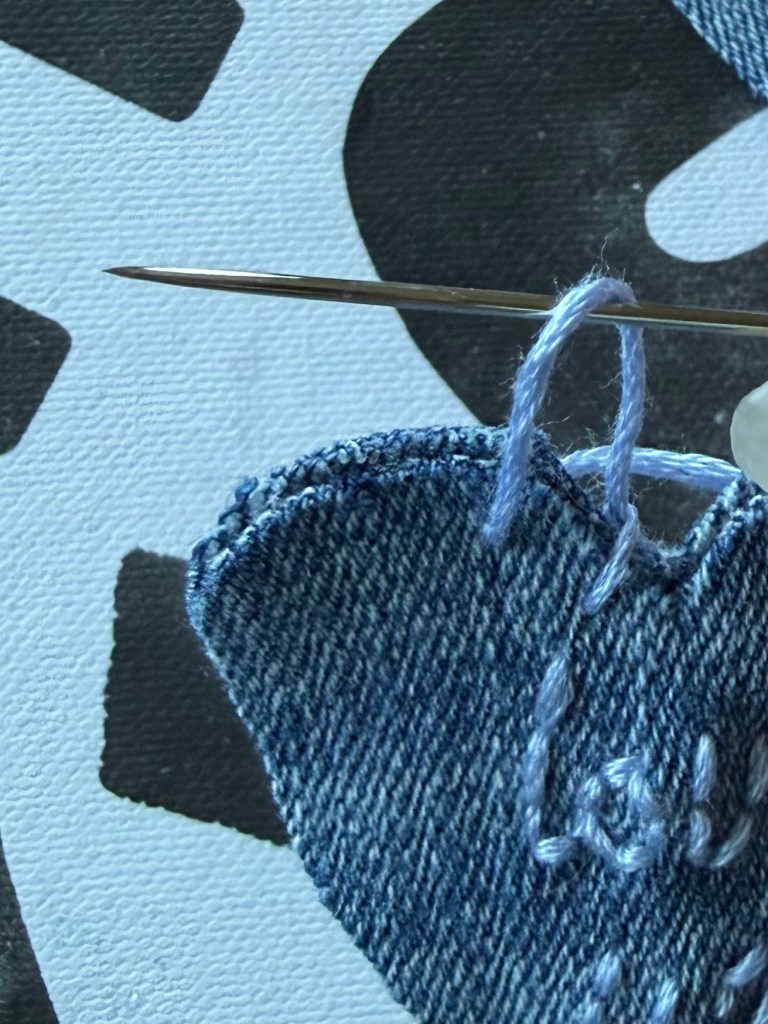
This style of stitching starts by holding both pieces of fabric and inserting your needle through ONLY the back layer. After pulling the thread tight, bring your needle around to the front of your work and push your needle through both layers of fabric. Before pulling the thread tight, feed your needle through the small loop of thread, then pull it tight to form a small knot. Scoot your needle over a bit, and repeat the process, inserting the thread through both layers from the front side, until you’ve made it about 3/4 of the way around the heart.
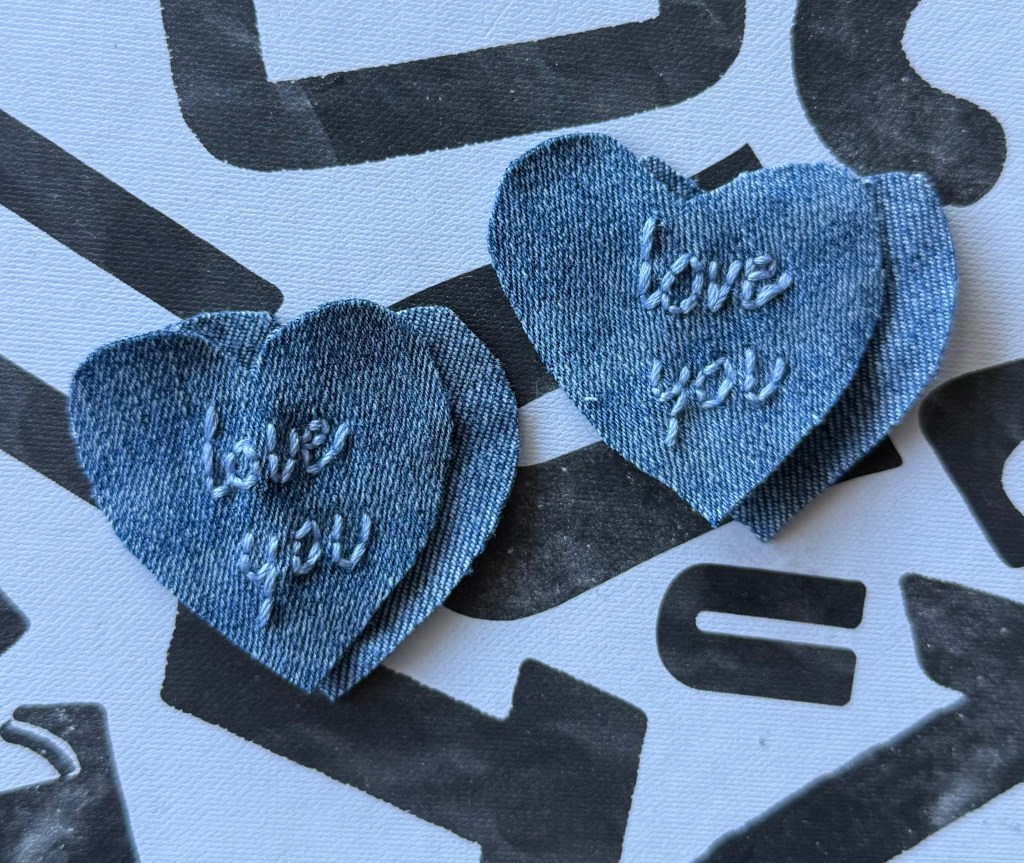
Once you’re almost all the way around the border, take small portions of your stuffing or scrap thread to fill the heart as full as you’d like.
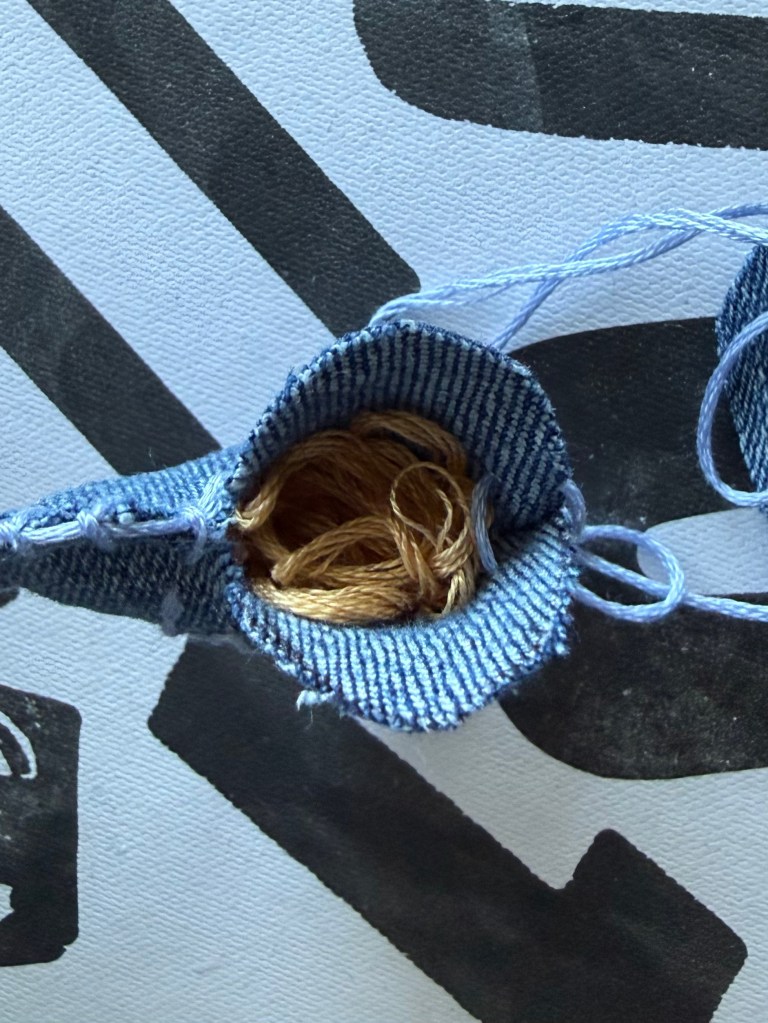
Then, continue the blanket stitching the rest of the way around. To seal it off, I just push my needle between the layers of fabric until the thread comes out the other side of the heart, and cut off the tail of thread. The blanket stitching creates little knots with each stitch, so I find that it holds up pretty well without having to tie any additional knots.
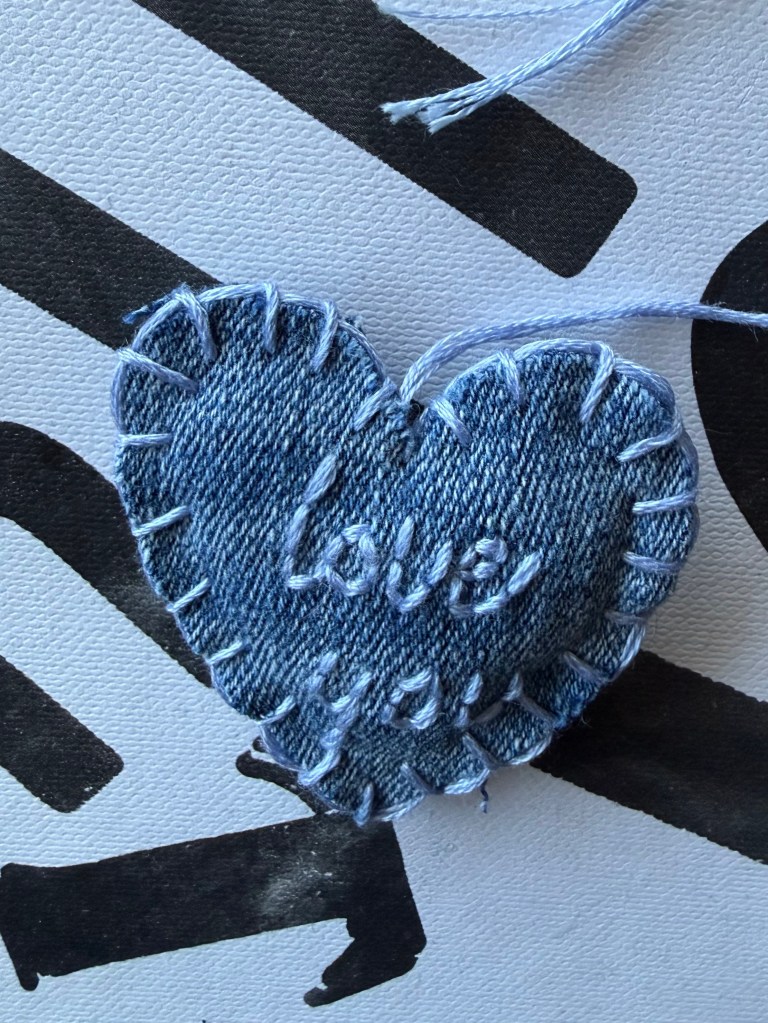
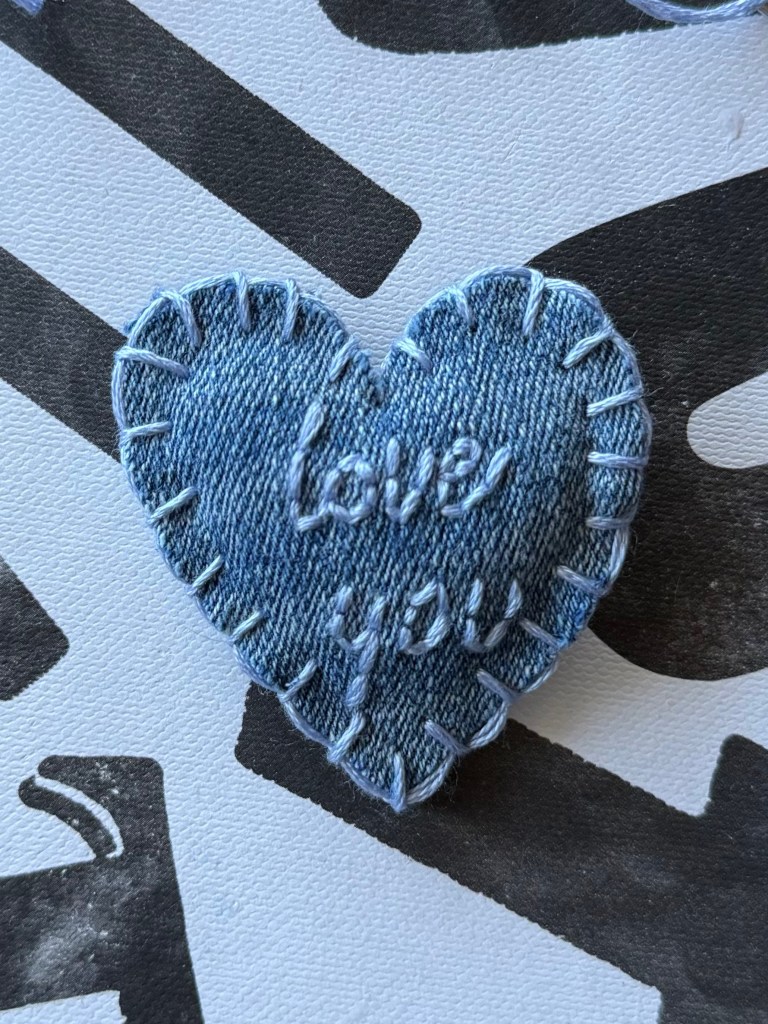
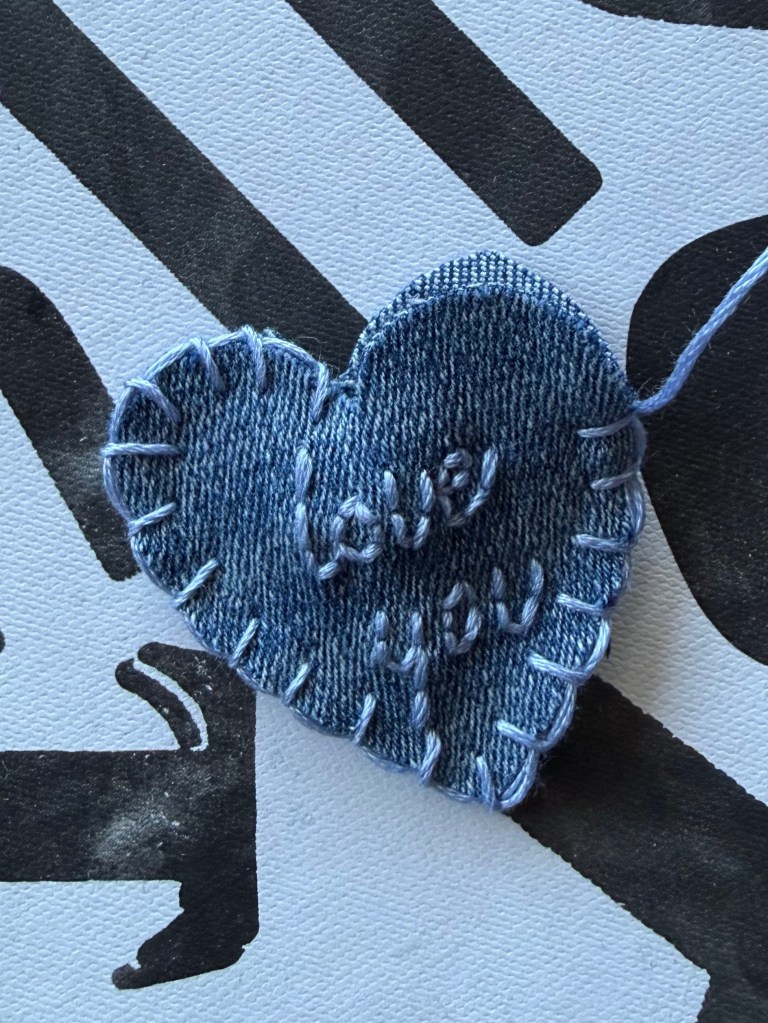
Ta da!! Now you have your very own handmade heart! What’s next?!

Leave a comment