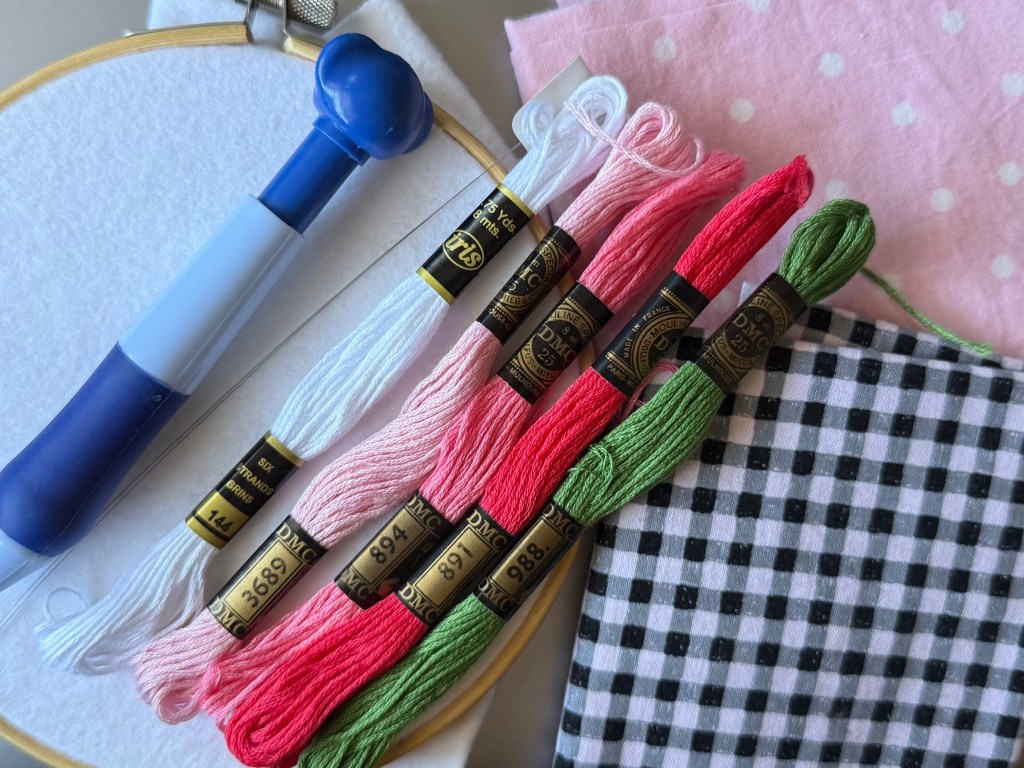
For this project you will need:
- Fabric (I recommend solid white for the front side, and a patterned fabric for the backside)
- Embroidery hoop
- Punch needle and needle threader
- Sewing/embroidery needle
- Red embroidery thread
- White embroidery thread
- Green embroidery thread
- Dark and light pink embroidery thread
In my opinion, punch needle embroidery is one of the easiest forms of needlework, since the needle itself does most of the hard parts.
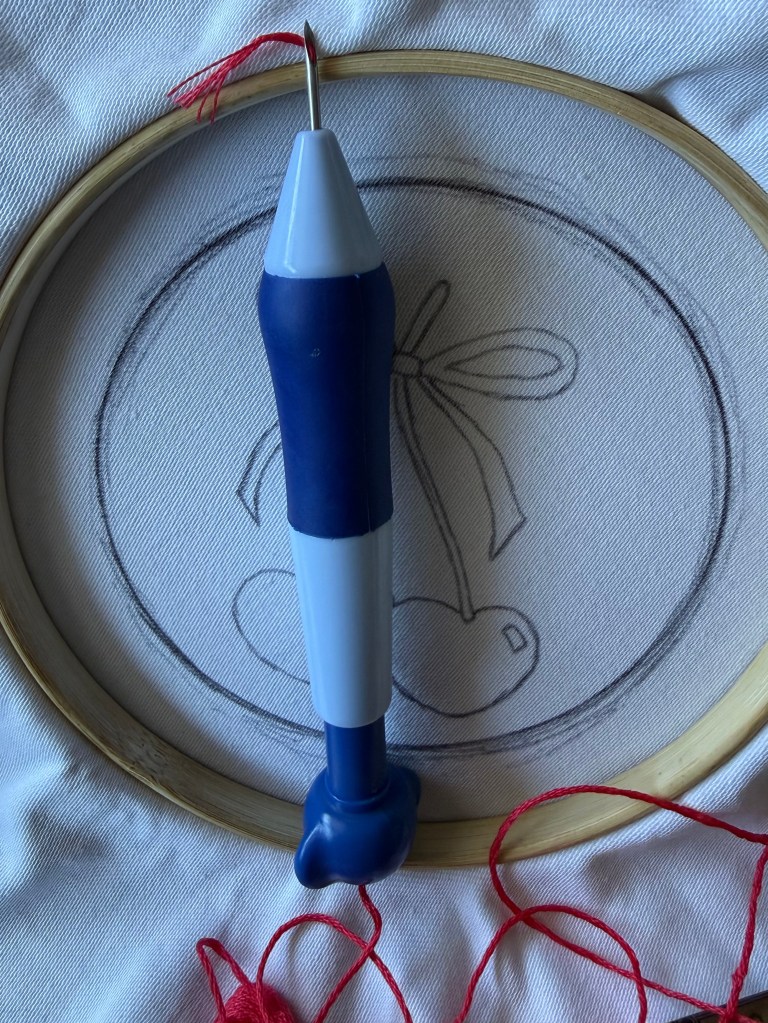
The first step of any punch needle project is putting your fabric in your embroidery hoop and pulling it taut.
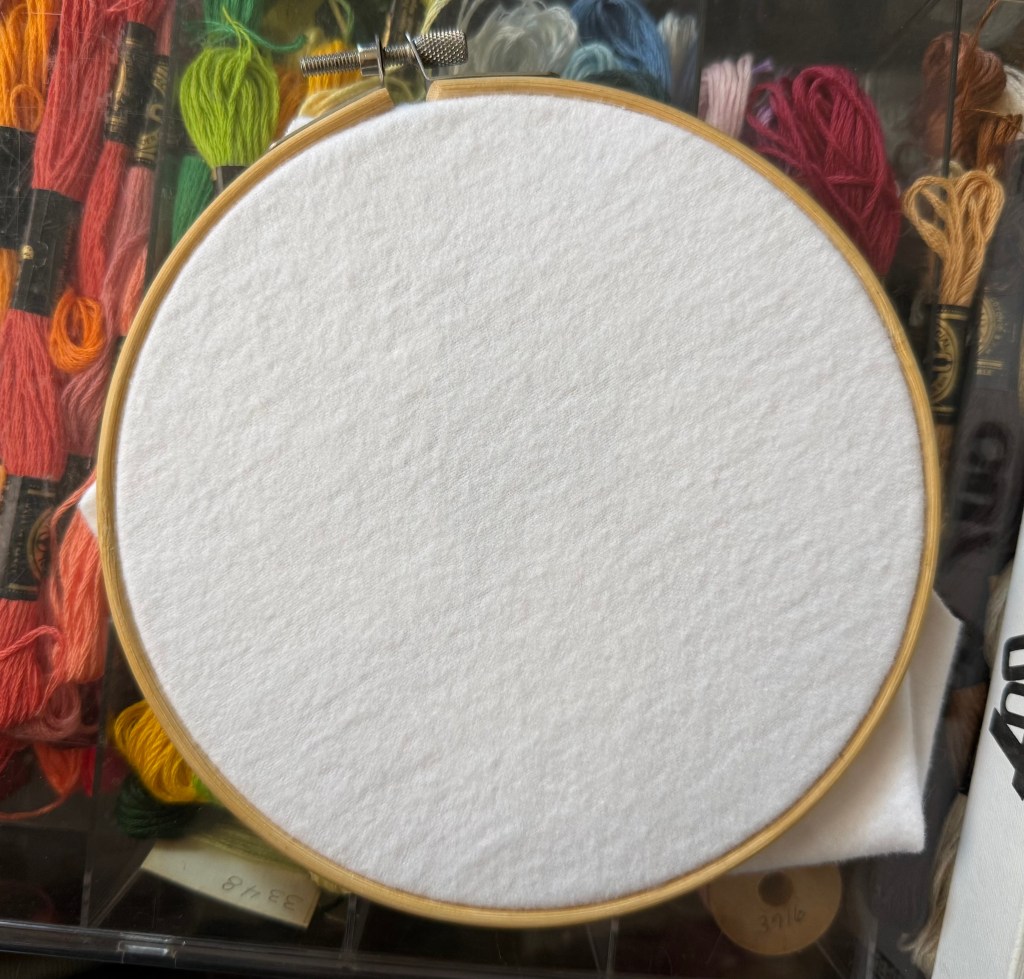
For this project, I’m using a thick cotton fabric, but I’ve also used a variety of types before, ranging from a thinner fabric square from joann’s to a canvas bag. If you ever want to make a punch needle patch, the fabric you choose doesn’t necessarily matter, since it’ll be fully covered by the thread anyways! I recently made a black patch for a black hat of mine and used a yellow fabric with a bacon strip design on it!! However, for this project, the final product does have some of the bare fabric showing, so I recommend using either solid pink or white/cream fabric if you have it.
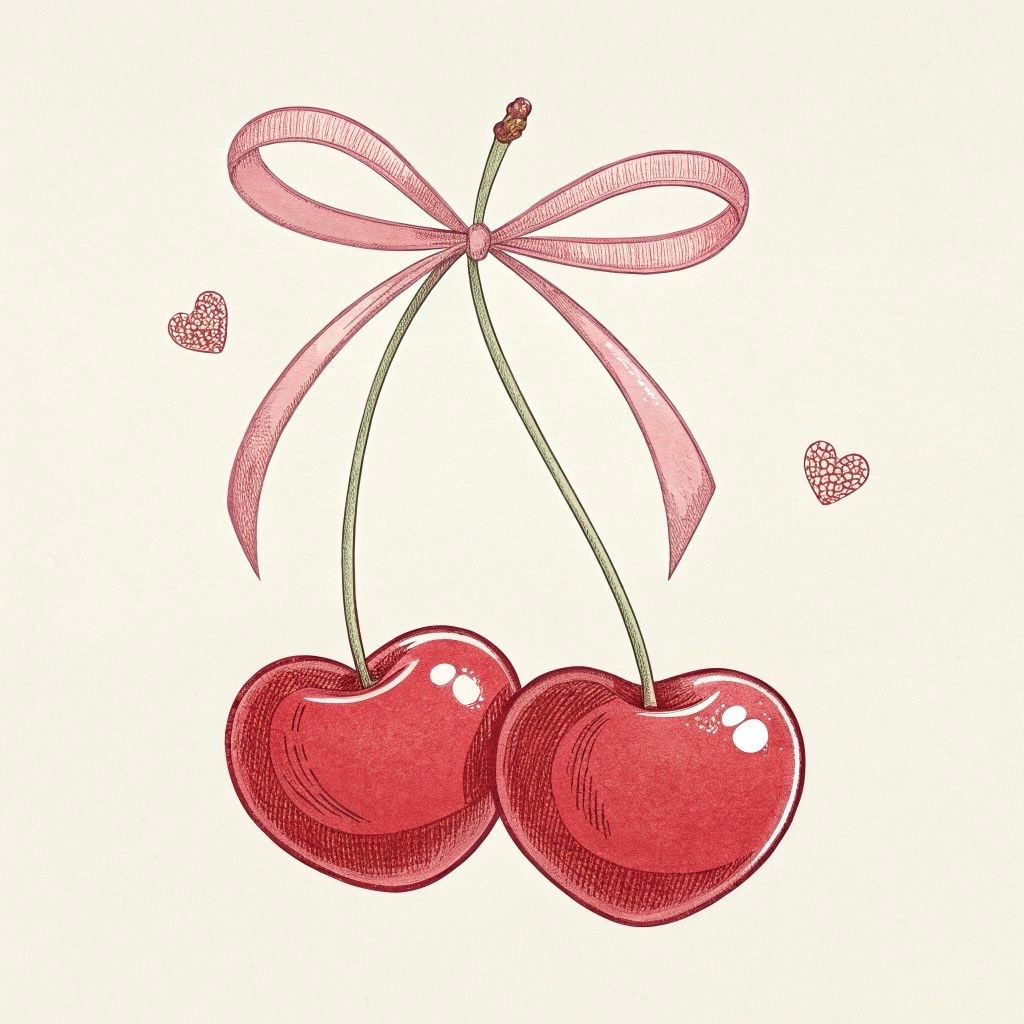
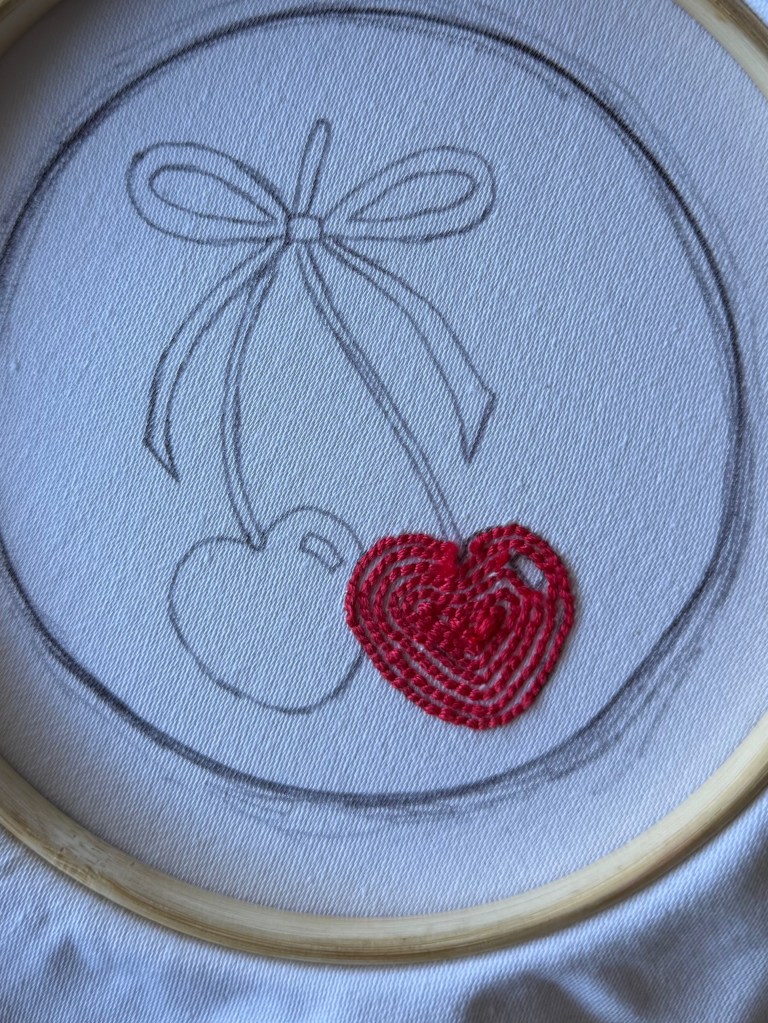
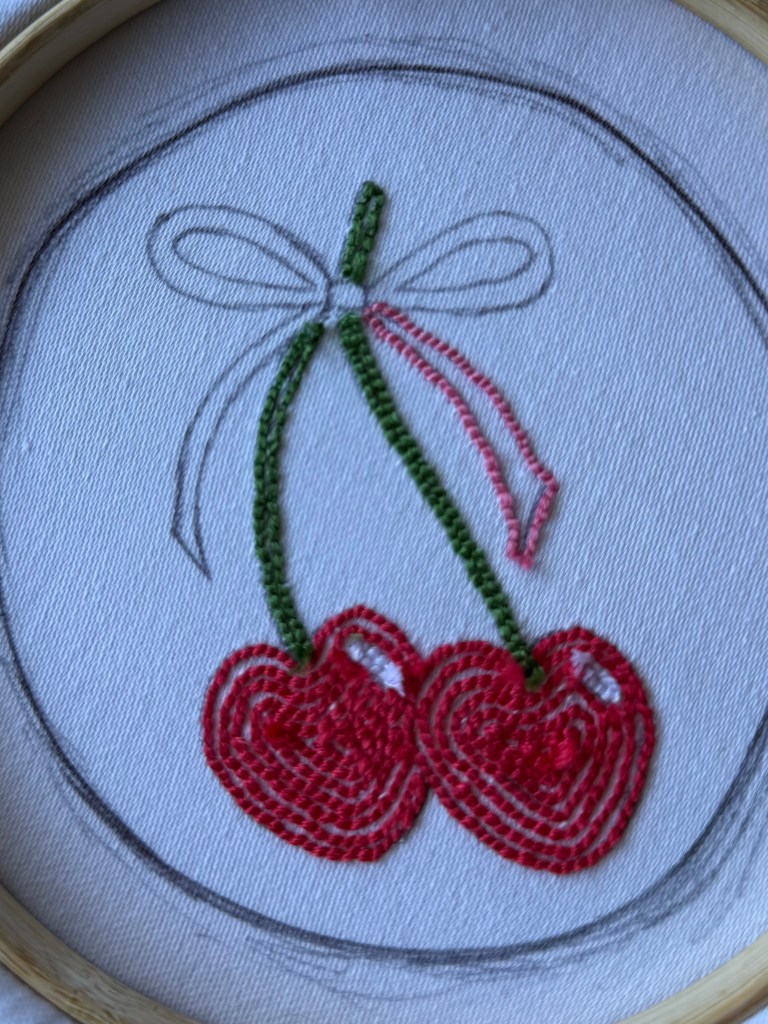
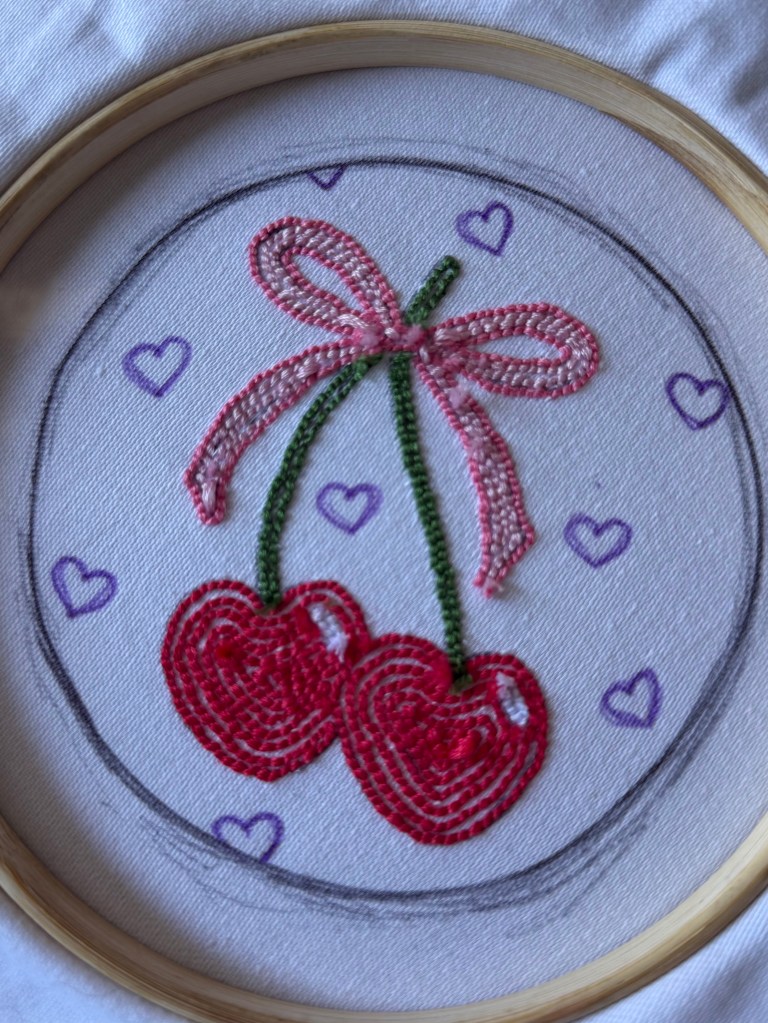
Once your fabric is taut, go ahead and draw or trace the image you’d like to use for your design onto the backside of your work. For this coaster, I went to Pinterest and typed in “heart cherries” to find this image of the heart shaped cherries tied together with a bow. I like to pull up the images on my laptop to trace it onto my fabric so that I can see everything at once on the bigger screen.
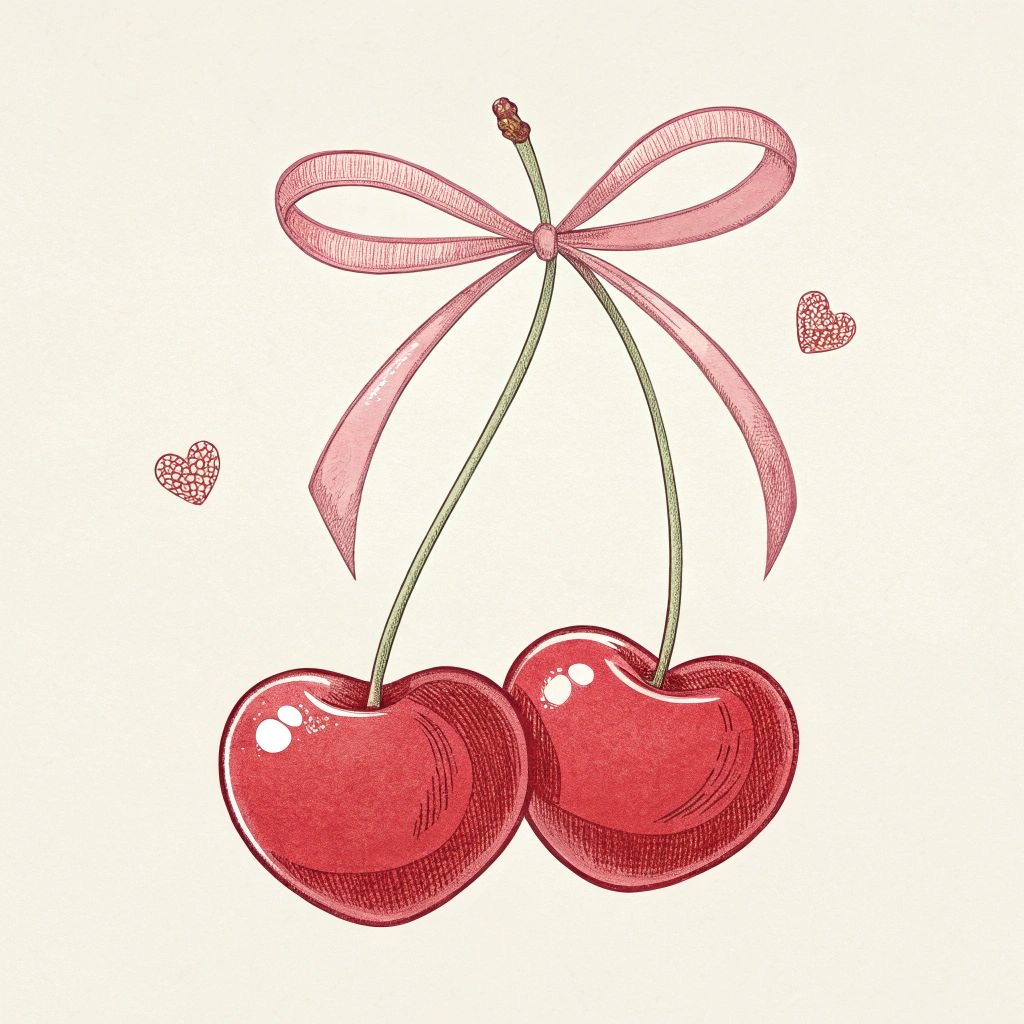
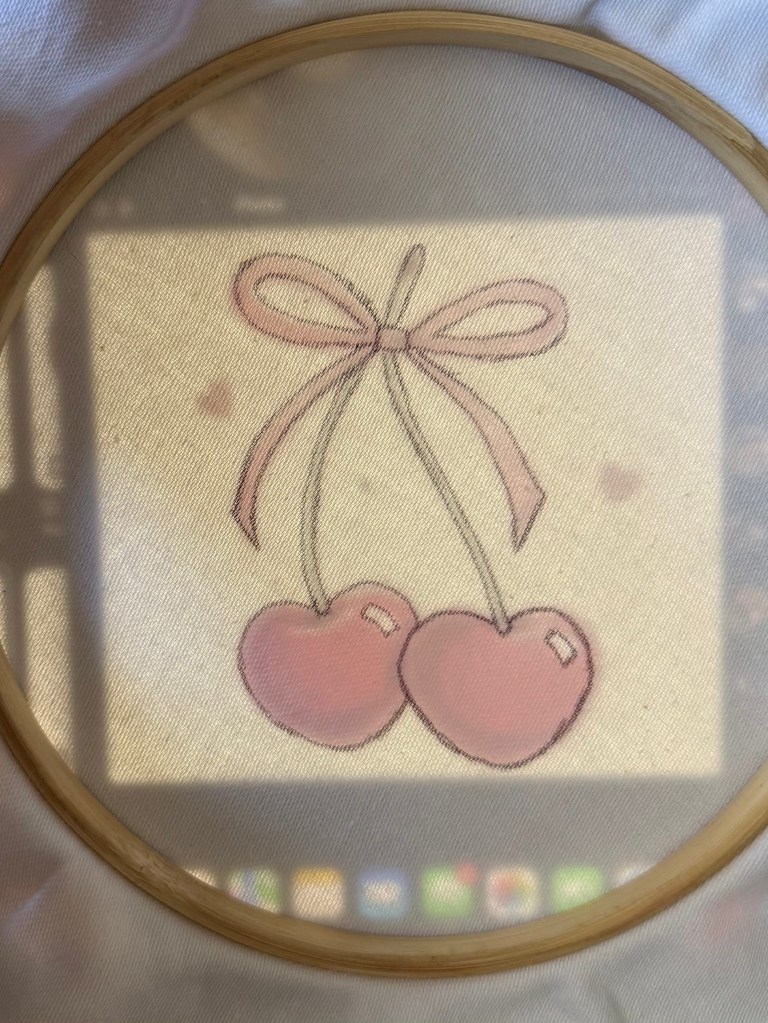
NOTE: Remember to mirror the image when you trace it!! For punch needle projects, you work from the backside of the fabric, so you need to mirror the image so that when you follow it, the front side of your work will have the design correctly shown.
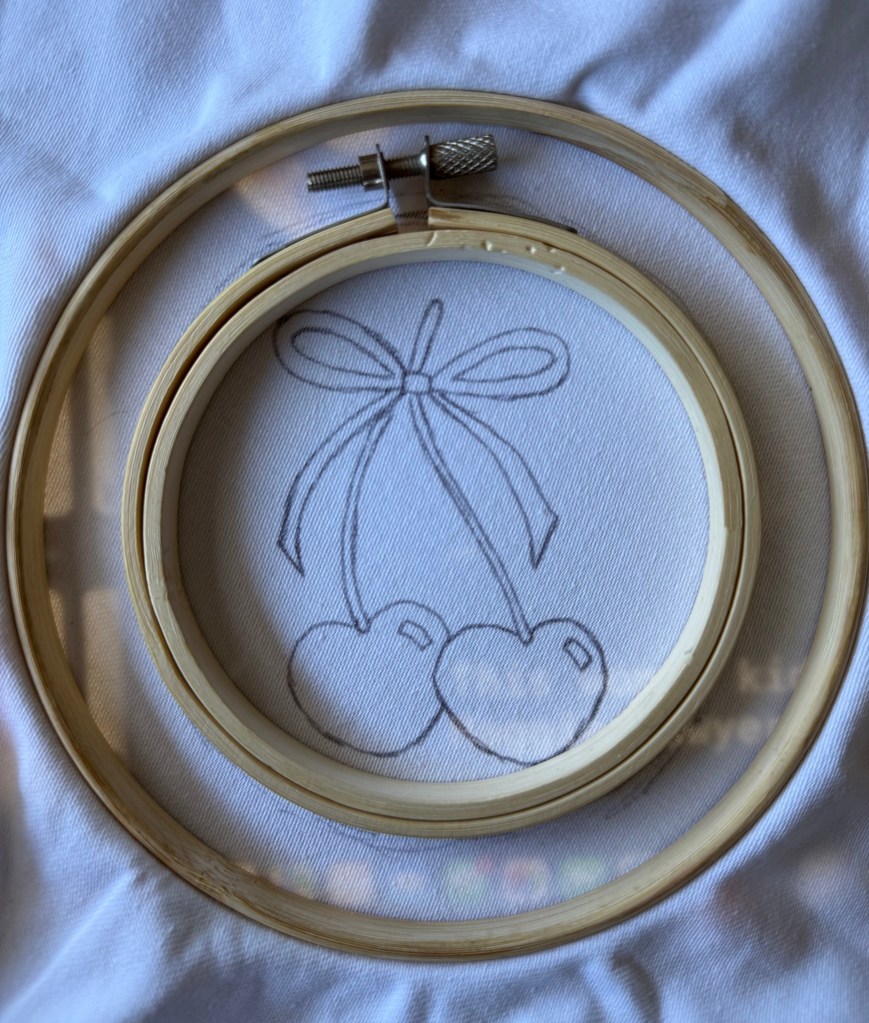
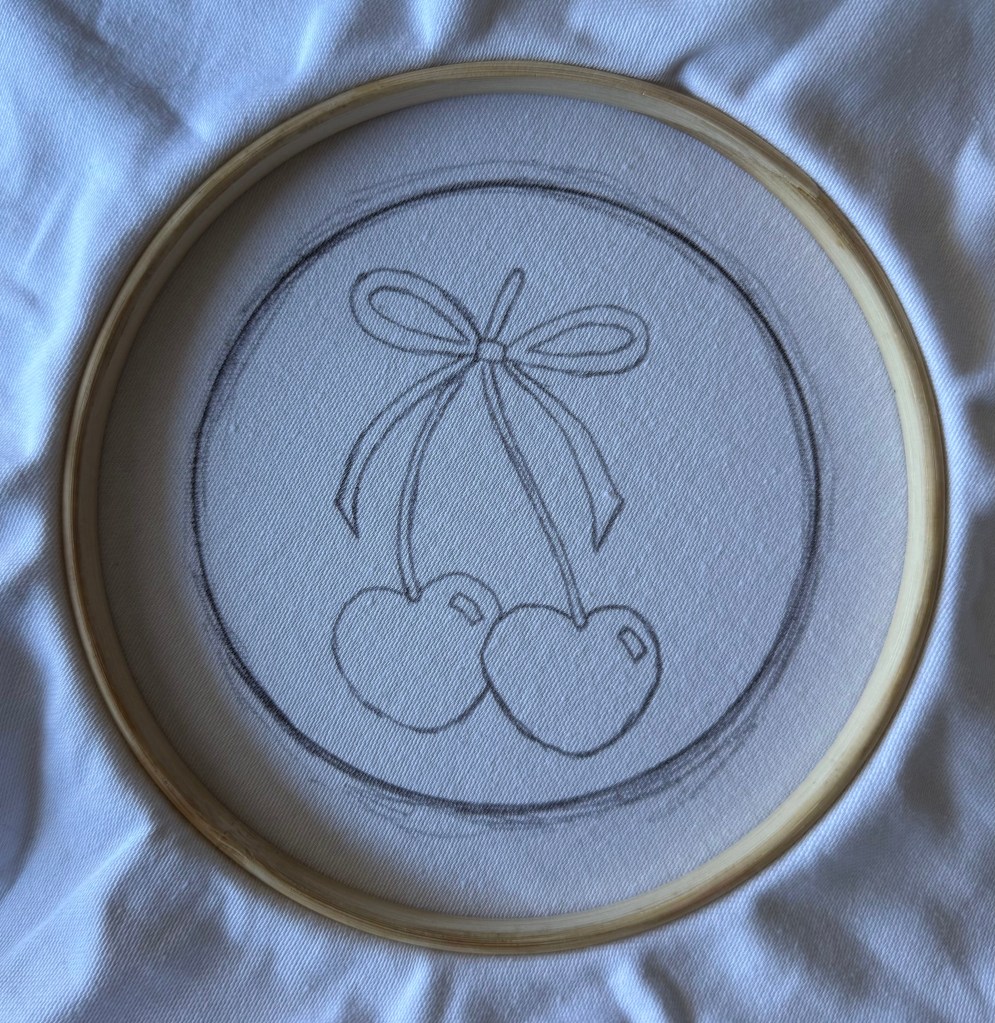
Now, after determining how big you would like your final coaster to be, go ahead and draw a circle that size around your design. I ended up using a smaller embroidery hoop of mine as my circle.
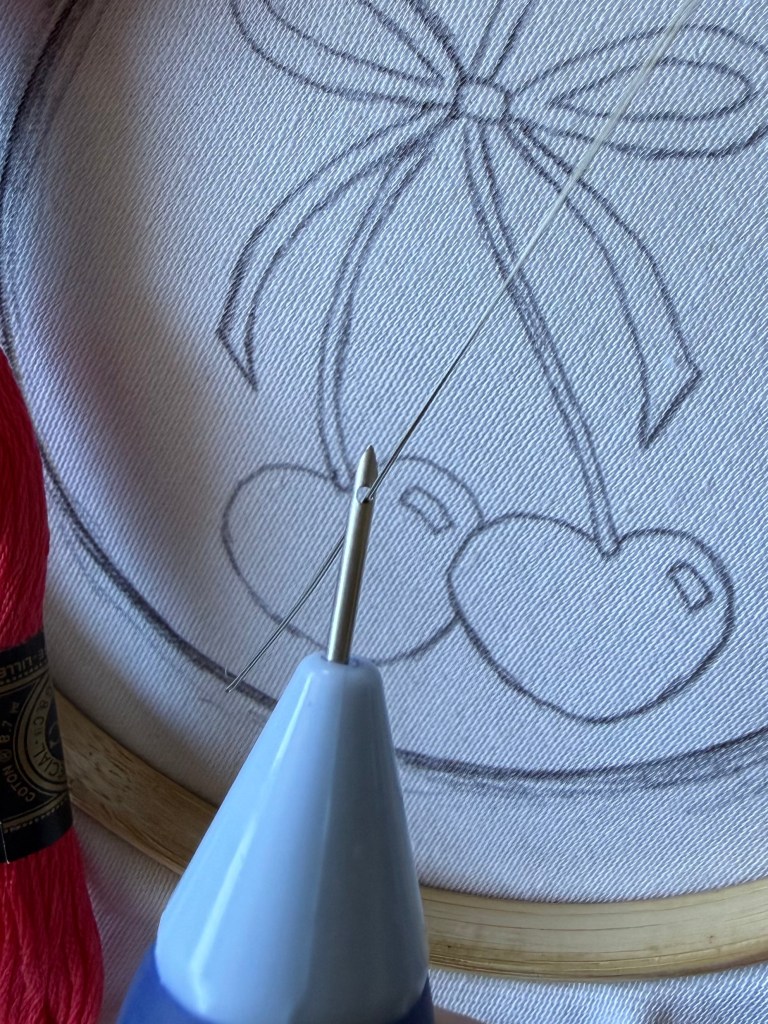
We’re ready to start stitching!! Grab your punch needle, needle threader, and the red thread you’ll be using for the cherries.

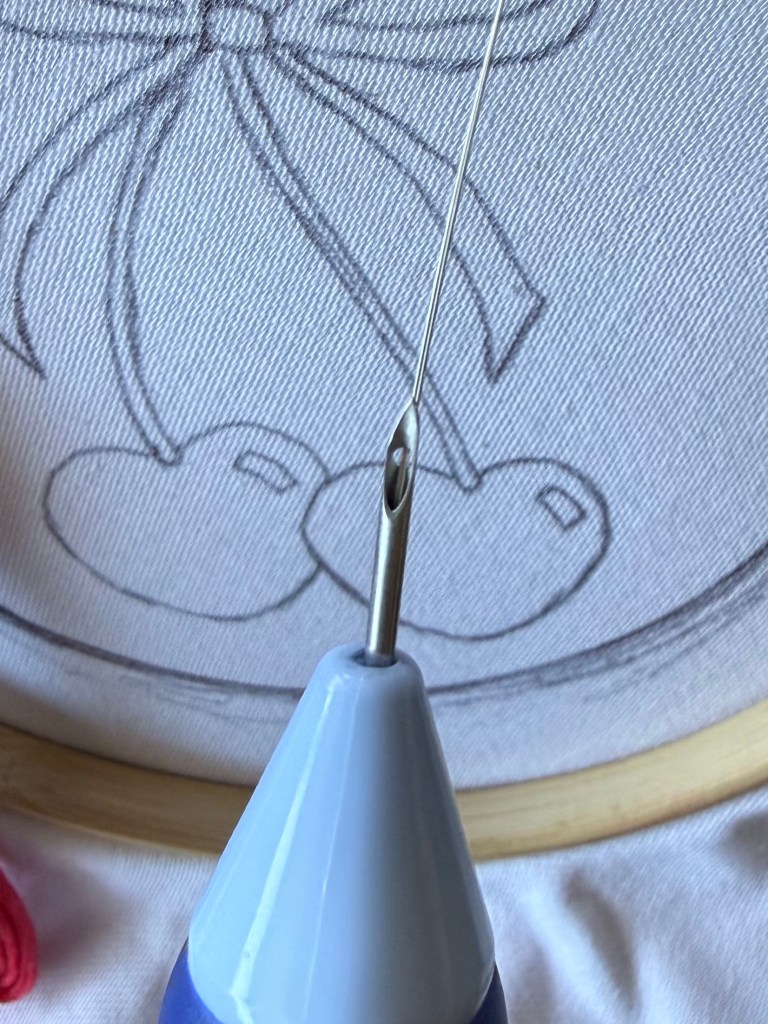
To thread your needle, take the threader and insert it into the small hole on the backside (solid side) of the needle. Then, turn your punch needle toward you so that you’re able to see the hollow part. Insert your threader through that opening and push it down the needle until it comes out the other end of the handle.
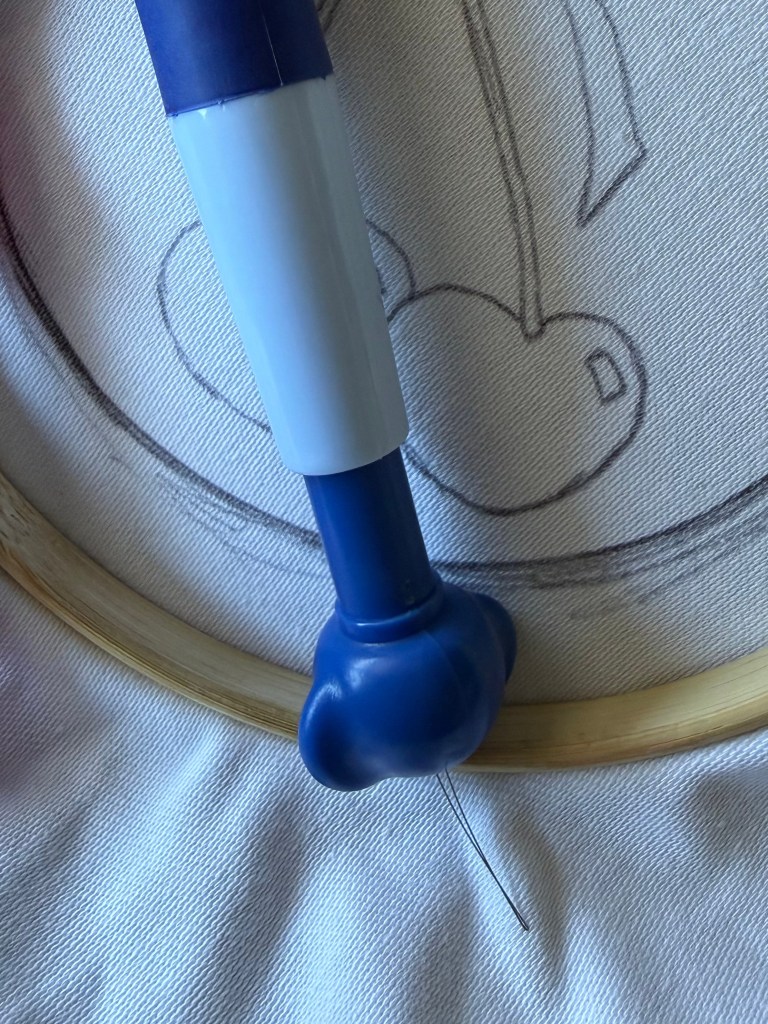
Once you can see your threader at the other end of the handle, open it up a little and put the end of the thread in it. Good news: you don’t need to cut your thread at all! You can leave it right on the skein while you work. Now, pull your threader all the way back through the punch needle until the end of your thread comes out of that hole in the backside of the needle.
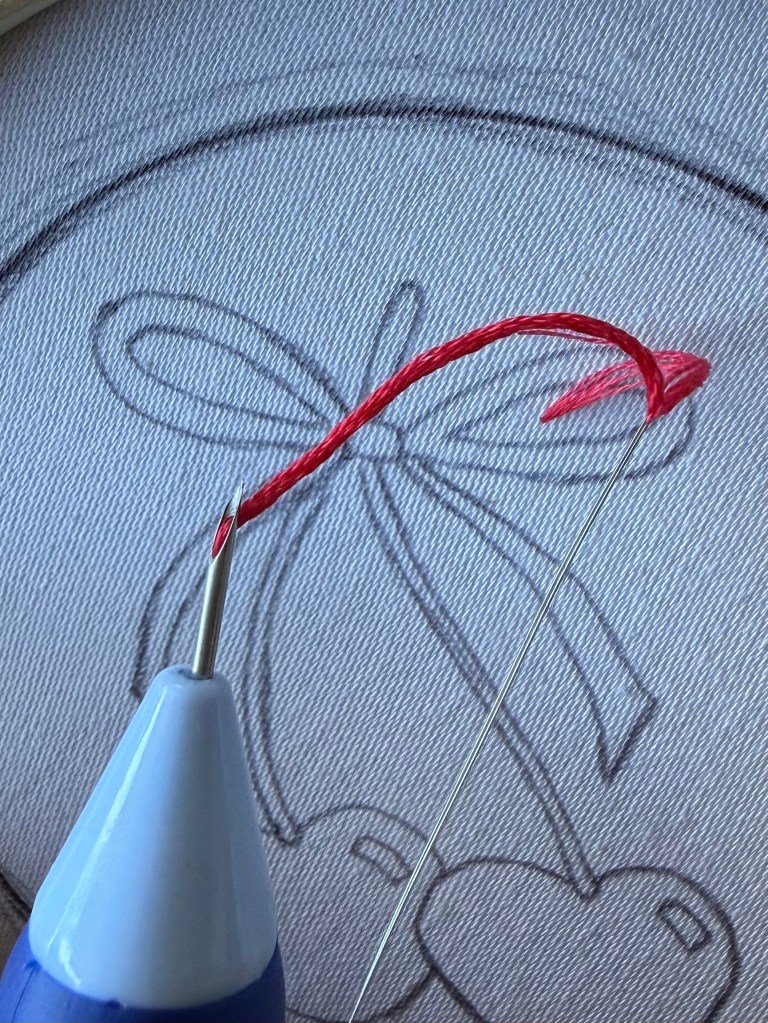
Remove the threader, and the hard part is over!! Get comfortable, put on a show or turn on some music, grab a snack, and let’s get stitching.
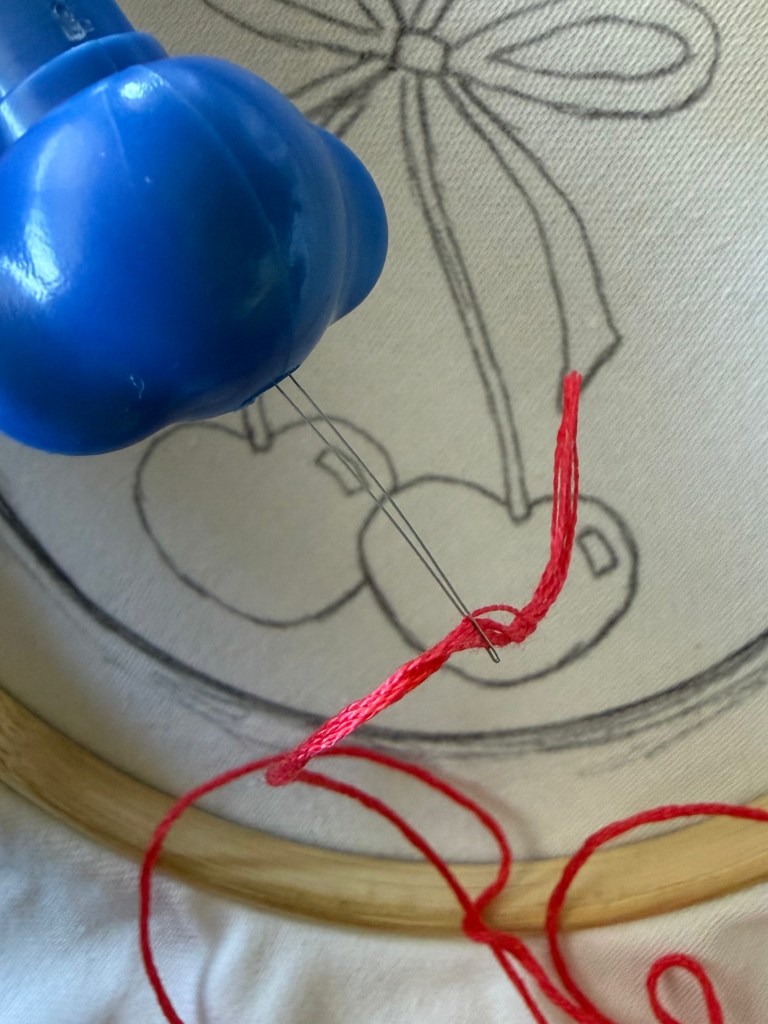
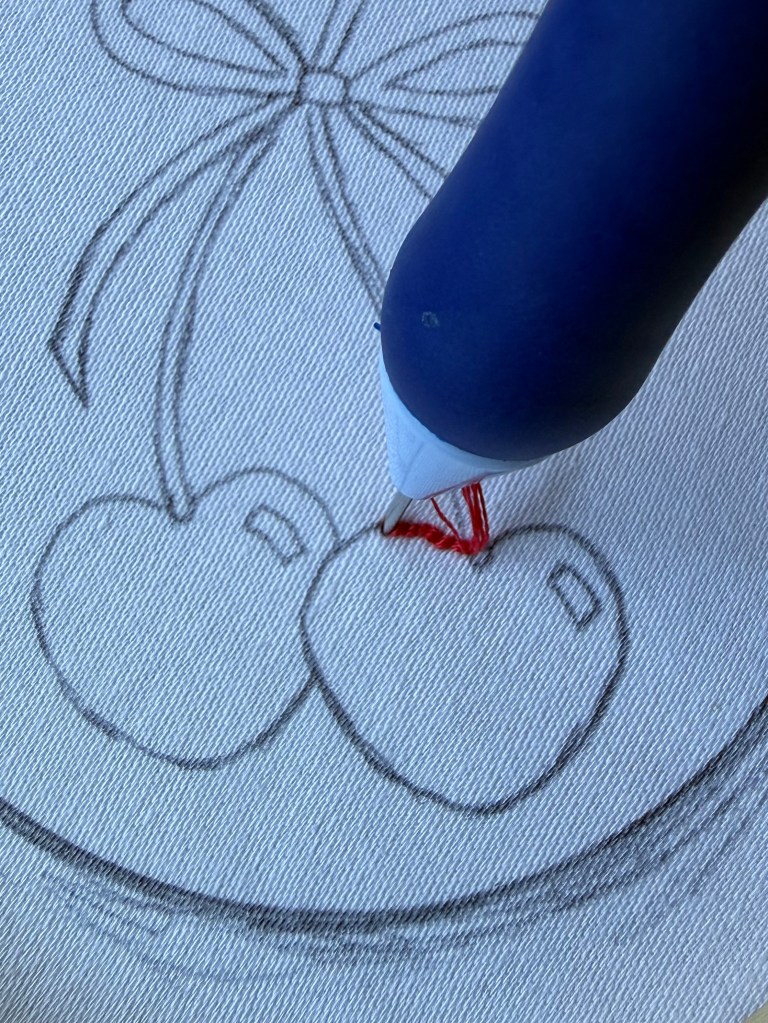
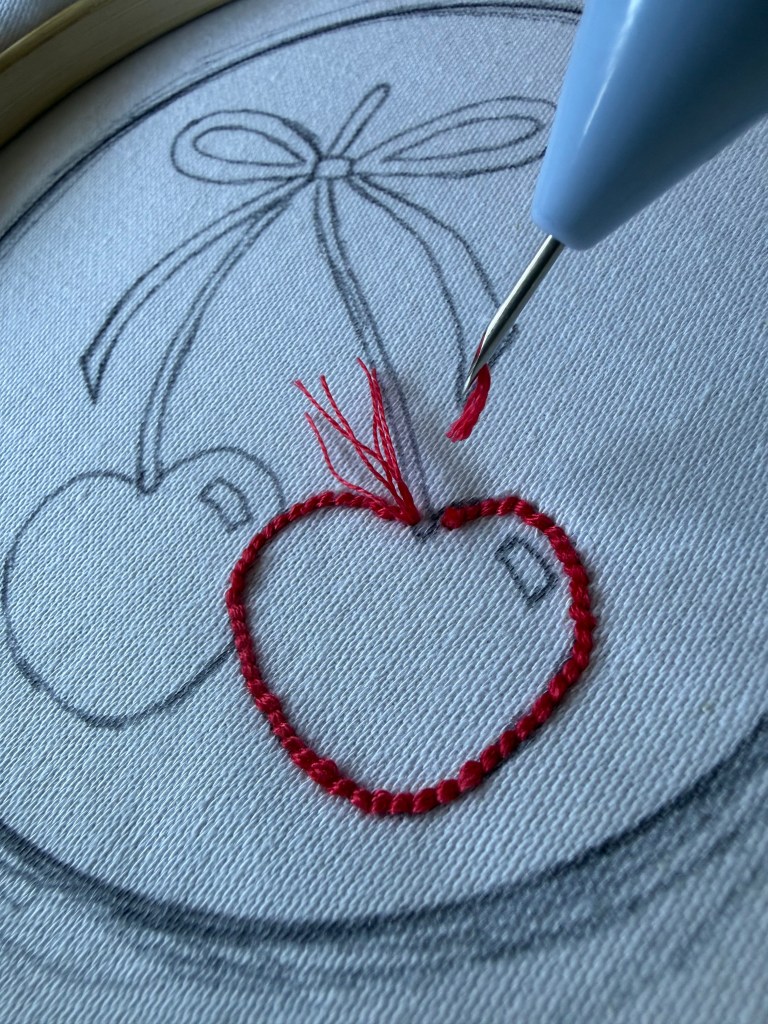
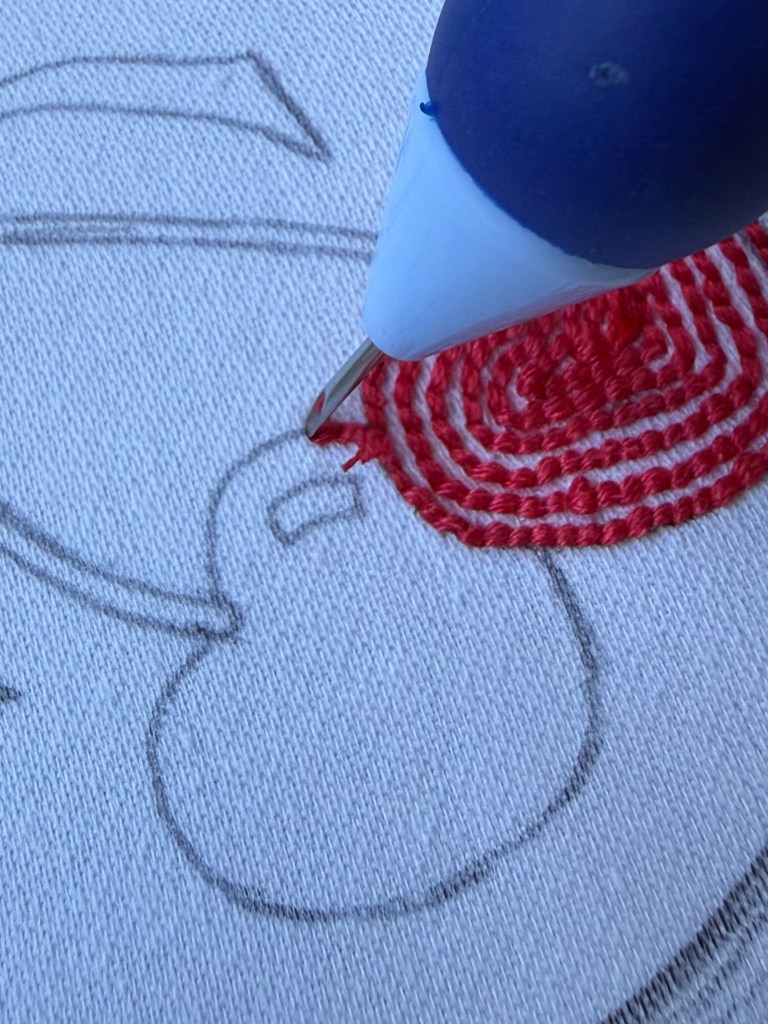
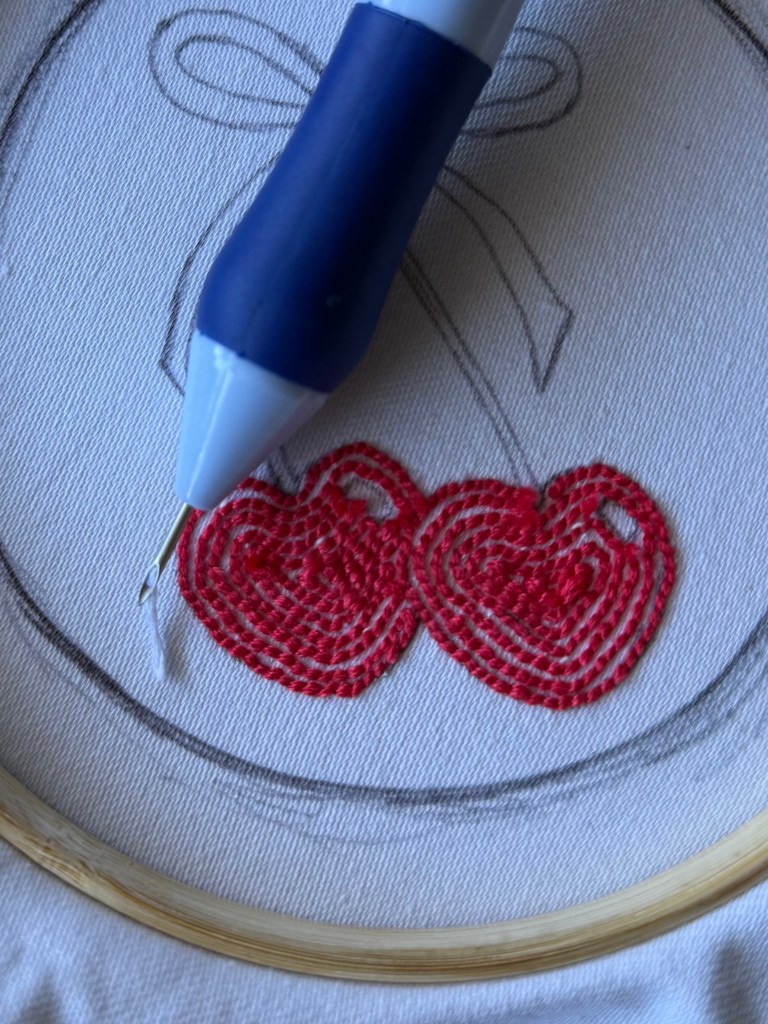
The way punch needle works is very simple. Take your needle and, with the hollow half of the tip facing the direction you will be headed, push the needle all the way through the fabric. That’s it! Pull it out, scoot over just a small amount, and push it all the way through the fabric again. As you follow the outline of the cherries, the needle will be creating little loops on the other side of the fabric (which will become the front of your work/top of the coaster).
Once I got around the border of the cherry, I could see my fabric getting a little loose on the hoop, so I decided to cut the thread to pause my work for a moment so I could pull my fabric tight again. If at any point you want to take a break, change your thread, or tighten your fabric, just pull your needle out of the fabric as if you were about to move on to the next stitch, and cut the thread at the base of the needle.
I would like to note that it’s very important to keep your fabric tight and flat while doing punch needle projects, because if the fabric is loose, your thread might end up creating a bump in your final project, rather than allowing it to lay flat. Loose fabric would end up with you accidentally adding extra thread to one spot of the fabric, instead of having it evenly spread across your work.
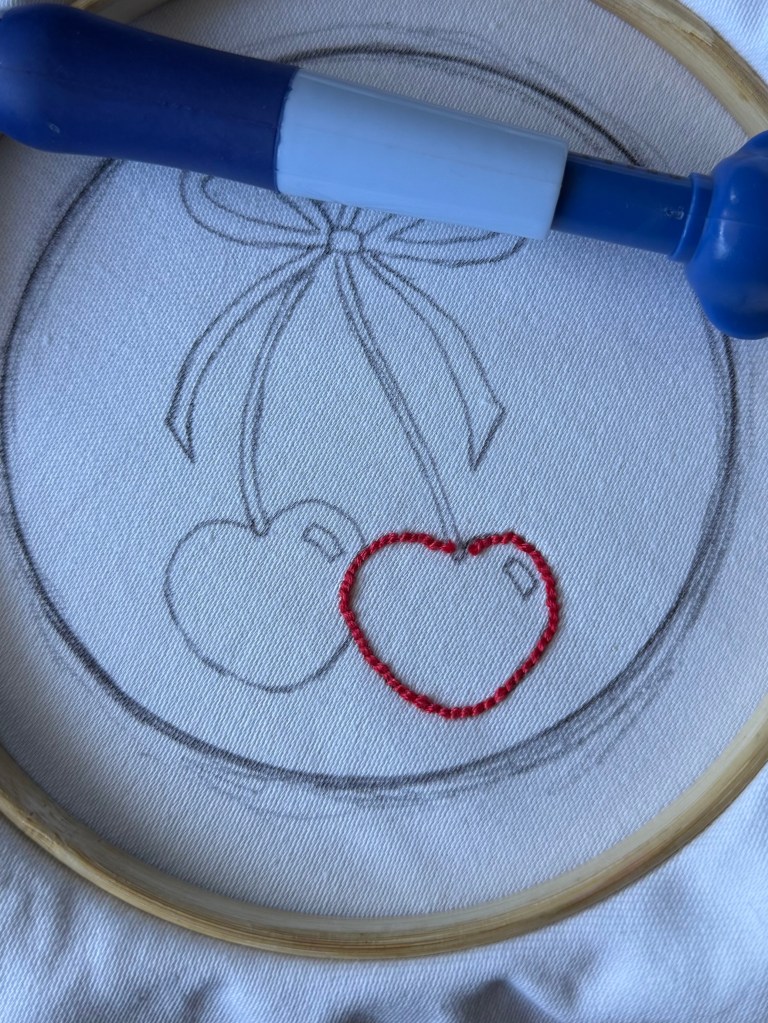
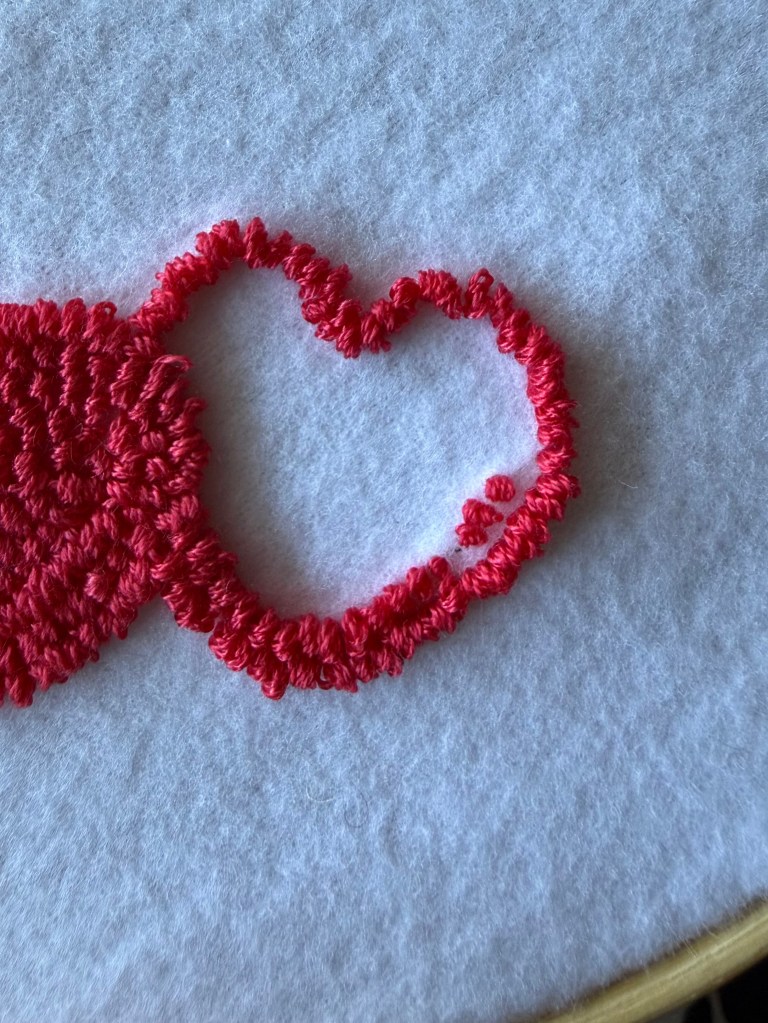
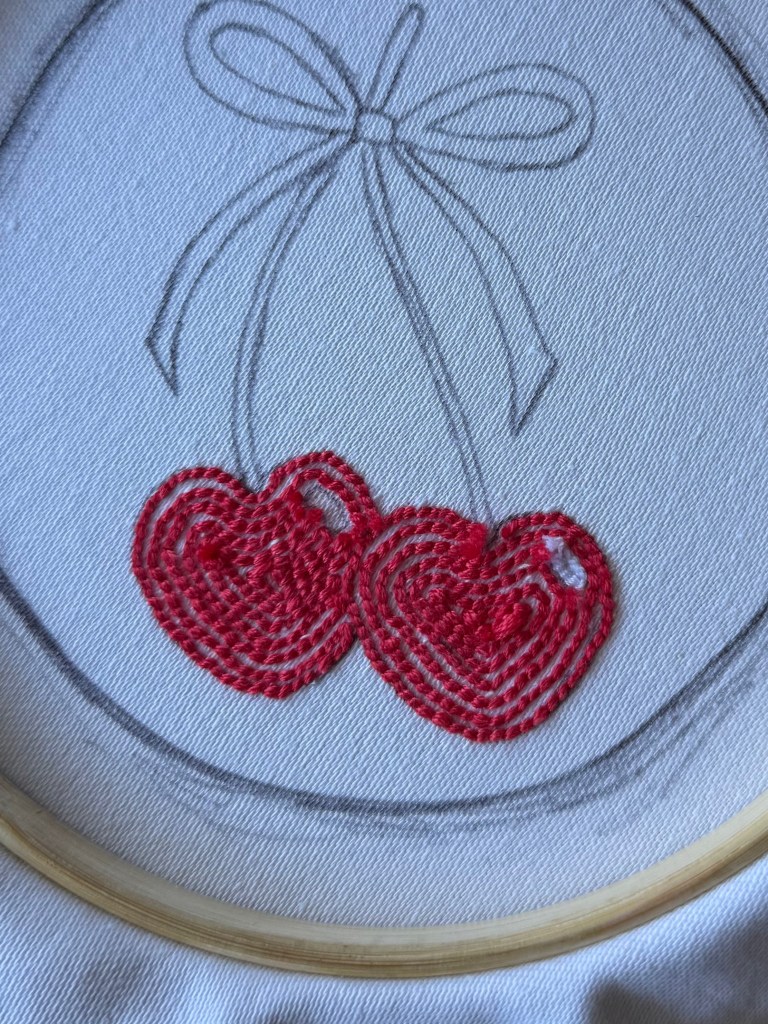
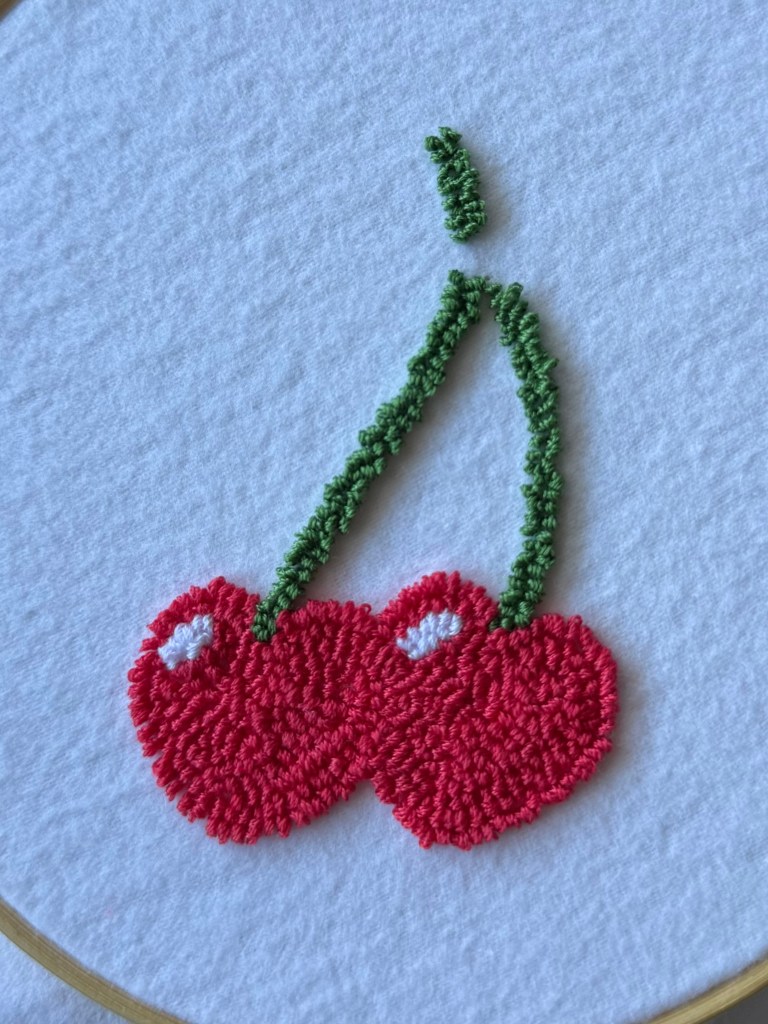
After pulling my fabric tighter again, I kept going around the cherry.. just remember to leave the open space for where the shine on the cherry will be (if you decided to include that in your design!).
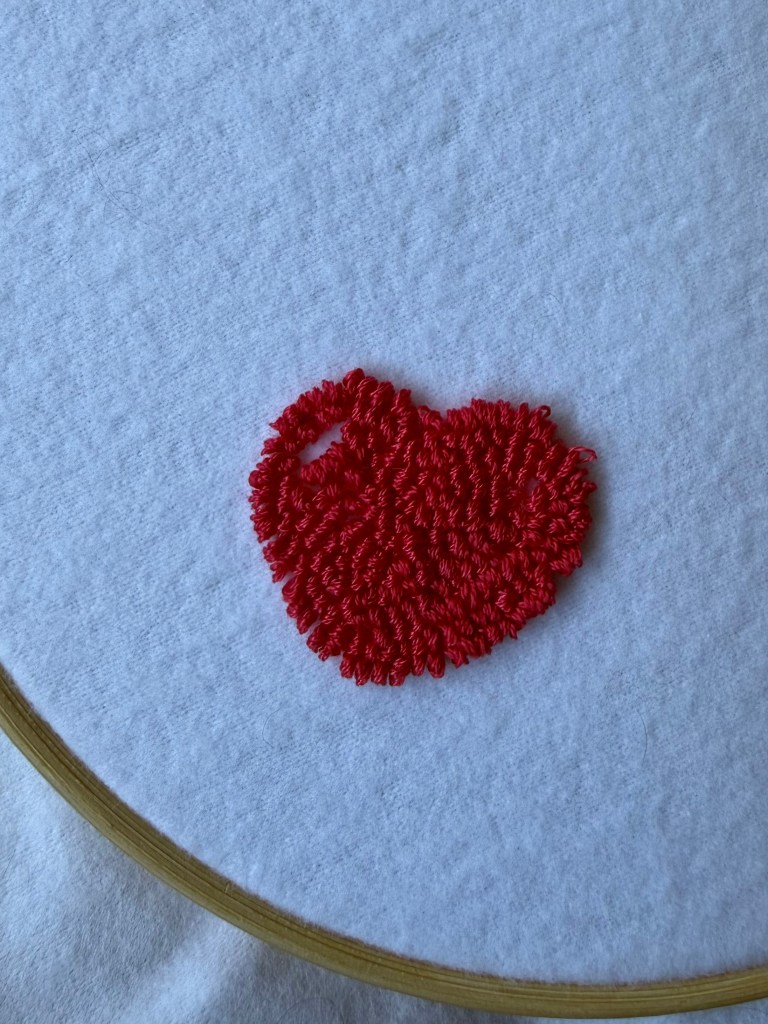
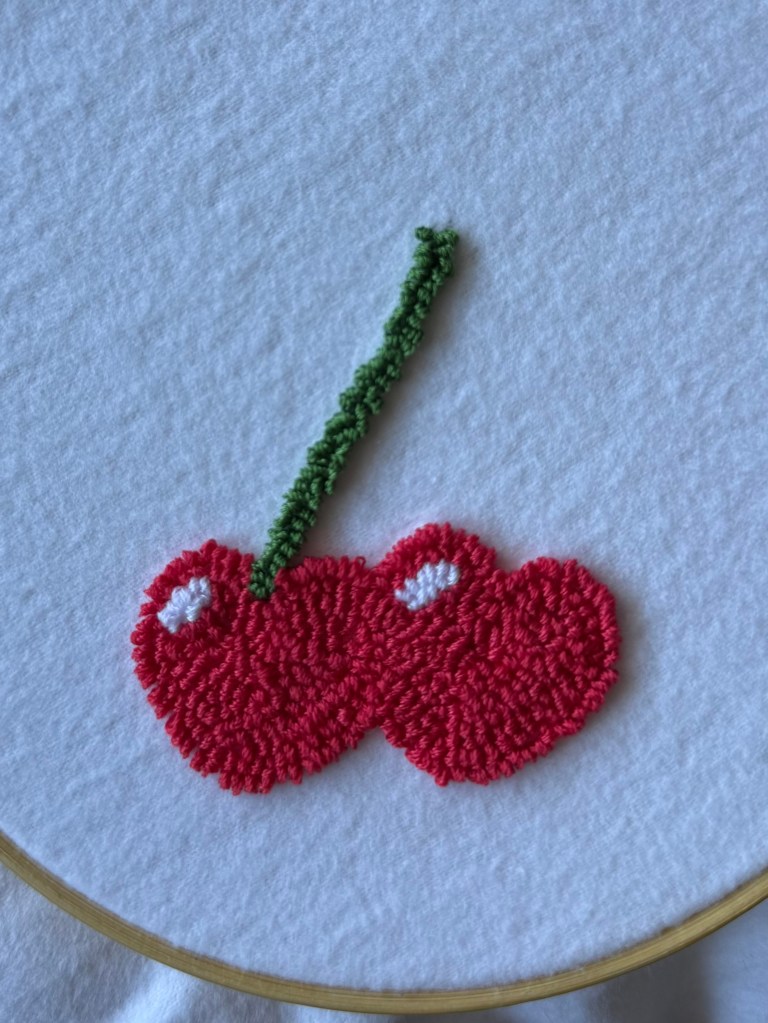
With the first cherry fully filled in, the other side of the fabric should look something like this:
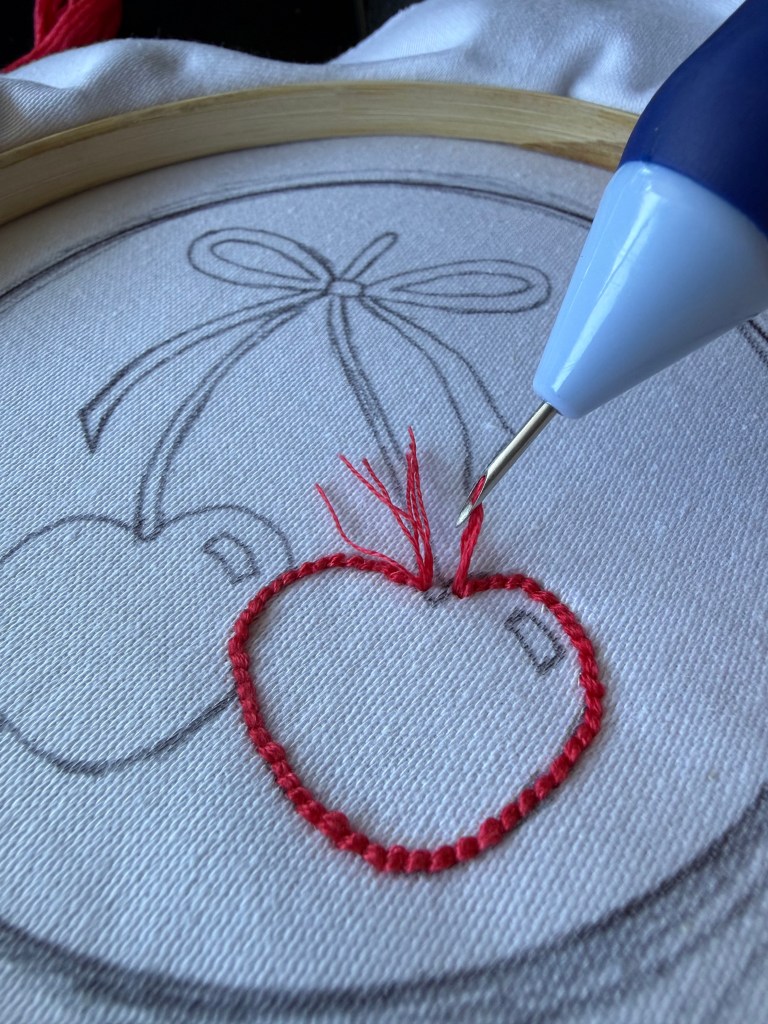
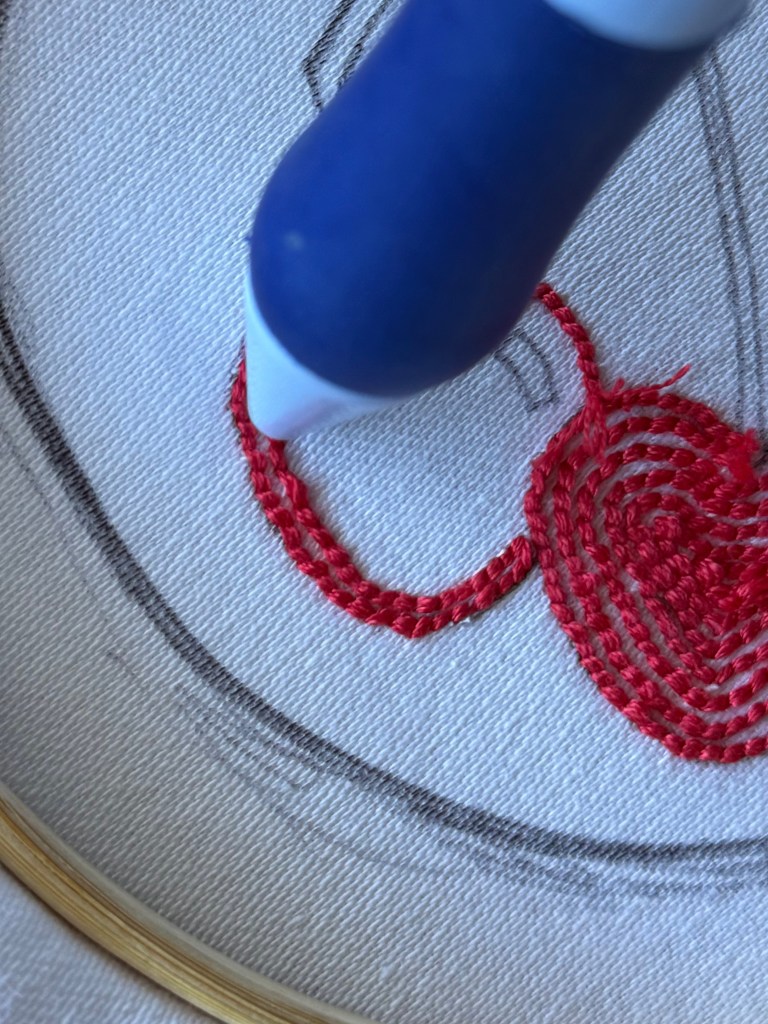
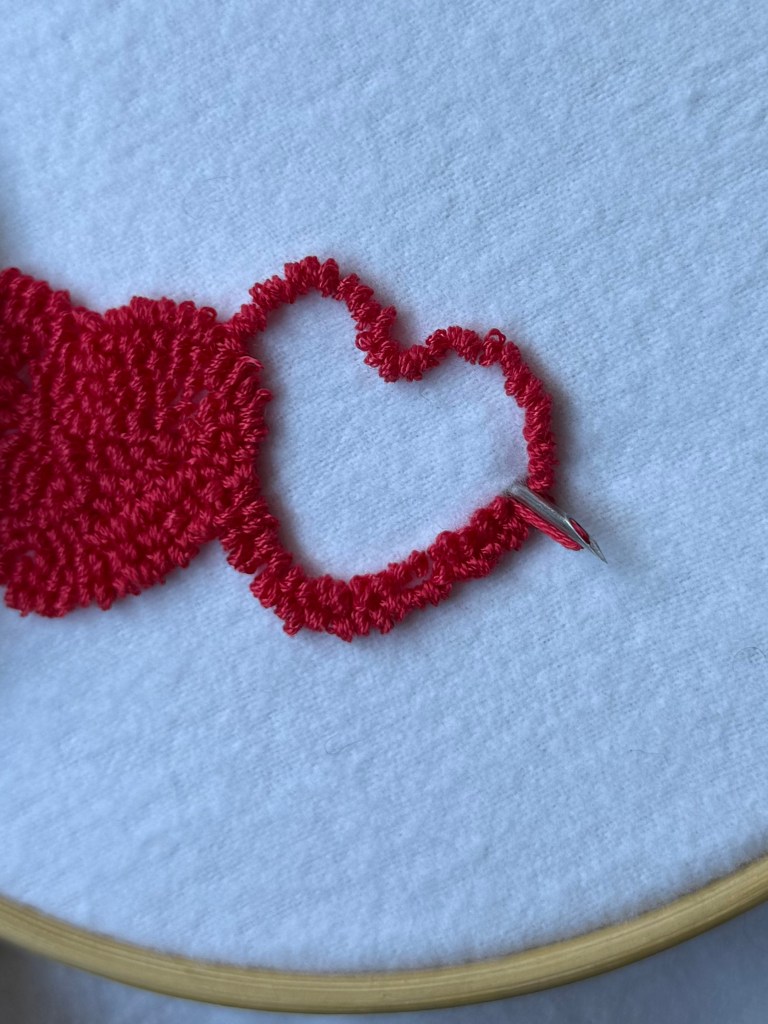
Now we can move on to filling in the second cherry. I recommend starting at the point where the two cherries meet, because as you stitch in a certain direction, the loops of fabric the needle creates will be facing that direction as well. By stitching away from the other cherry, the loops will end up facing different directions, making it more noticeable that these two cherries are separate.

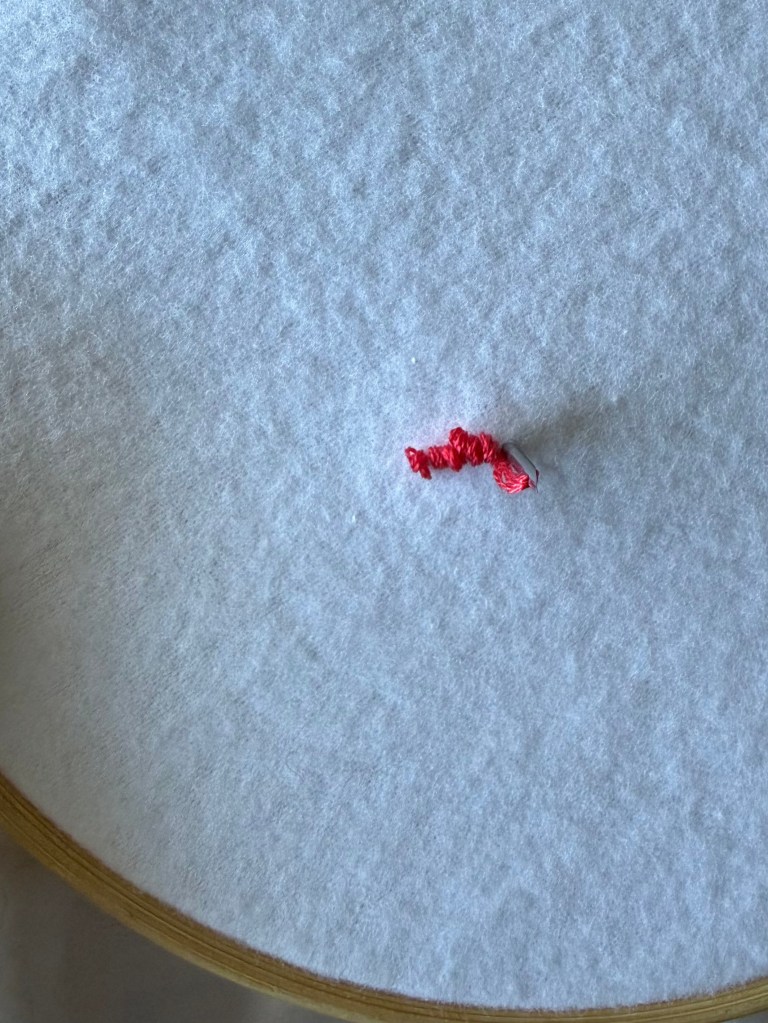
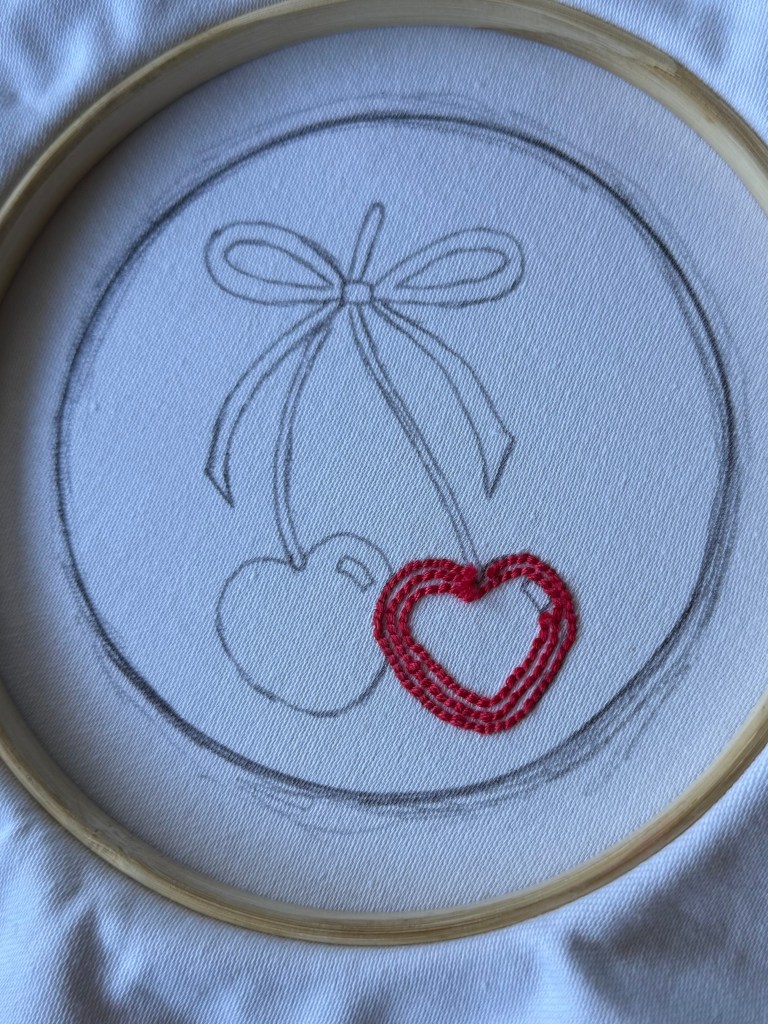
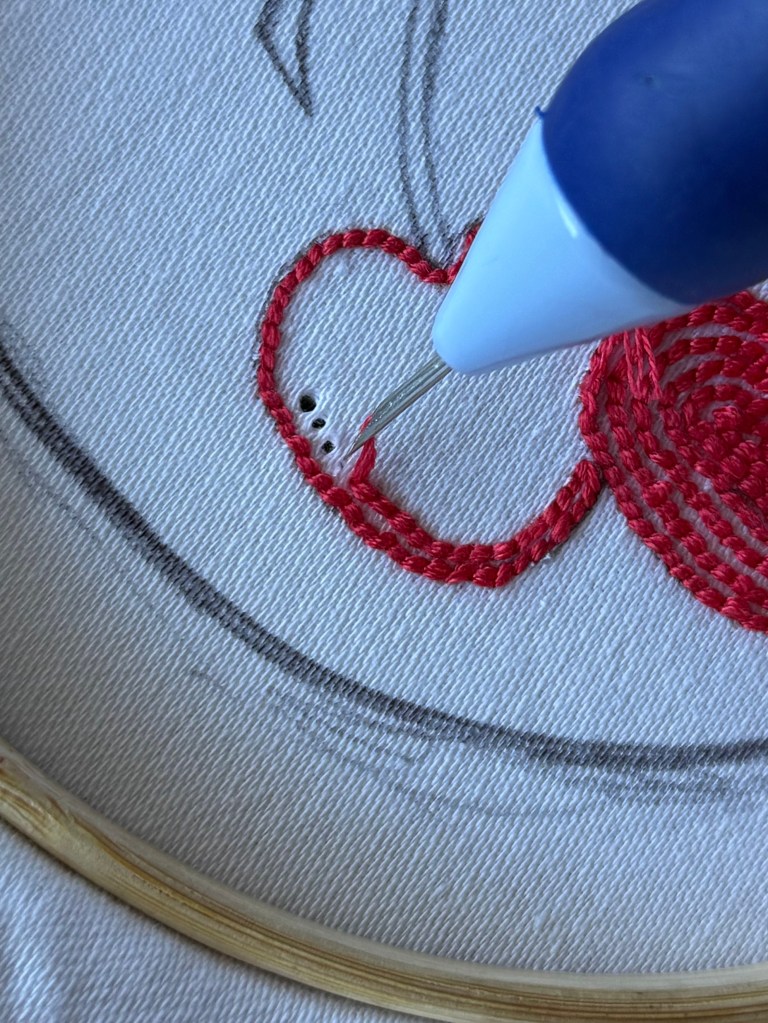
As I kept making my way around the second cherry, I noticed that my stitches looked a little looser. If at any point you notice that your stitches didn’t fully stay where you inserted the needle, check the other side of your fabric to see if it looks like this:
If it does, don’t worry, it’s a really simple fix. You can pull the thread right out of the fabric and back through your needle as if you hit an undo button, and go right back over it again. Don’t worry about the holes the needle leaves in the fabric; they close right back up when you go over the stitches the second time.

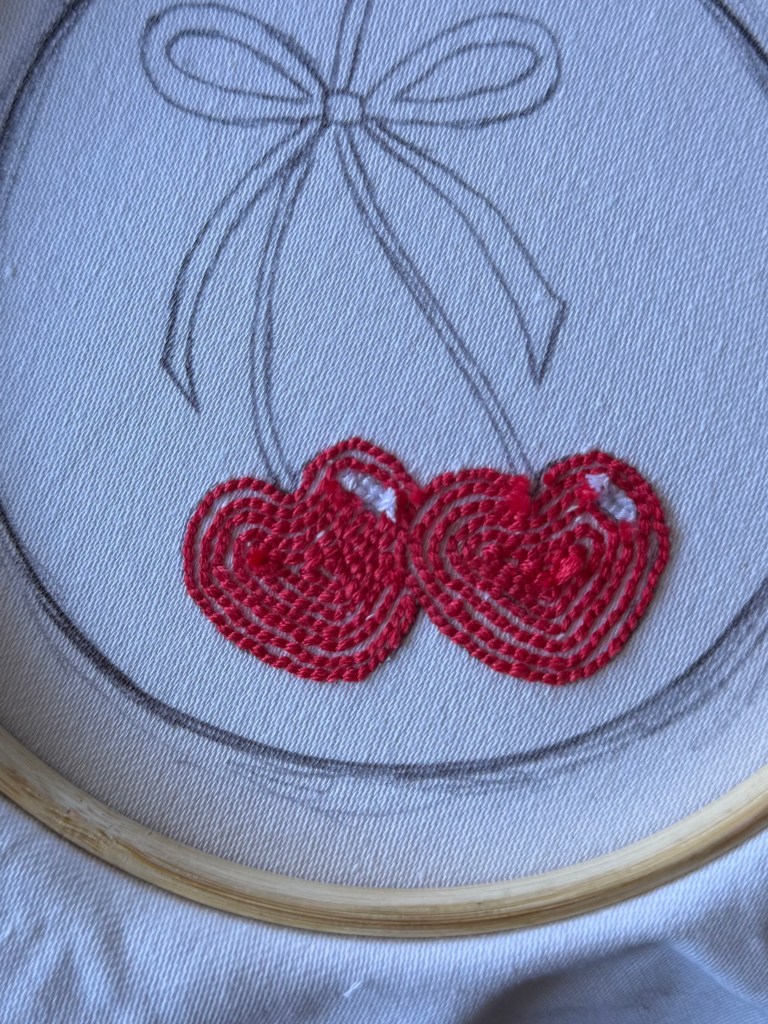
After finishing the stitches for the second cherry, let’s fill in the shine spots with the white thread.
Use the same process as before to insert the threader through the punch needle handle and pull your white thread through the needle. Then, go ahead and fill in the spots.
Next, take the white thread out of the needle and pull your green thread through. For the stems, I recommend starting your stitching where the stem and cherry meet, and working your way up. I went all the way up to where the stem meets the bow, and then stitched one row back to the cherry.
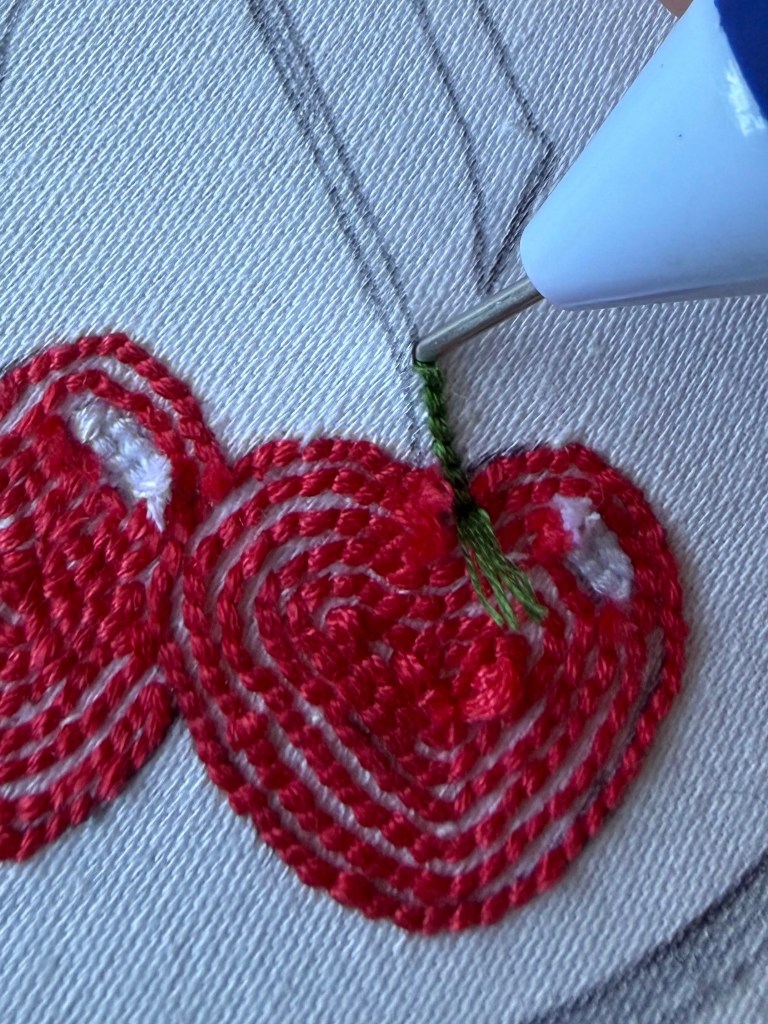
Repeat this process for the other stem, as well as the section of the stems above the bow.
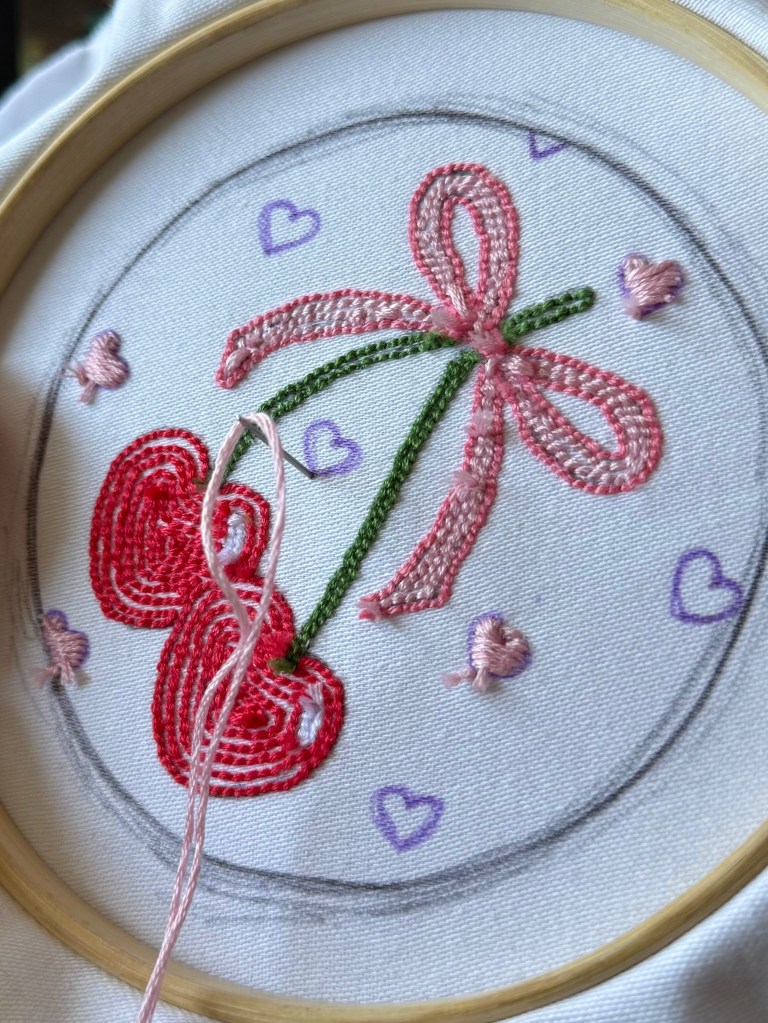
Next, take your darker pink thread and stitch along the outline of the bow. I ended up doing this in sections, cutting the thread and starting again often, since I like to leave open spaces for where a different color will fill in the design. I do it this way so that I don’t accidentally push a bit of the wrong color through the fabric while stitching that section later.
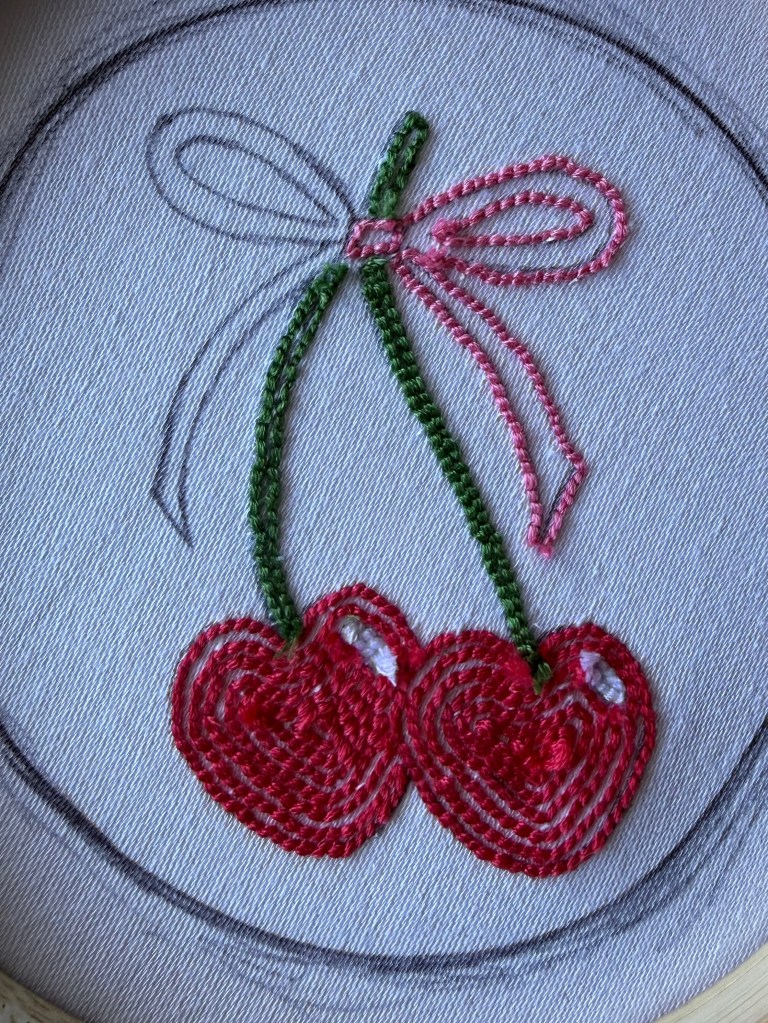
After completing the outline of the bow, switch over to your lighter pink thread to fill in the rest of the bow. I also did this in sections because I found it easier to do that, but if you’d like to do it all at once, that’s okay too!
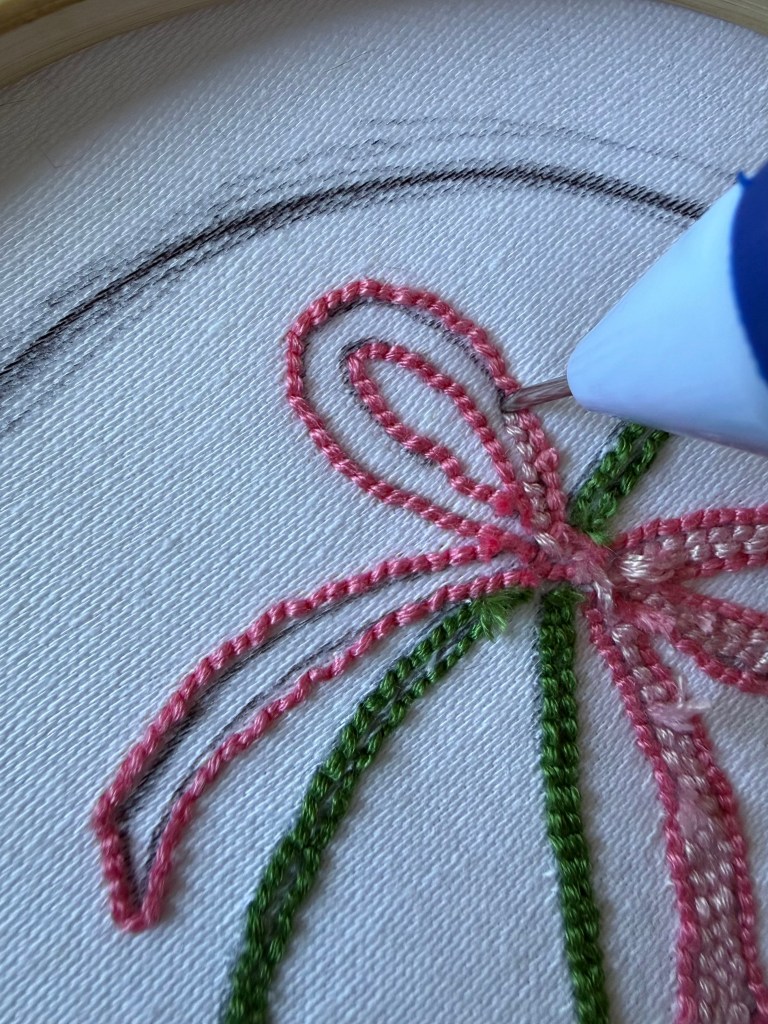
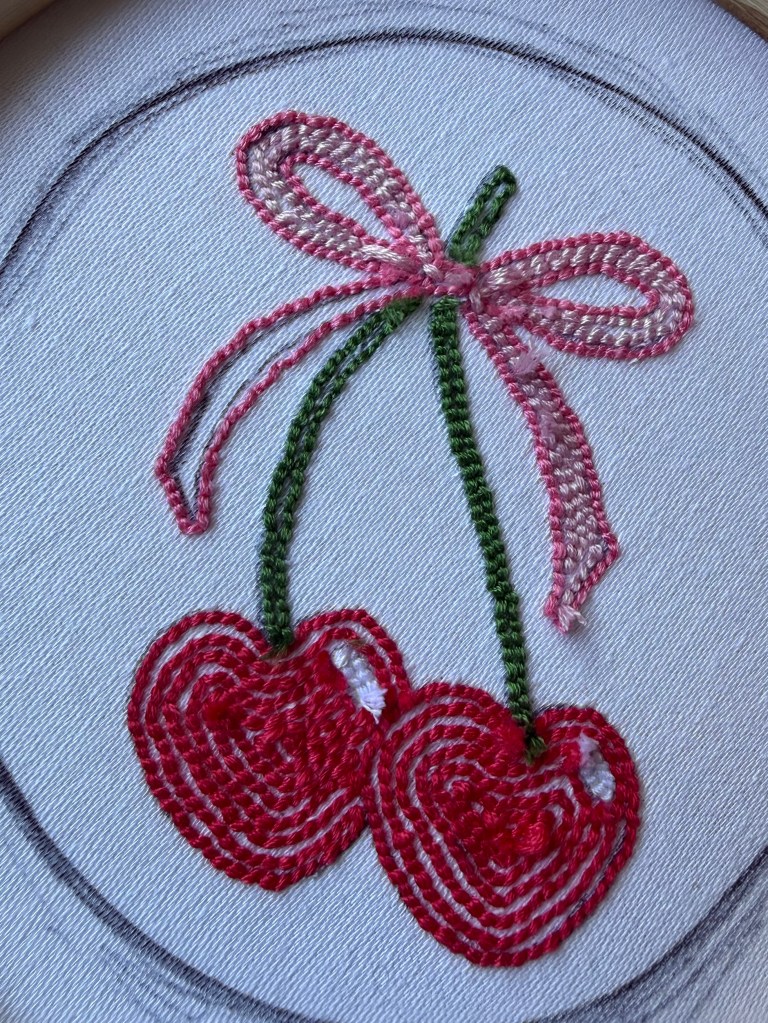
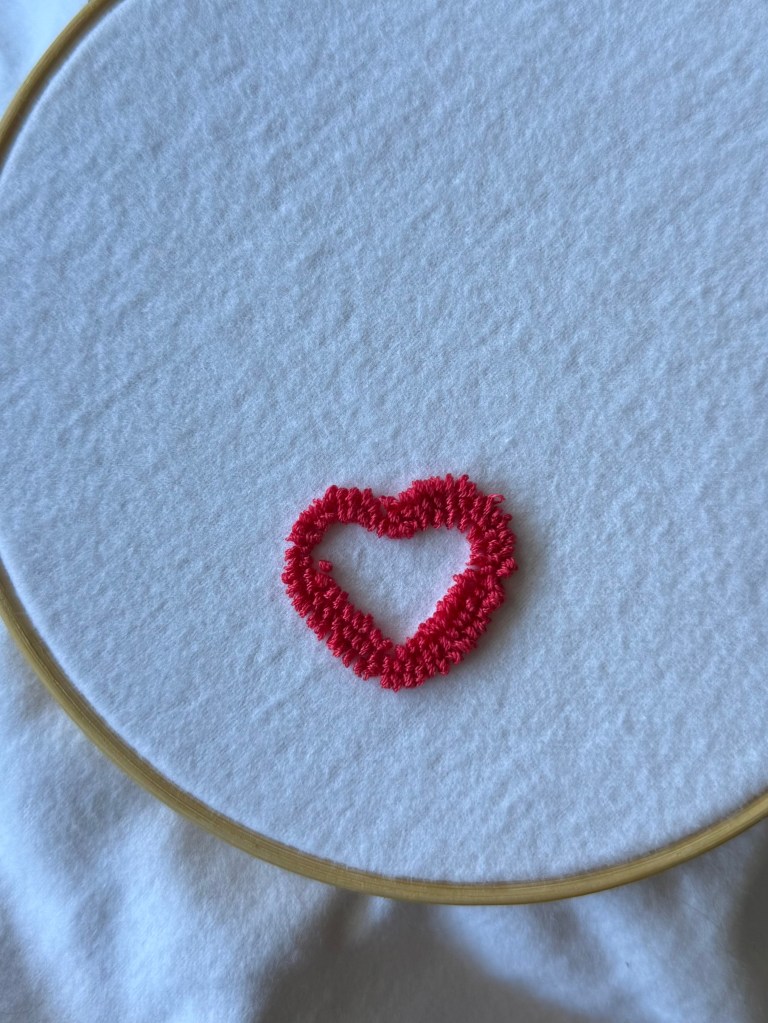
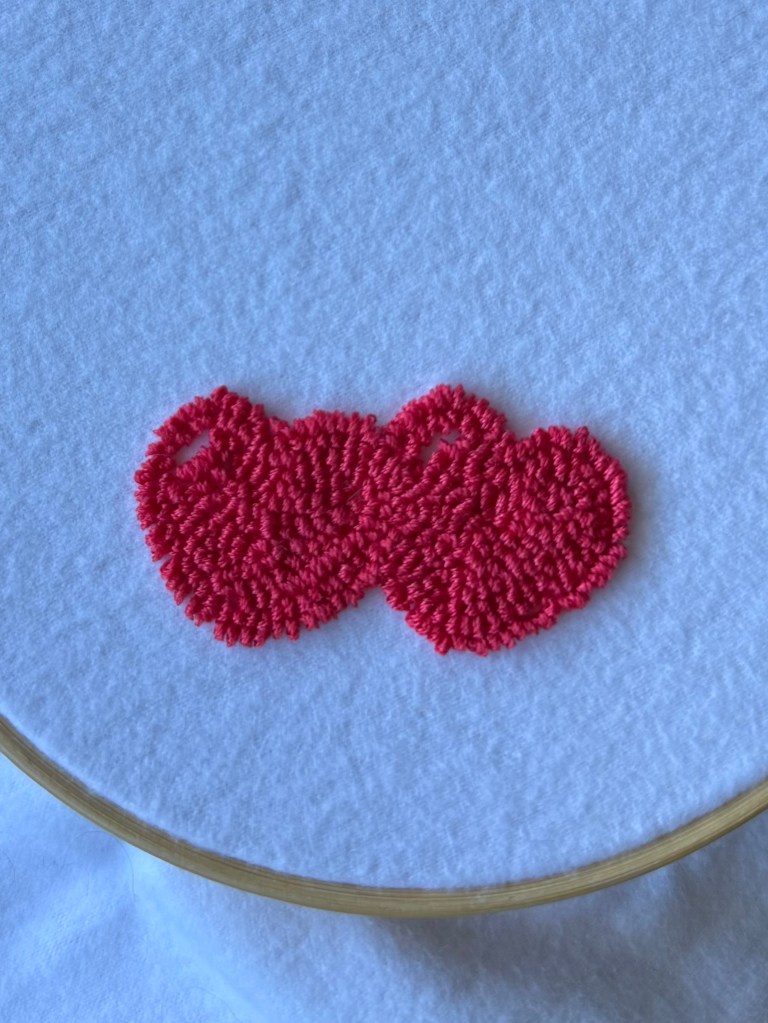
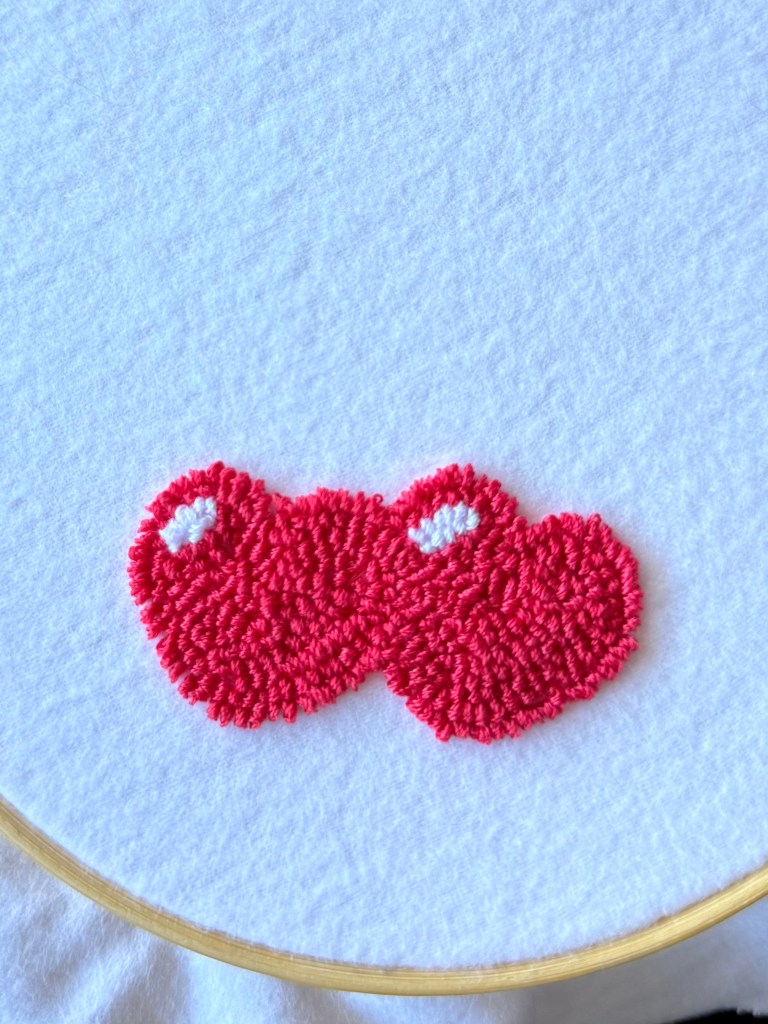
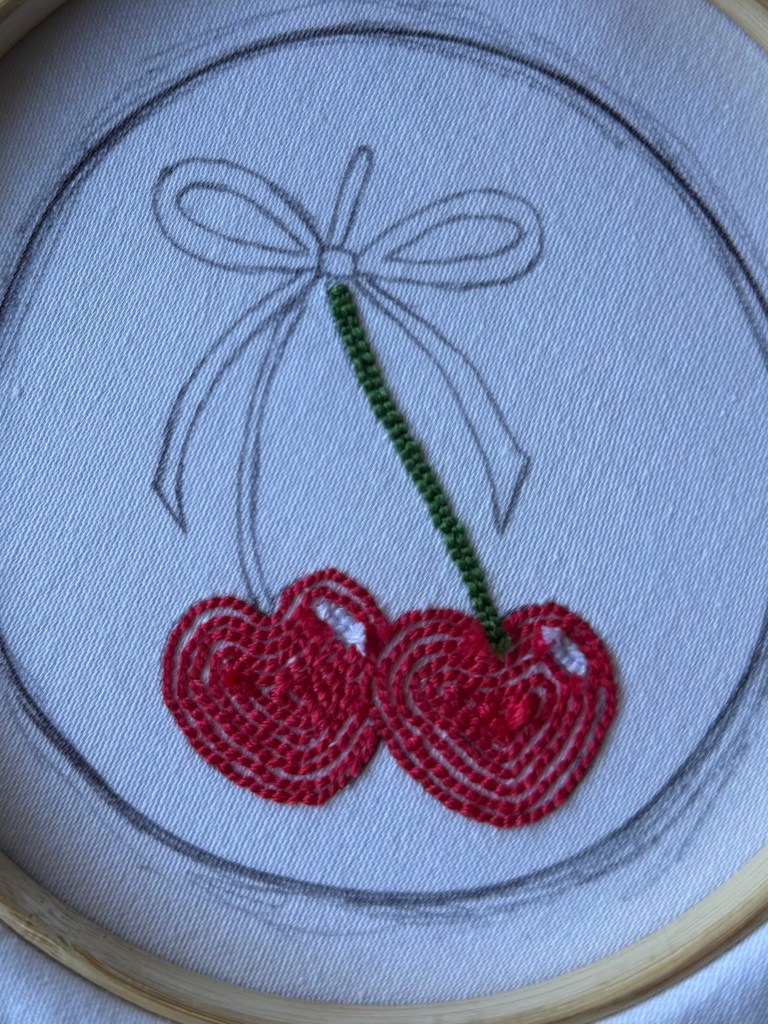
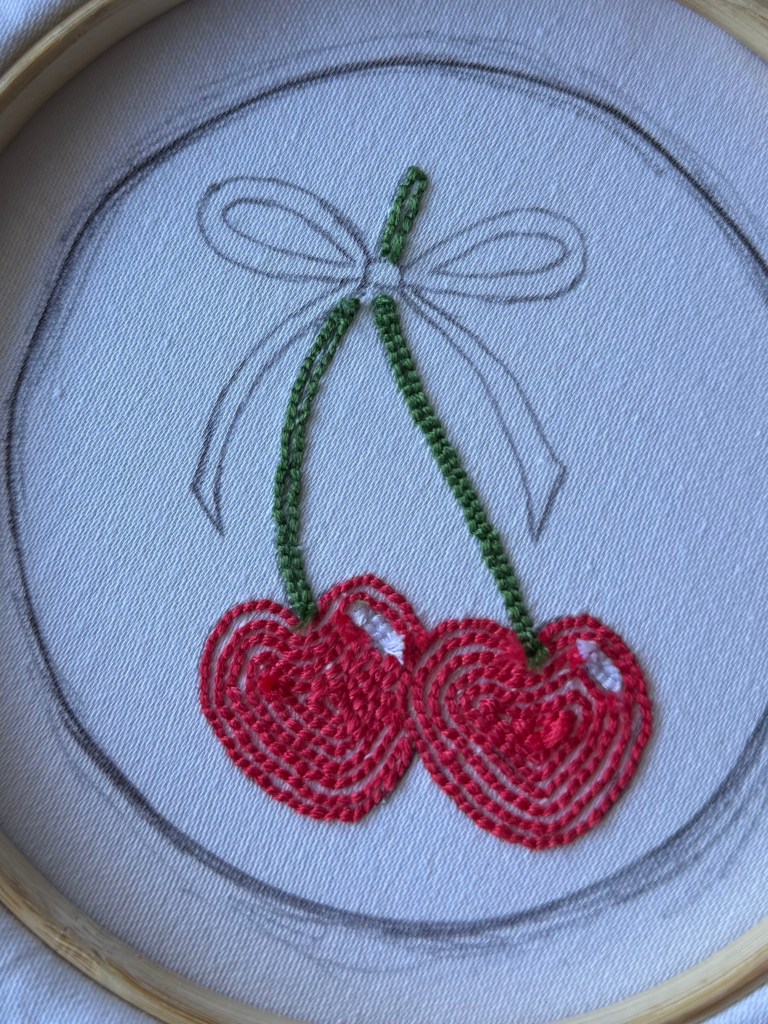
Now, your work should look something like this:
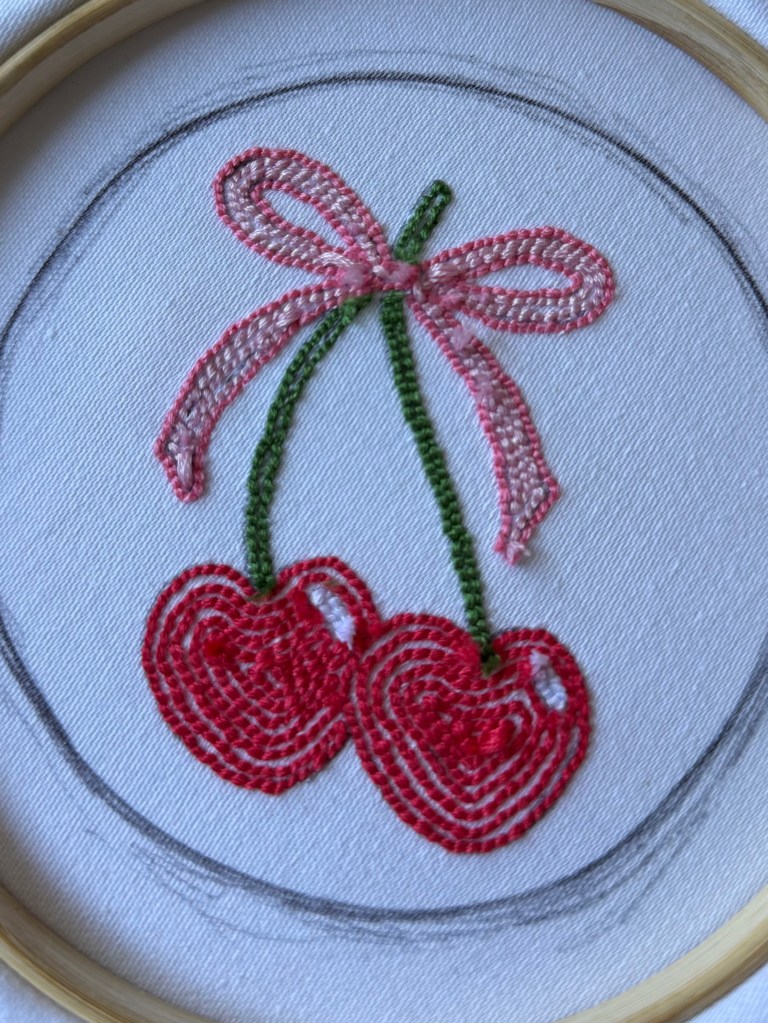
At this point in the project, I changed my mind a little on how I wanted the front to look. Originally, I was going to fill in the rest of the coaster with a cream color, but I really like the look of having some of the bare fabric surrounding the punch needle stitching, so.. I decided to leave the cherries as is, and embroider some mini hearts around them.
You could choose to skip the hearts, leaving just the cherries, fill in the rest with a different color, or follow the hearts. It’s all up to you and how you want your coaster to look 🙂
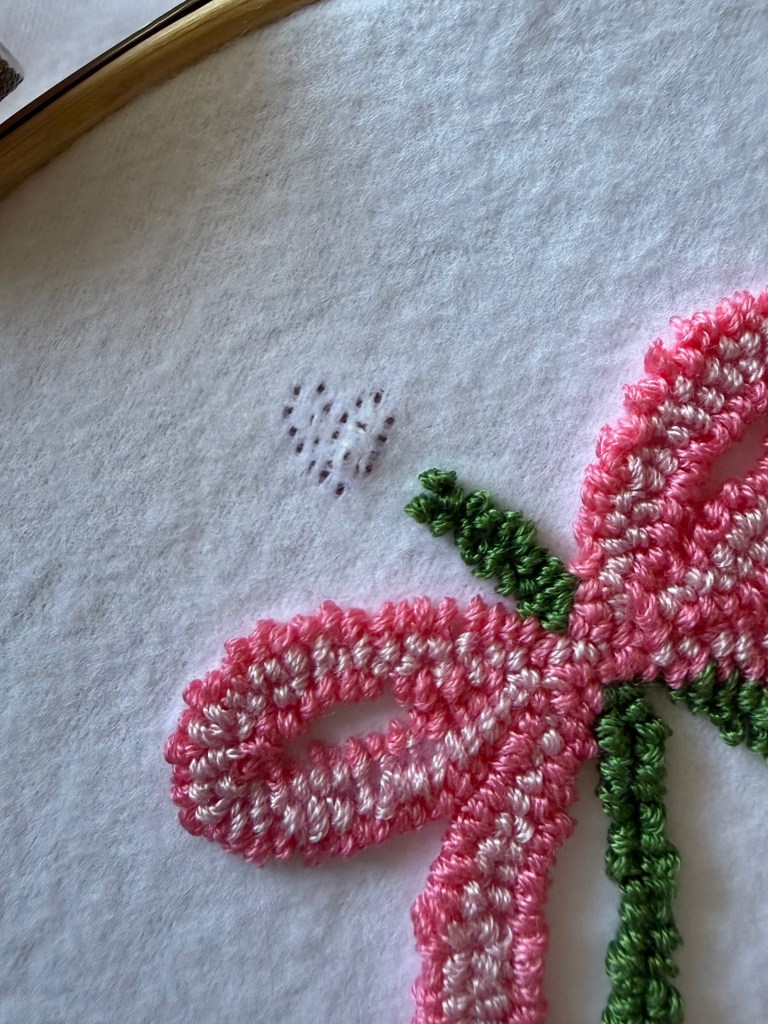
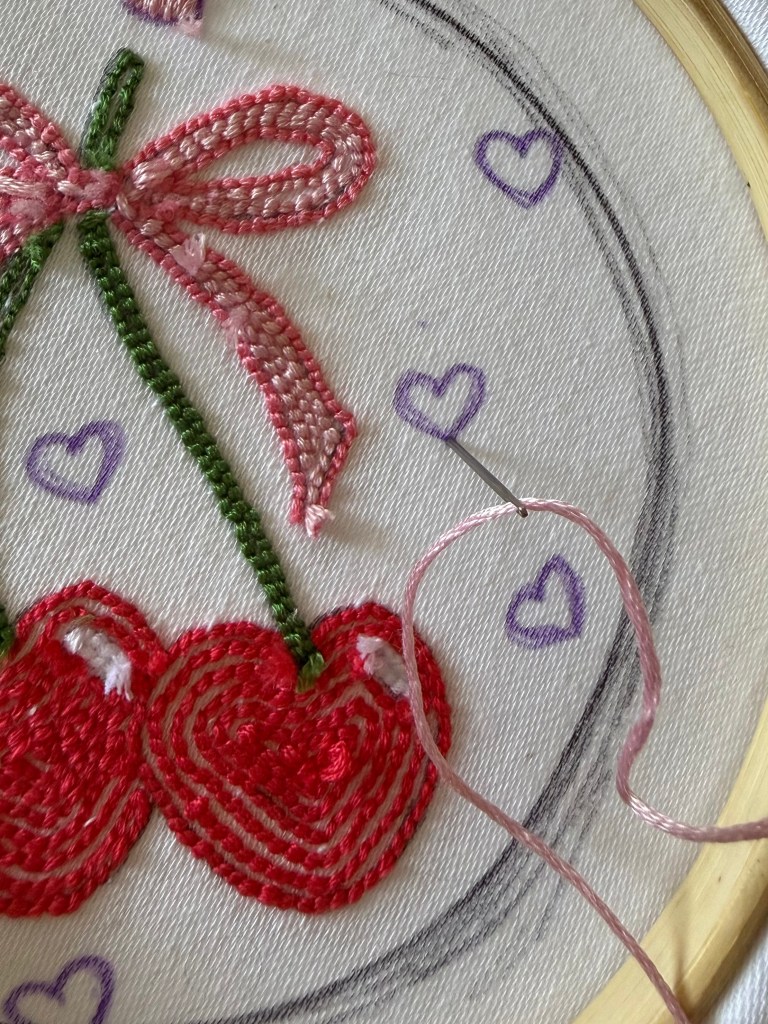
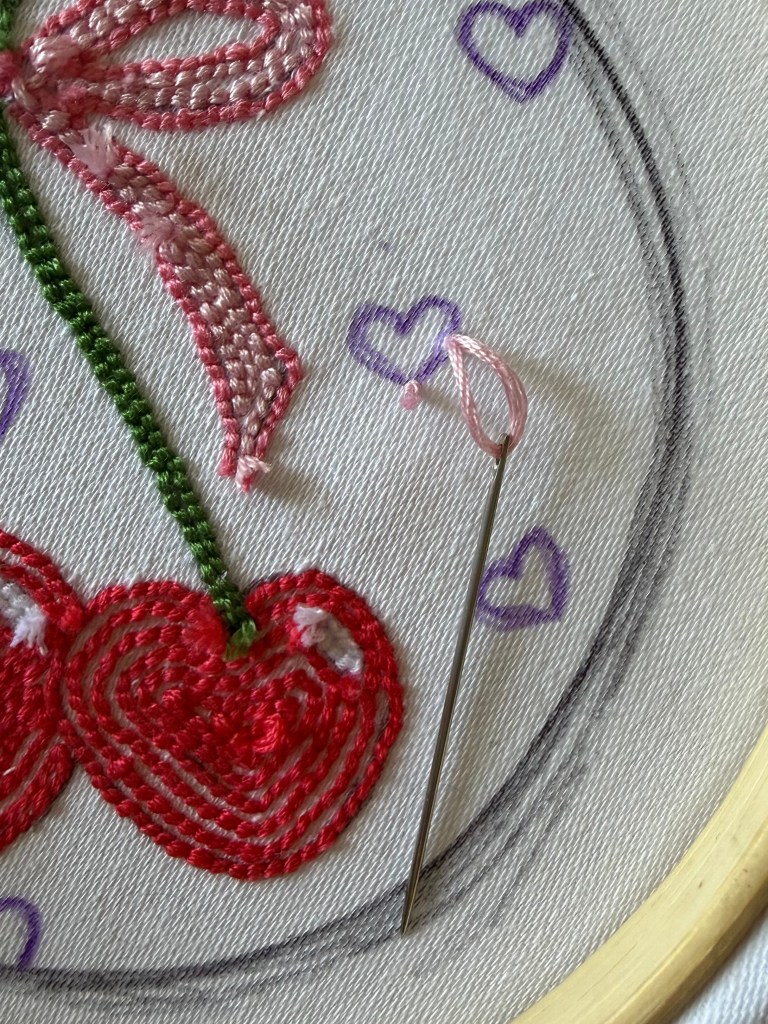
For the design, I drew some scattered hearts around the cherries, and switched to my sewing/embroidery needle to finish the project. I thought about making the hearts also be punch needle, but I didn’t fully like how they looked with them being so small. I ended up taking out that thread, and embroidering over the holes the punch needle attempt left behind.
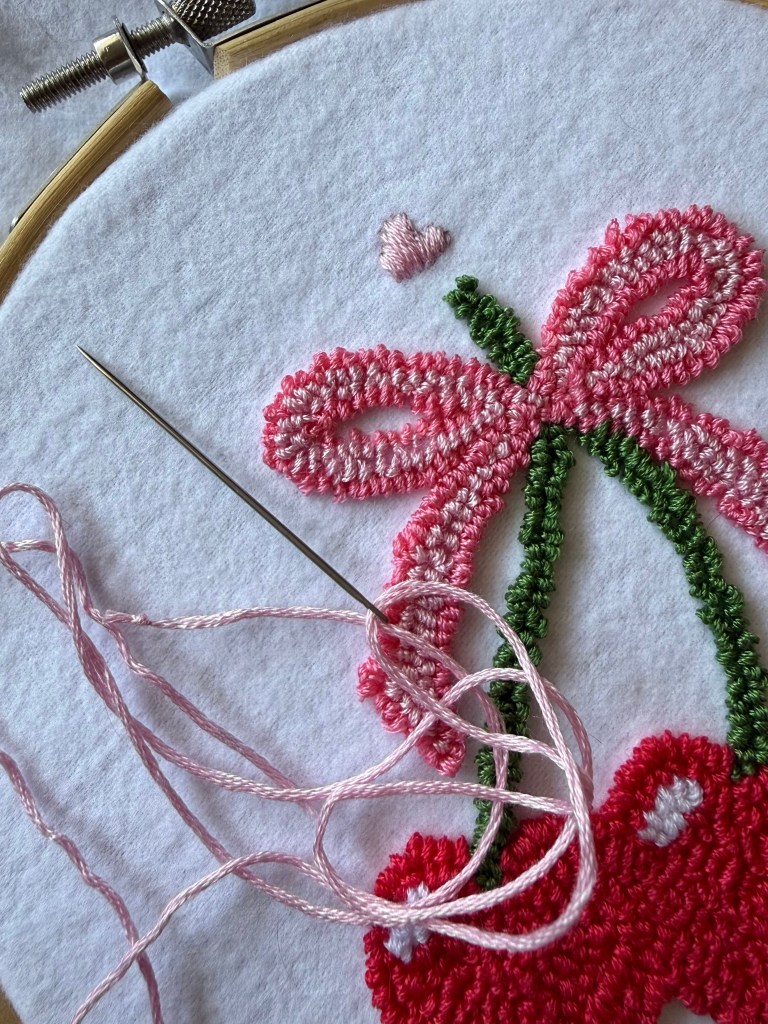
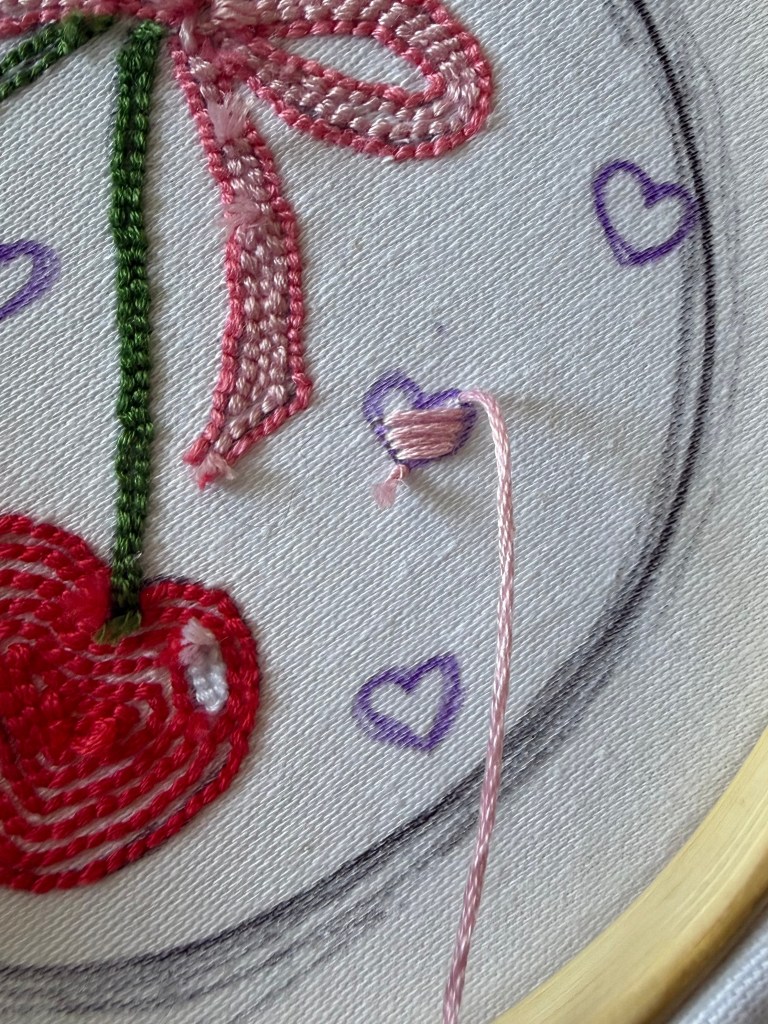
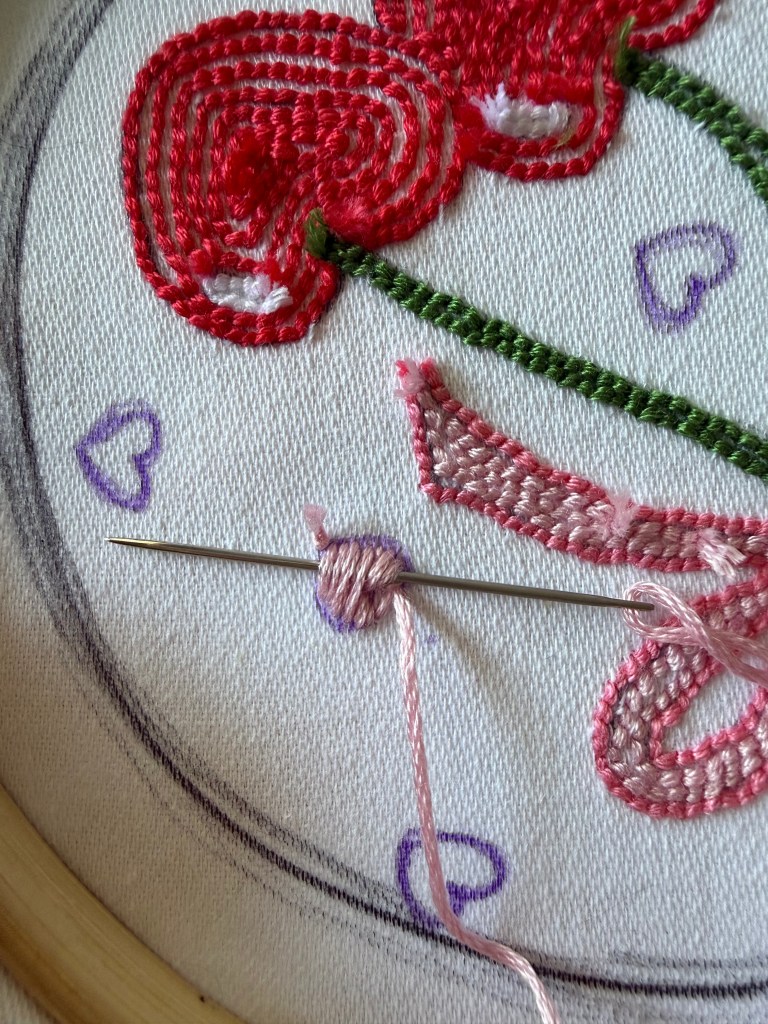
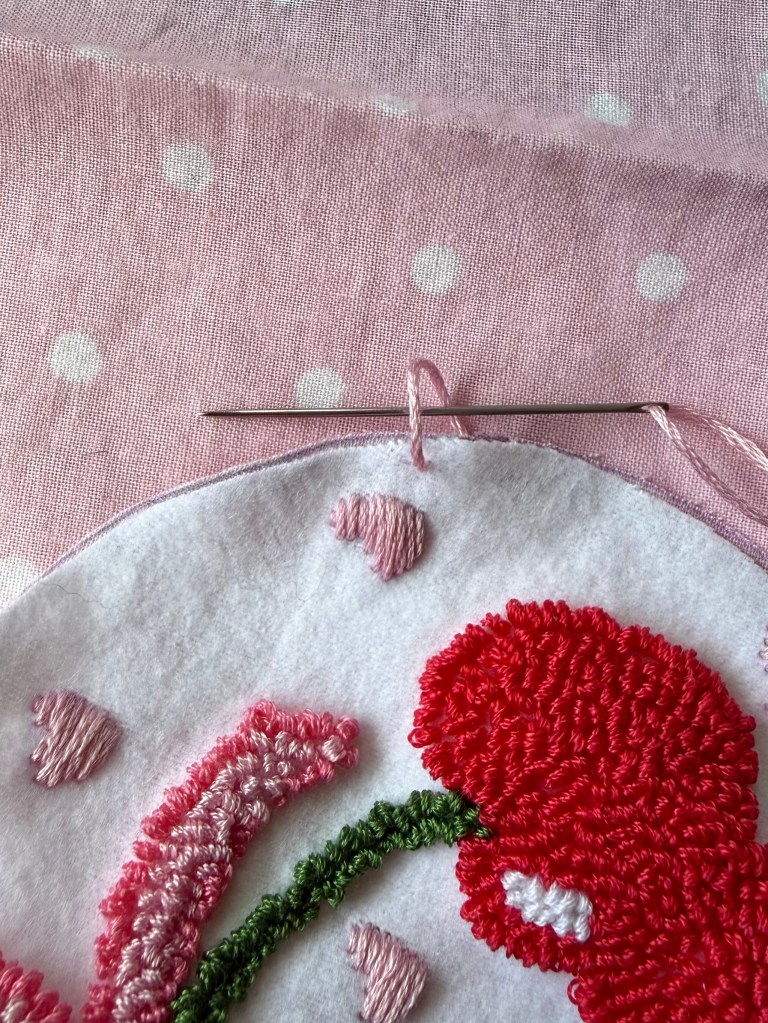
For these hearts, I tried a style of embroidery I’ve never really done before. (What can I say, I love to make things up as I go!!) I inserted the needle at the base of the heart, pulled it through, and came back up along the side of the heart. I kept doing this, scooting over a little each time, filling in the hearts with lines. To fasten off each heart, I pulled the extra thread through the back of the heart. They’re not the most perfect shape, but I think they’re cute like this anyways, so I kept going.
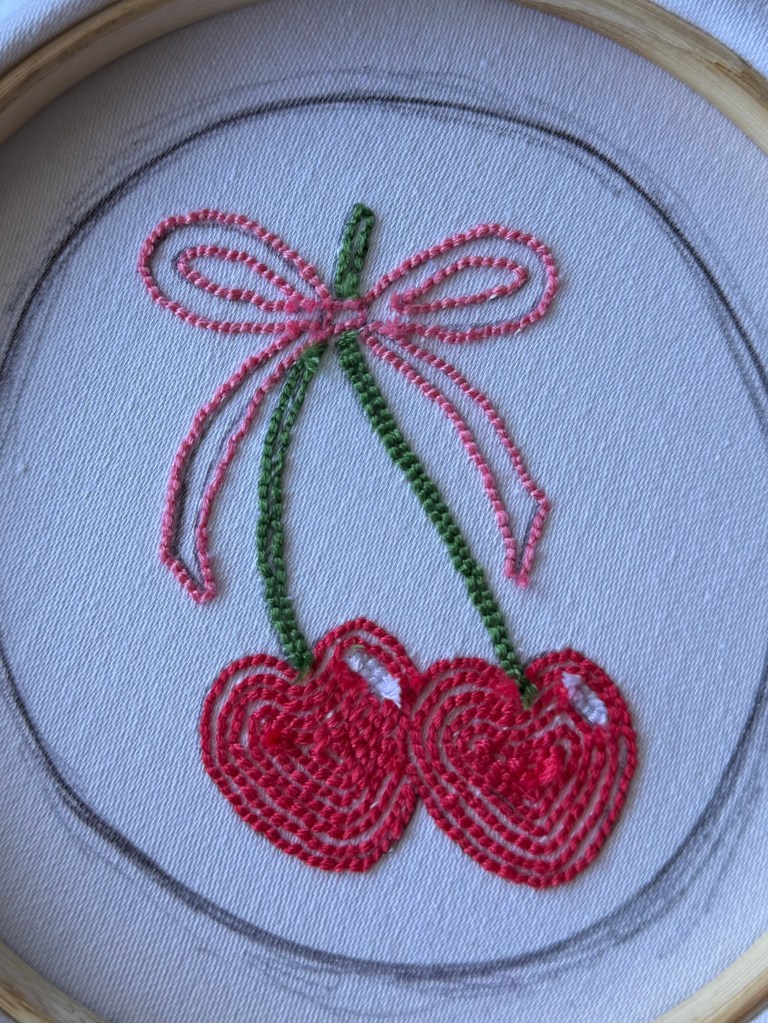
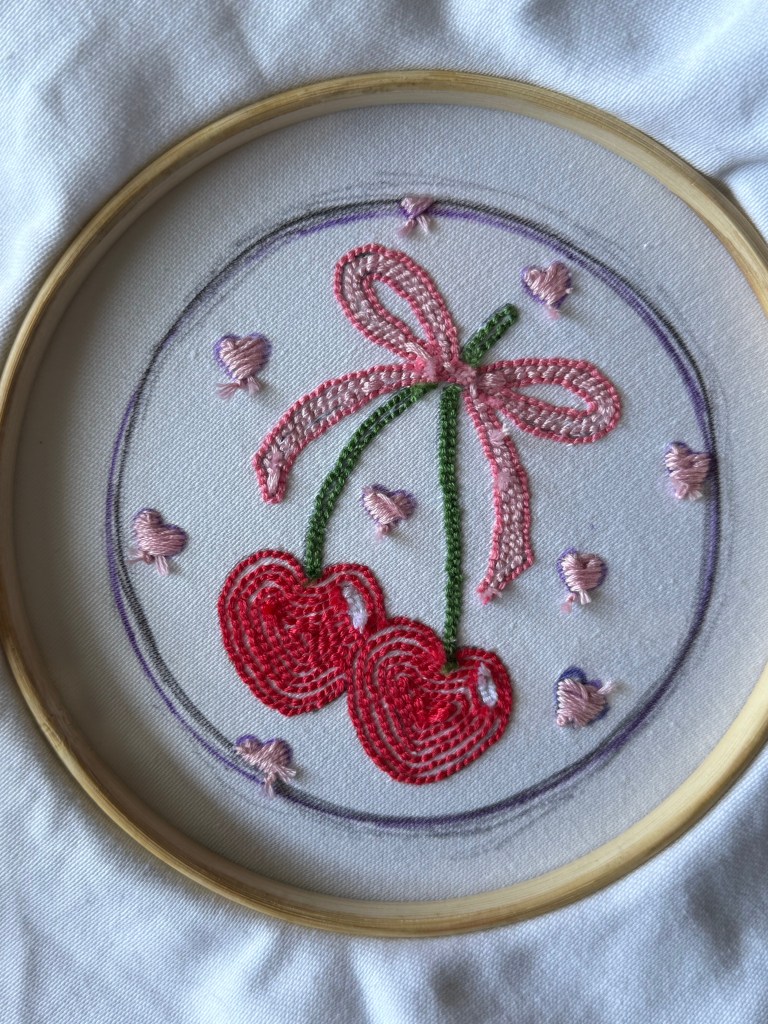
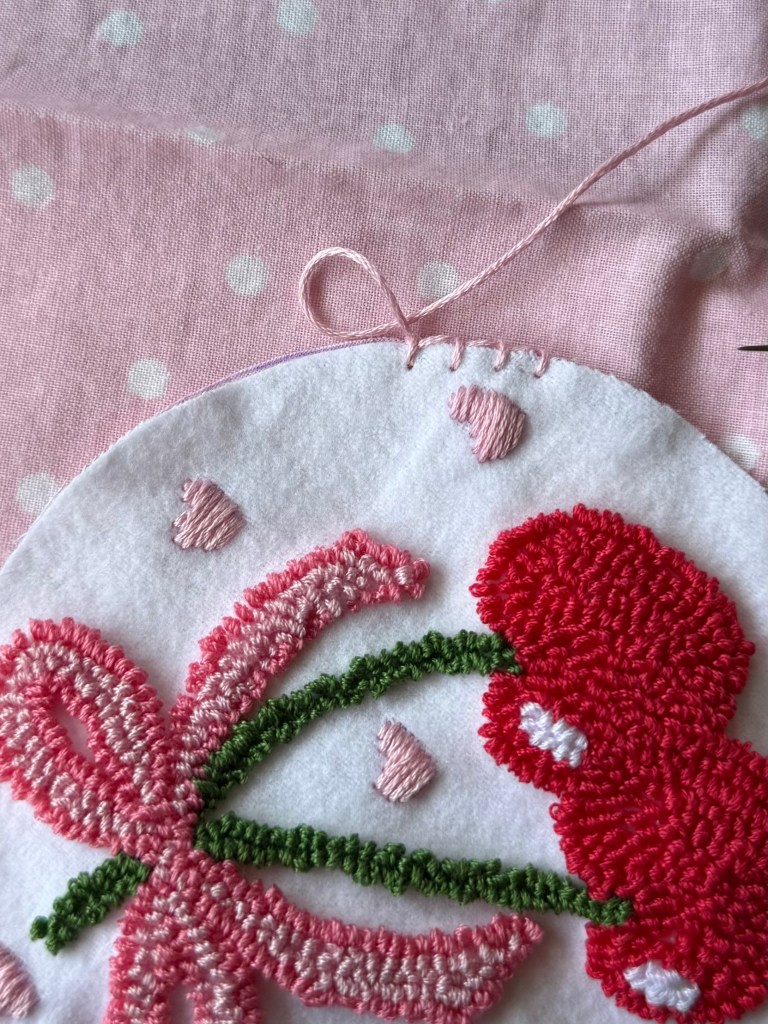
Once I filled in each of the hearts, I was ready to cut out the coaster. BUT!! As I kept stopping earlier to pull the fabric tighter in the hoop, the circle I drew for my outline kept getting a little distorted. I had to realign the smaller hoop I used for the circle size, and re-trace it. I used a different color to make it clear which line I needed to follow as I cut it out, and then traced that same size onto the pink fabric I used as my backing.
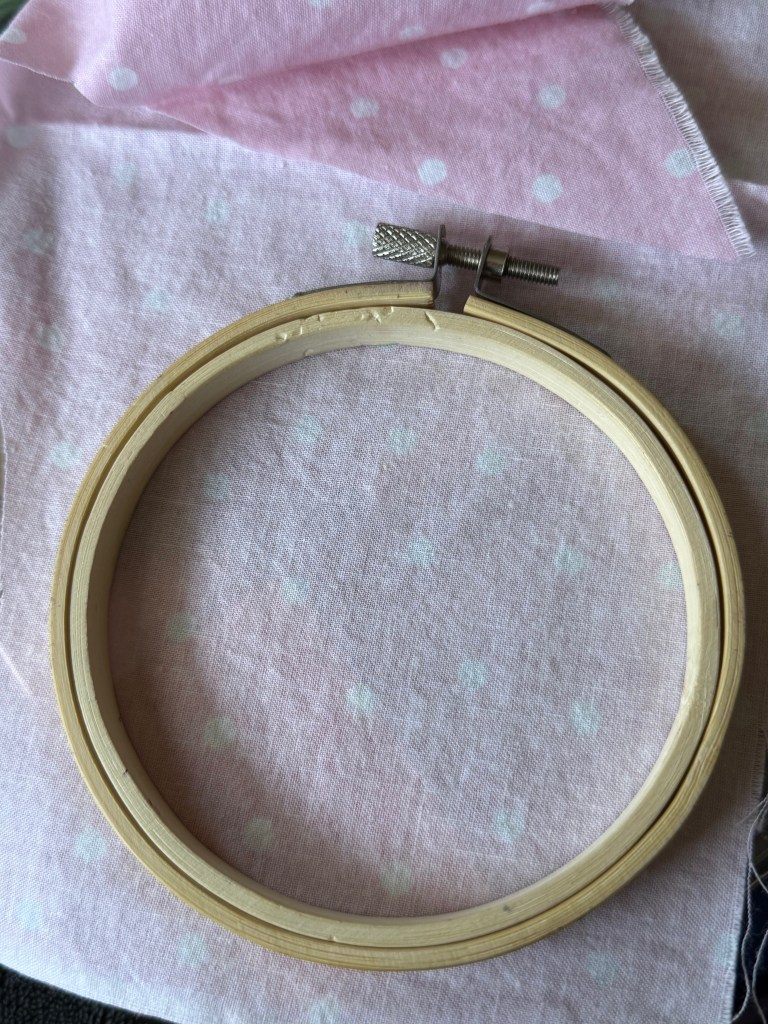
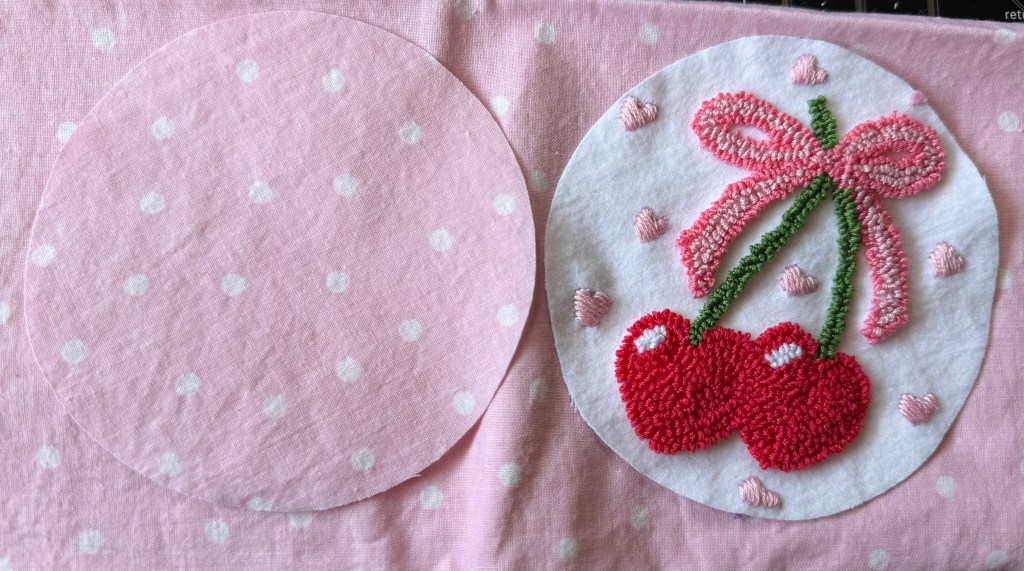
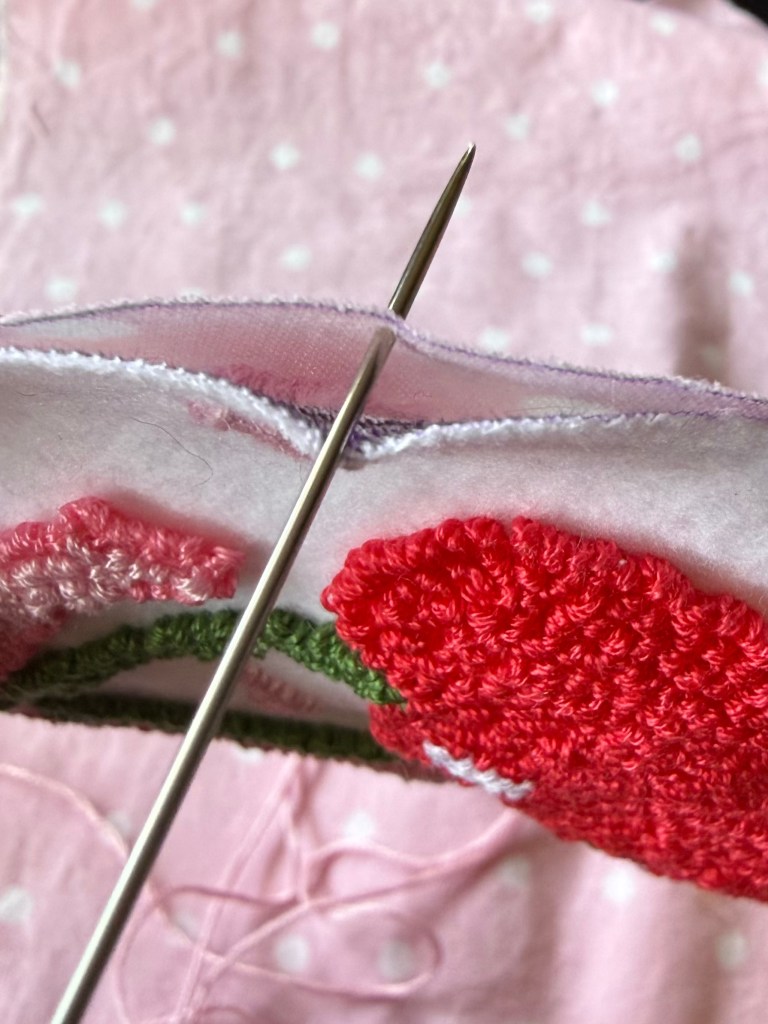
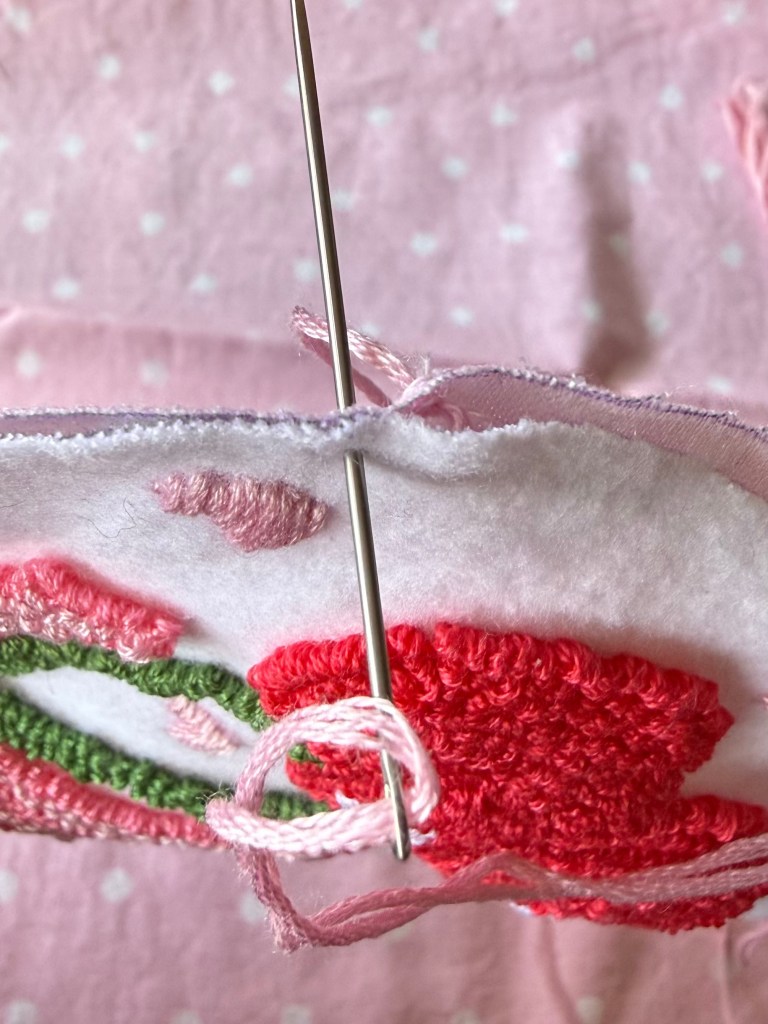
After cutting out the circles, line them up back to back with both pattern sides facing out. To stitch them together, I chose to do a blanket stitch all the way around. What that means is taking your needle, knotting the end of the thread, and first inserting it through the back fabric only. Pull it through, and insert your needle into the front fabric, pulling it through both layers. However, before pulling it all the way through, leave a small loop to put the needle through. Now, pull the thread tight until it forms a small knot, pulling in the direction you’re headed around the border. Then, insert your needle once more through both layers of the fabric, and keep that pattern going.
Once you make it all the way around the border of your coaster, tie a knot to finish off the stitching, and cut off any remaining thread.
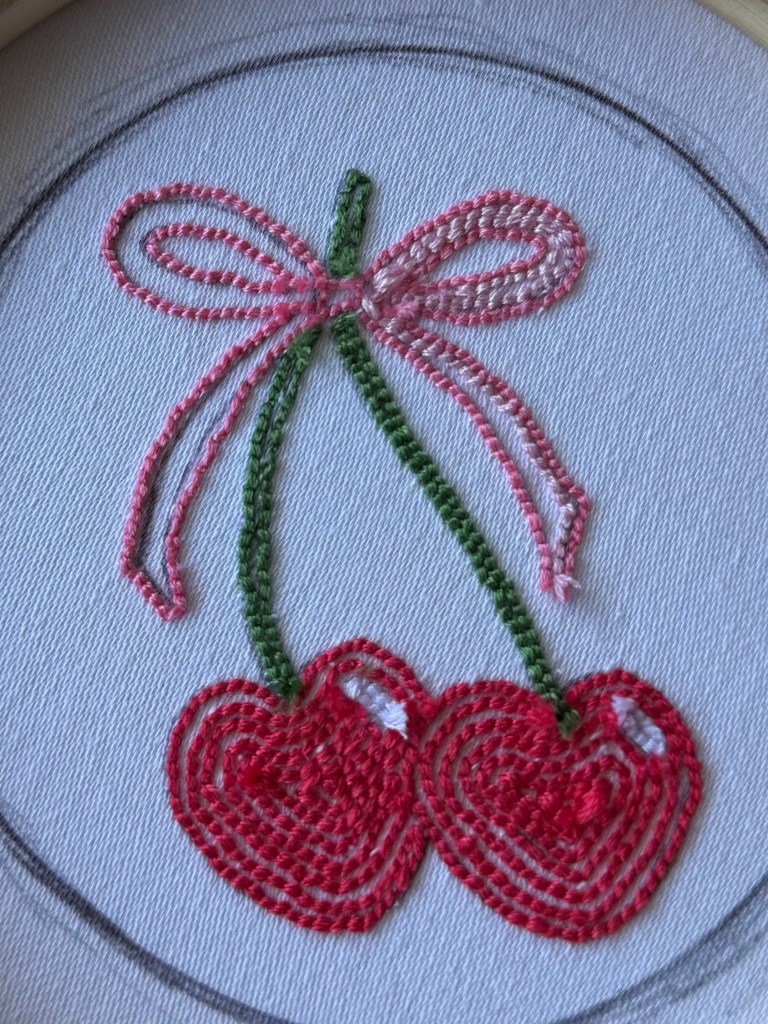
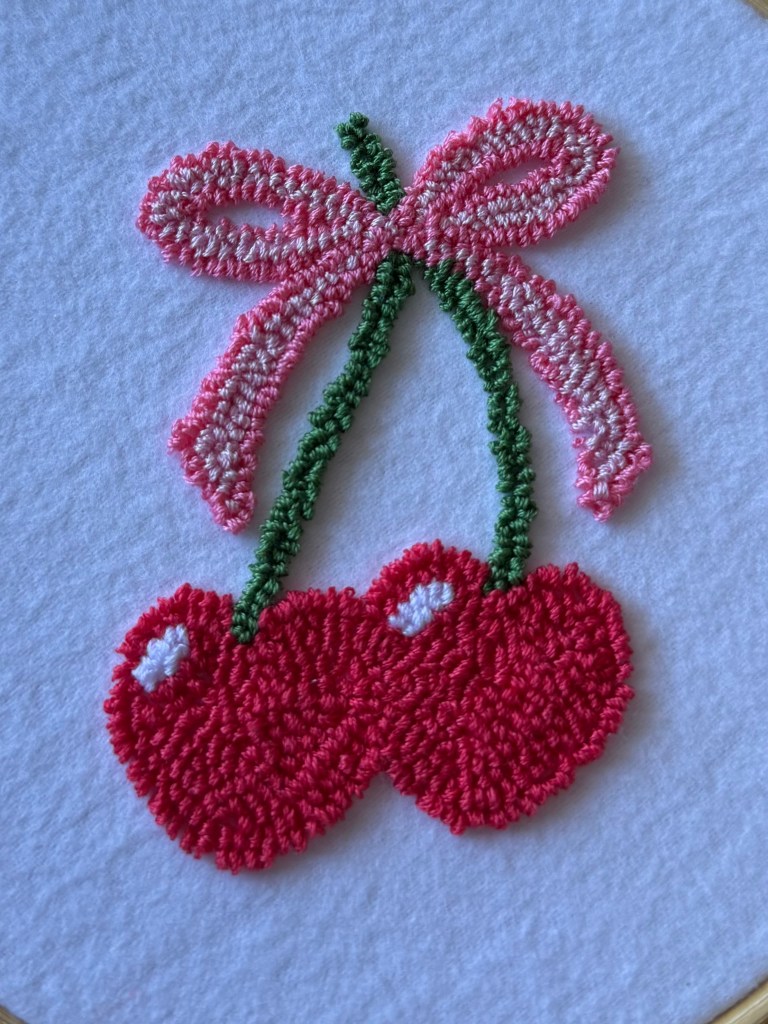
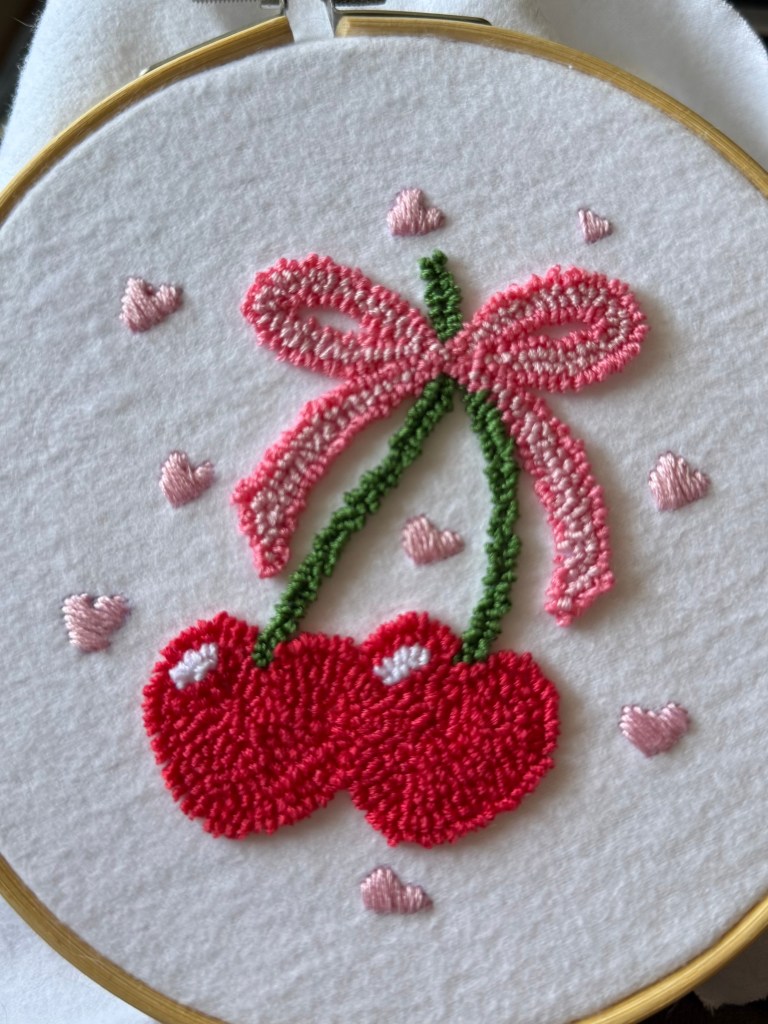
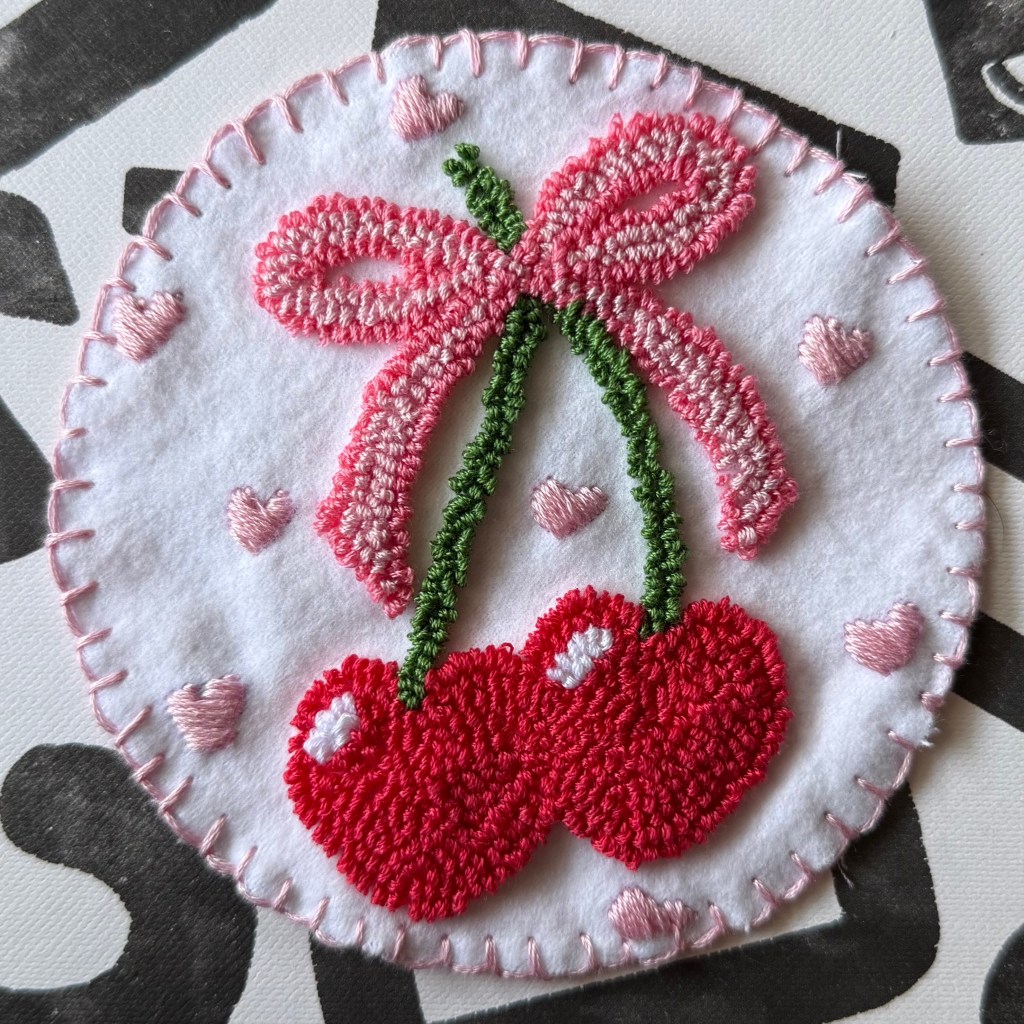
Now you have your very own heart cherry coaster!!

My next adventure will be adding to this Valentine’s Day themed coaster collection of mine with a few more punch needle projects. What will you be making next!?

Leave a comment