This project will take approx. 30-45 minutes!
Materials you will need:
- plastic cross stitch canvas
- your favorite cross stitch needle
- black embroidery thread
- red, yellow, blue, green, or any other color embroidery thread you would like to use
- 0.5 inch magnets
- super glue

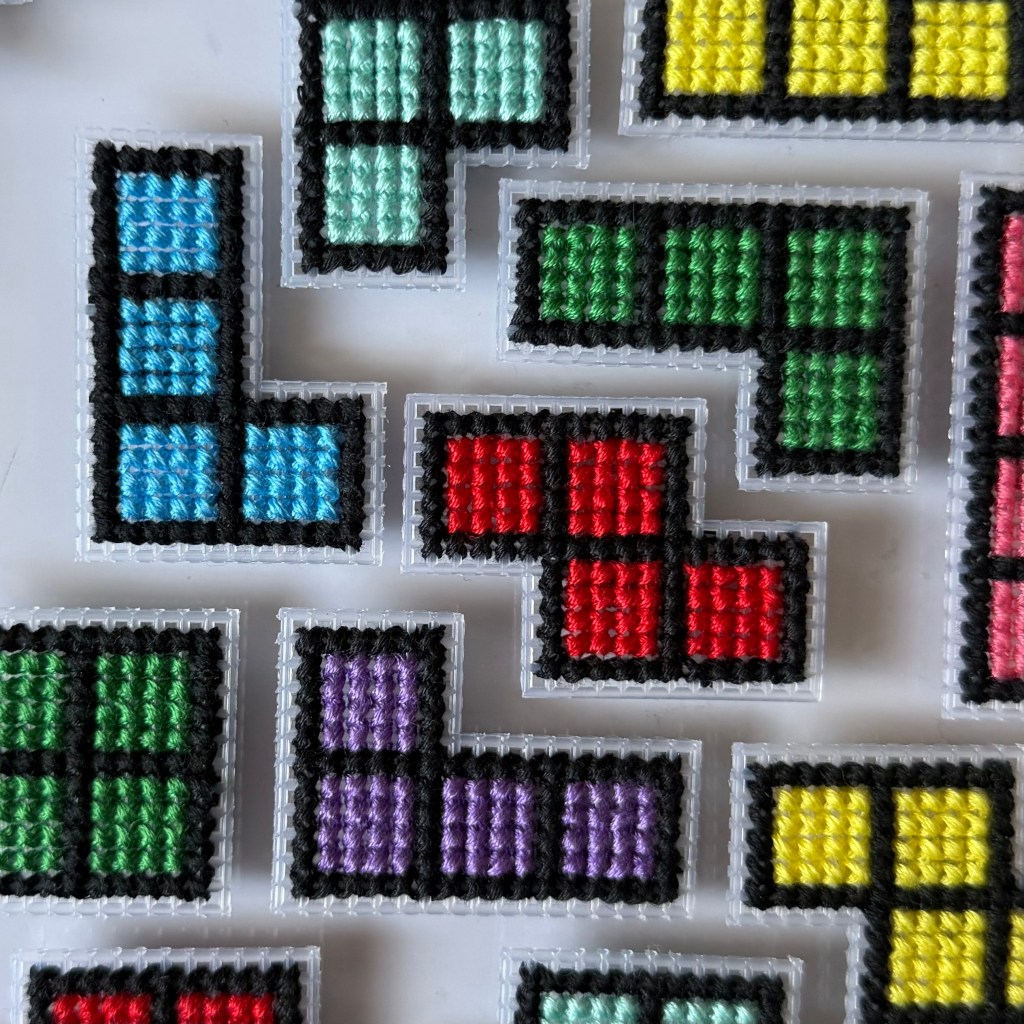
Here is a template I made for these magnets. Please feel free to use and follow it! By all means, get creative with your magnet set, changing up the colors and shapes as you’d like.
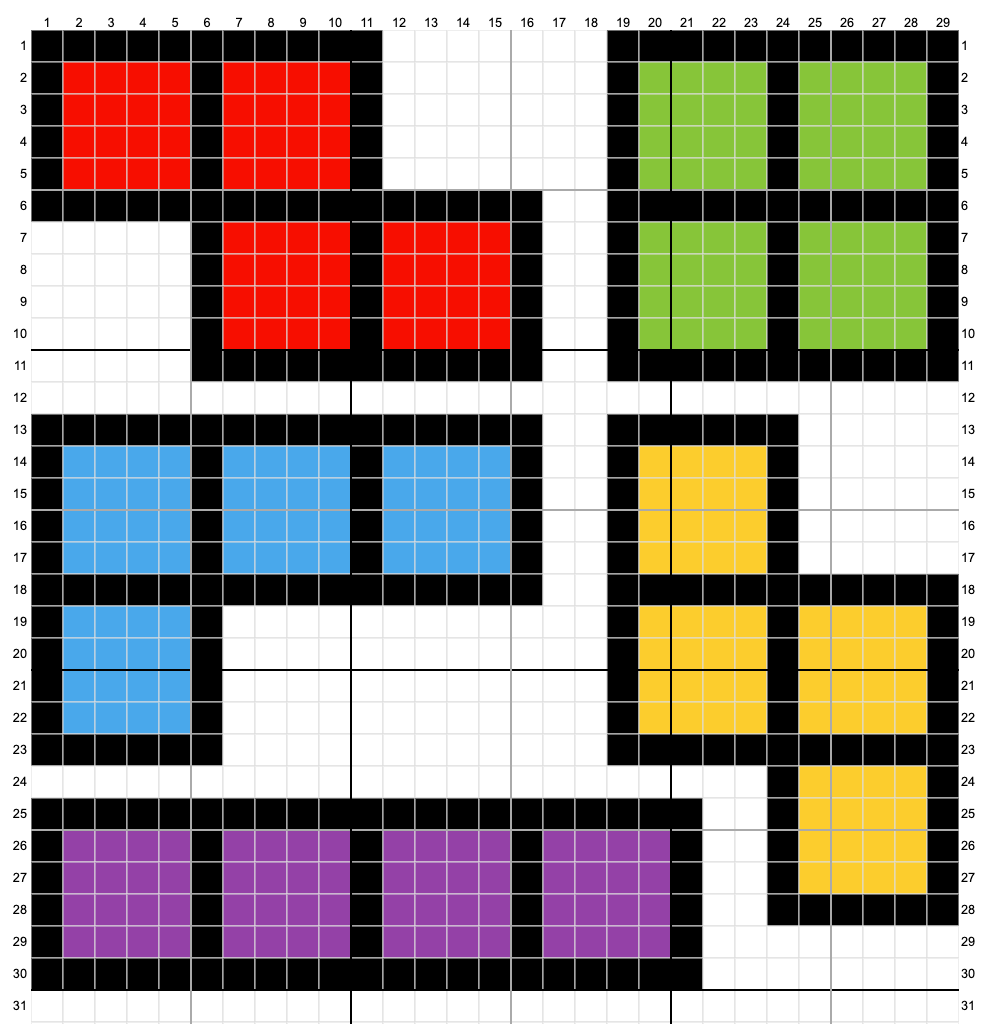
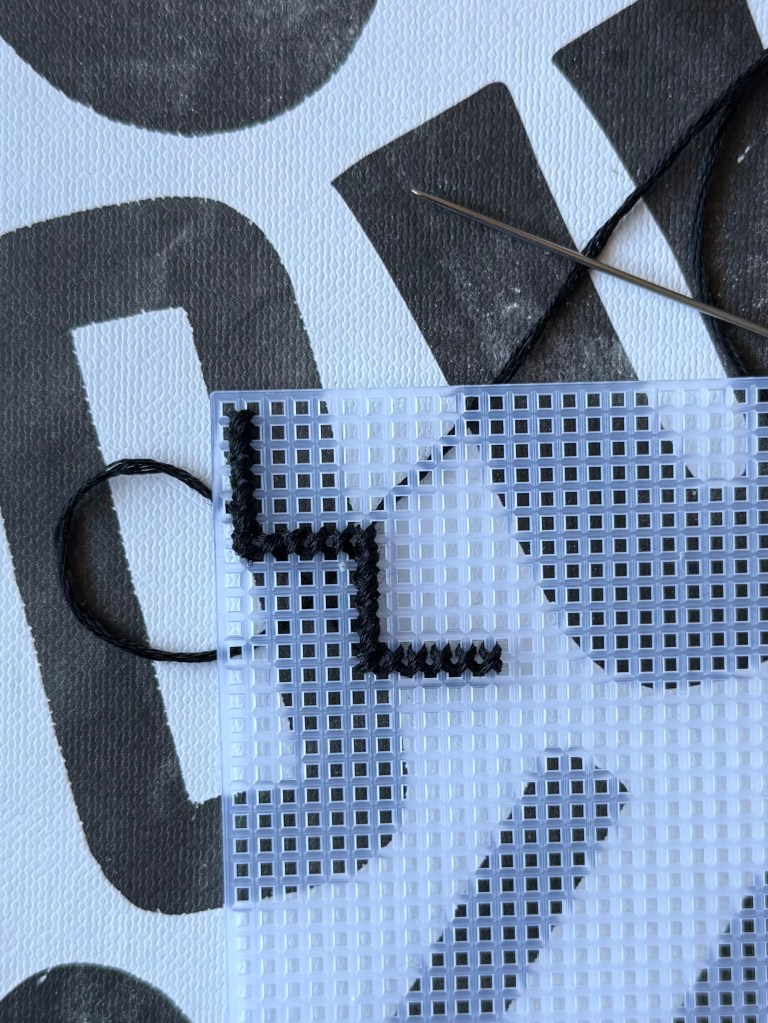
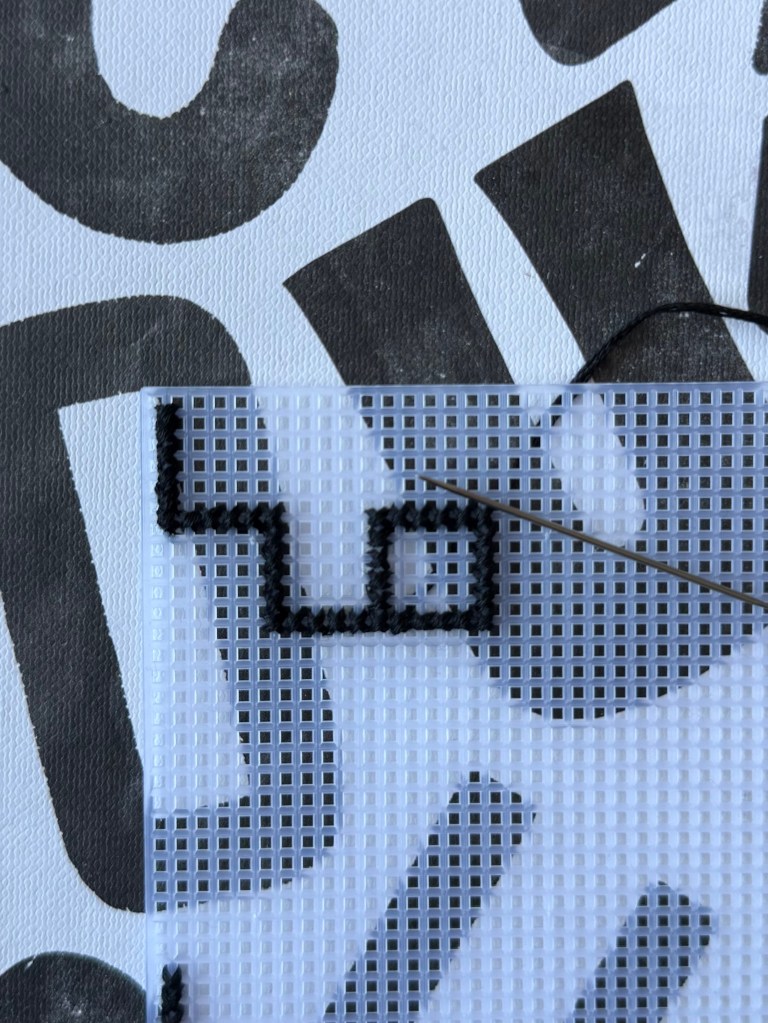
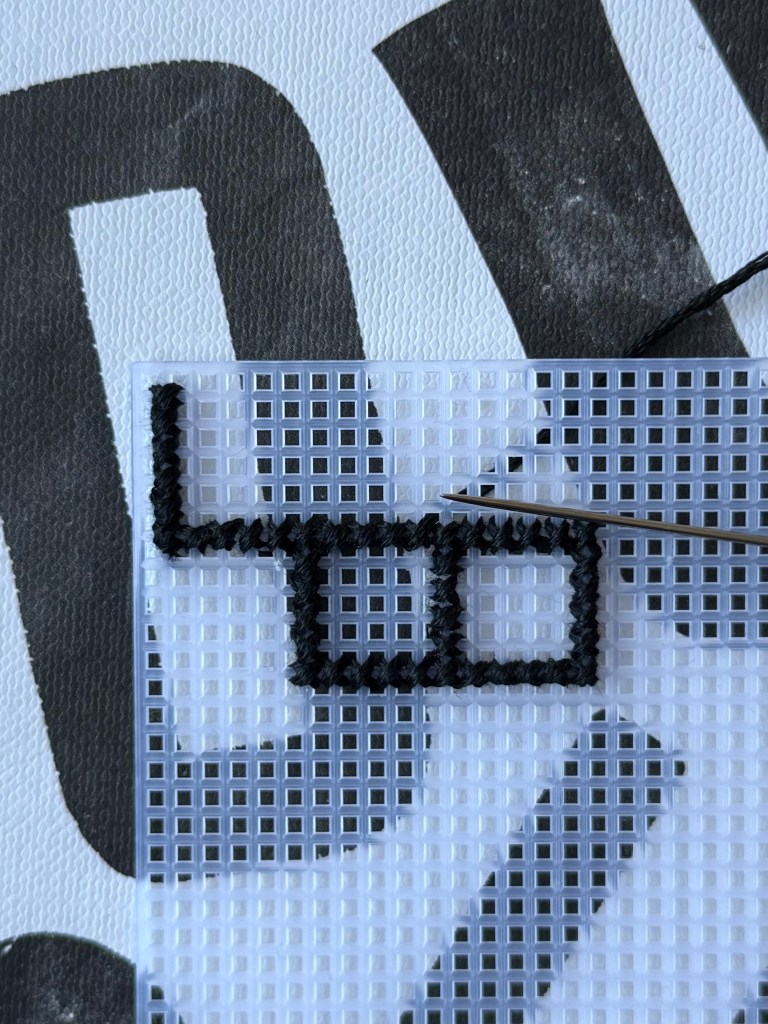
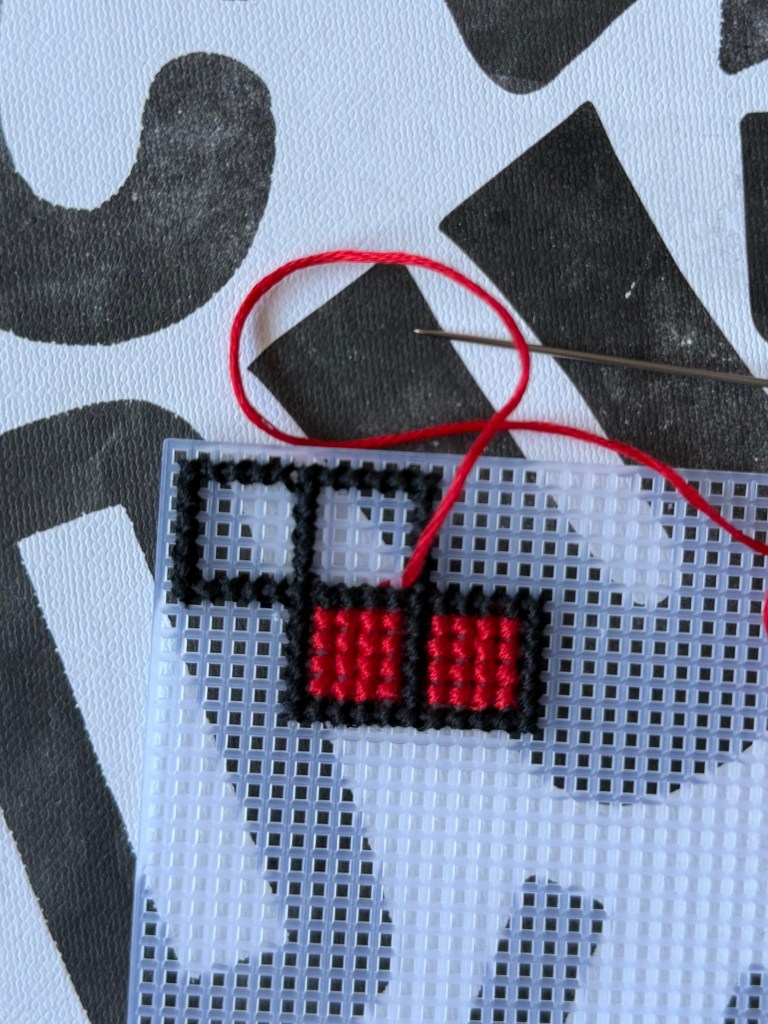
The shape I will be making is the red block on this template. To start, grab your black thread and stitch 6 down from the top corner of your plastic canvas.
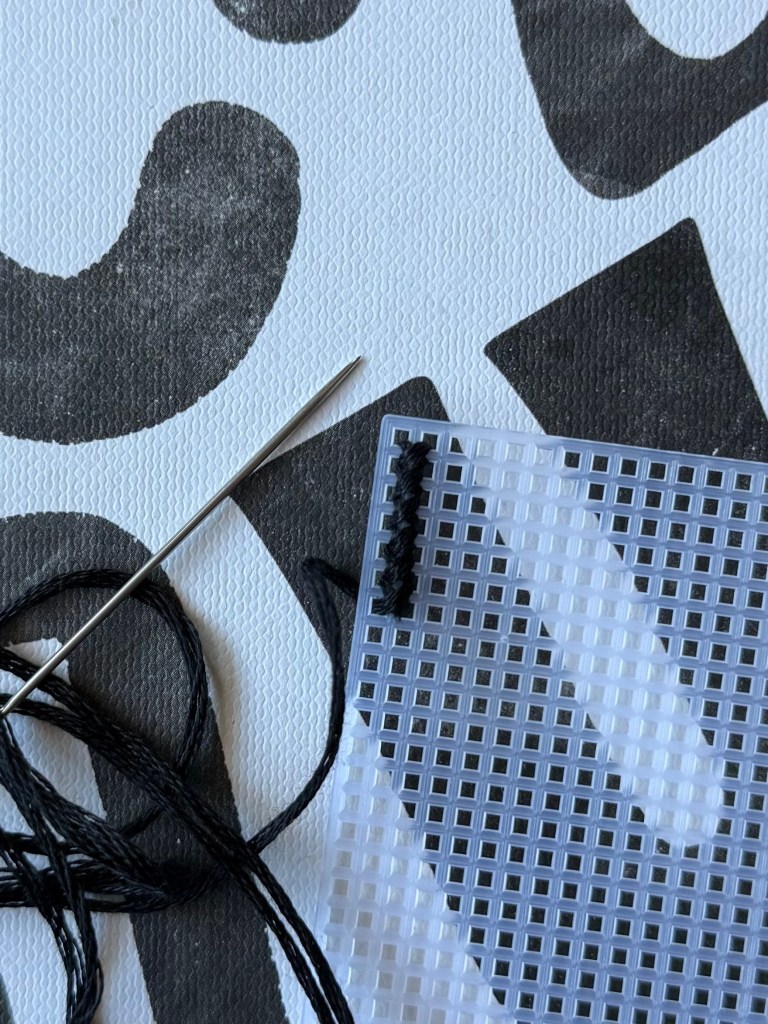
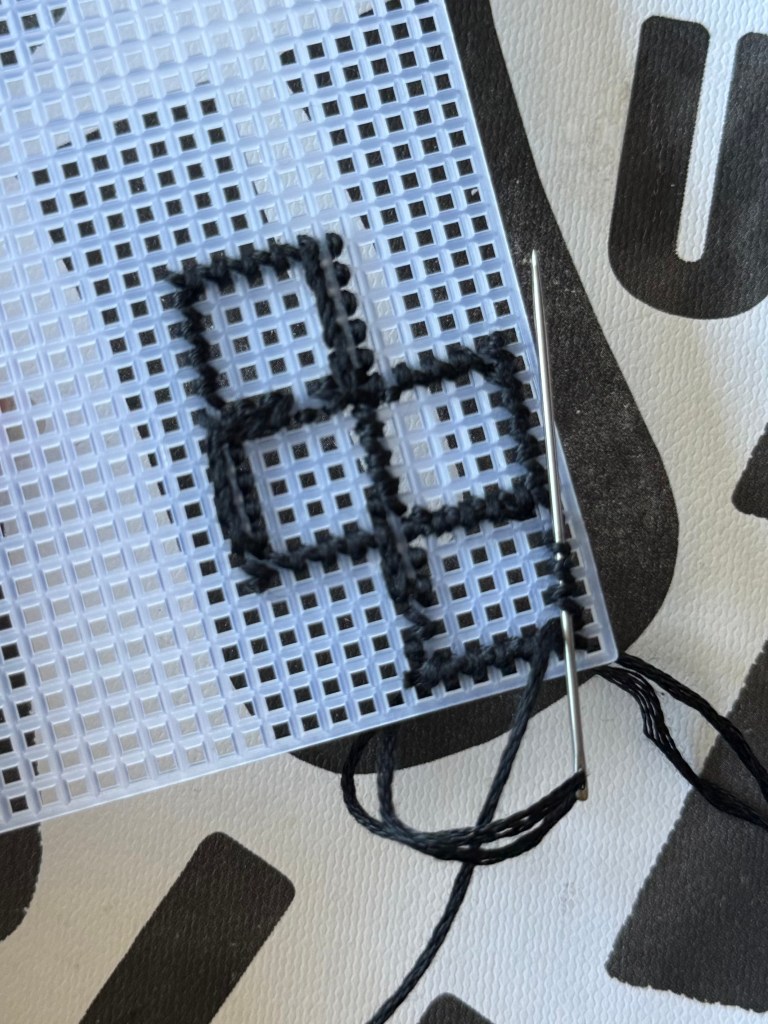
From the bottom of this row, stitch out 5 more to the right. Then, stitch 5 down to follow the outer border of the tetris block.
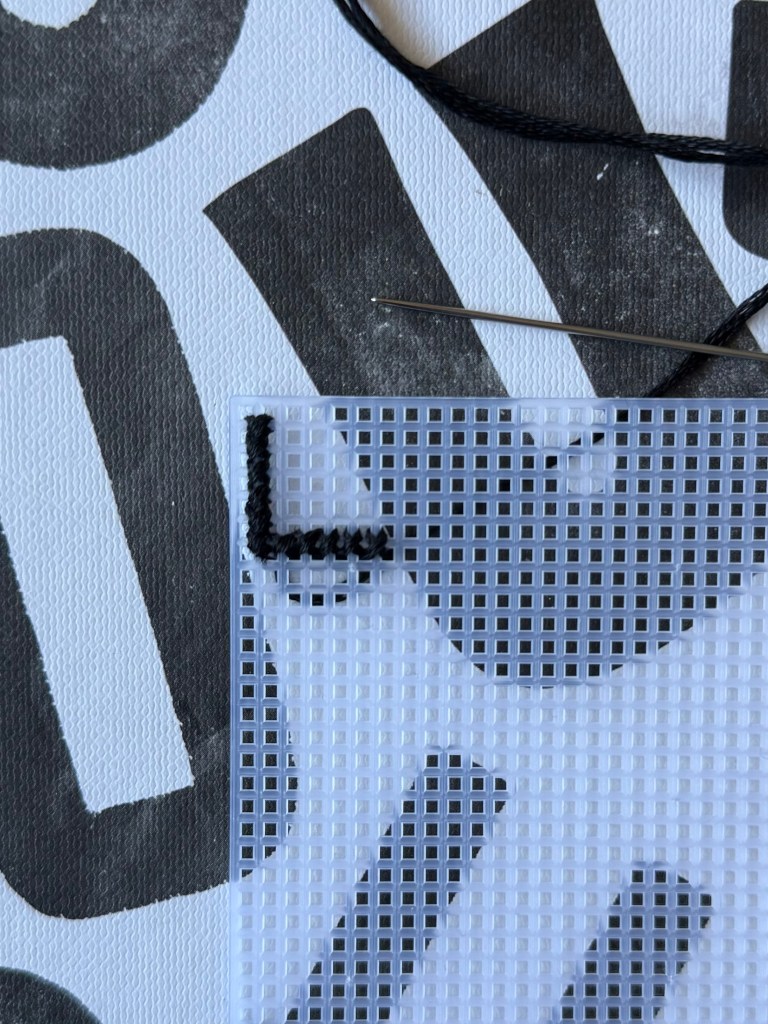
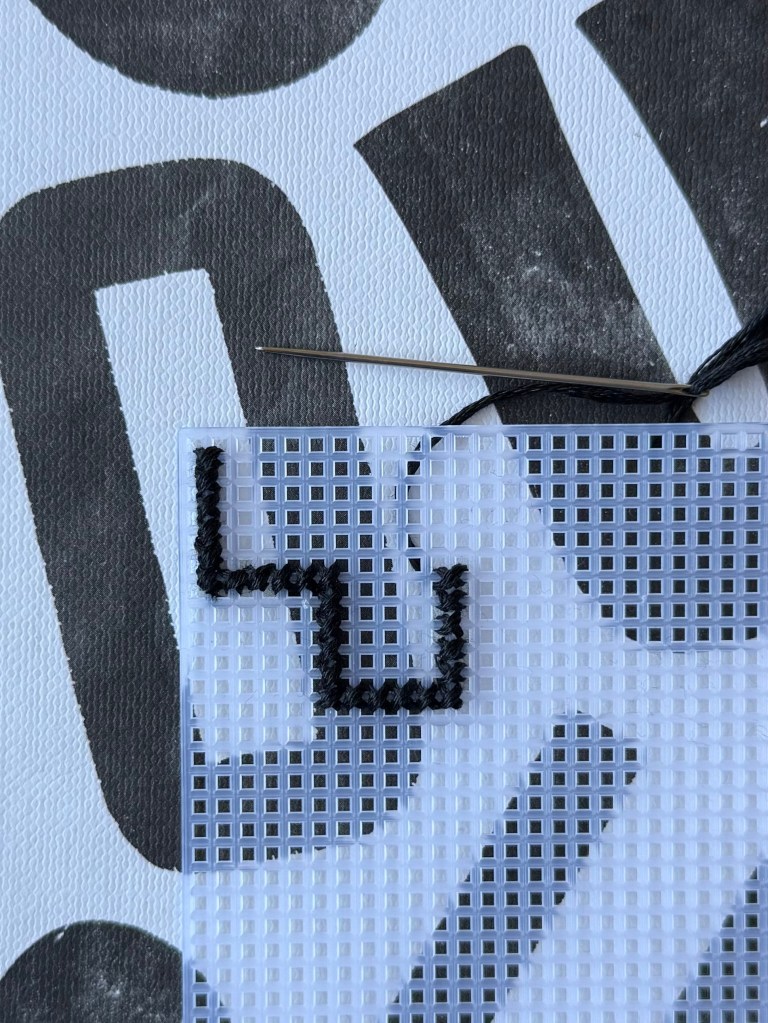
Now, stitch 5 to the right to create a sort of staircase design for the blocks.
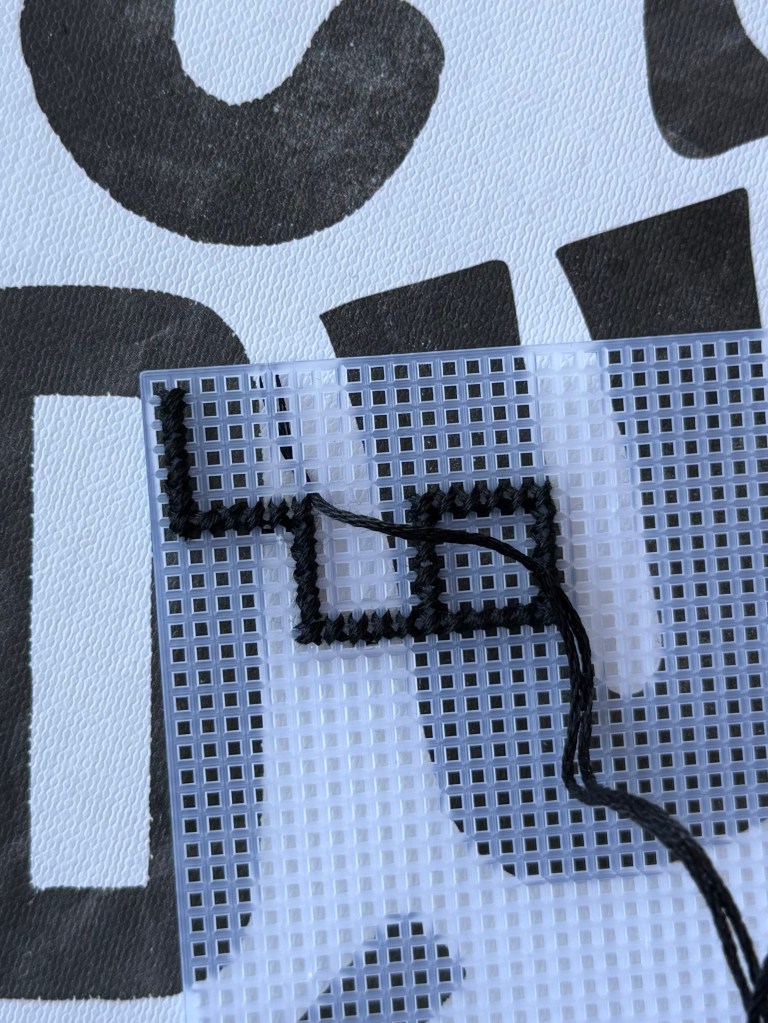
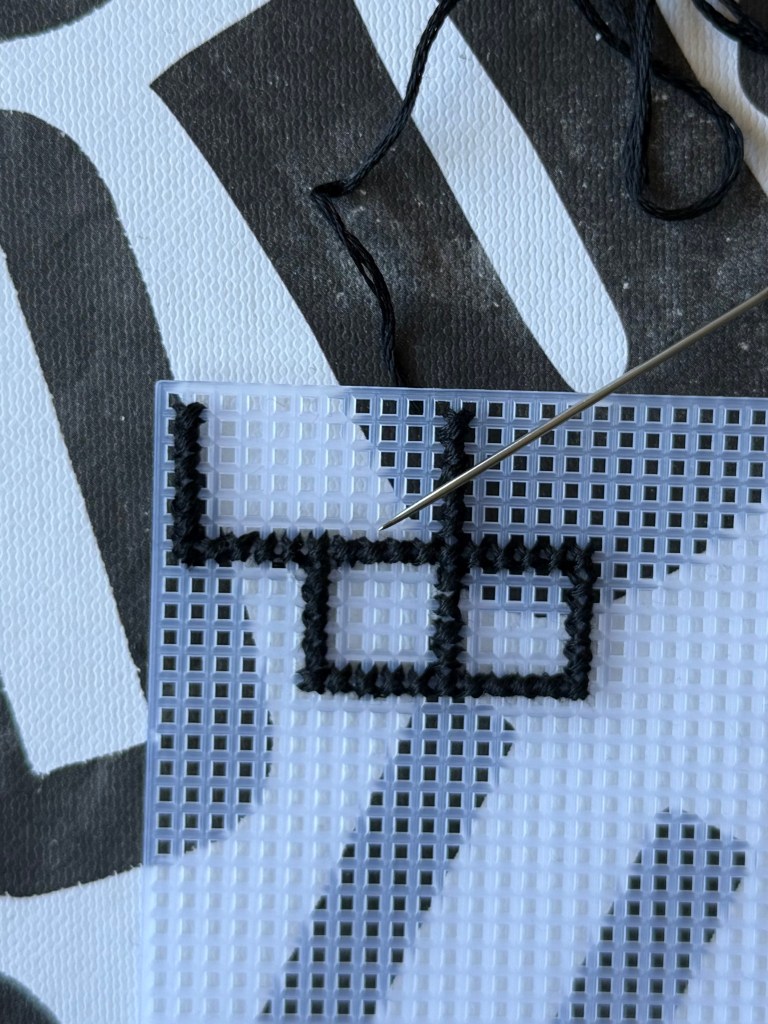
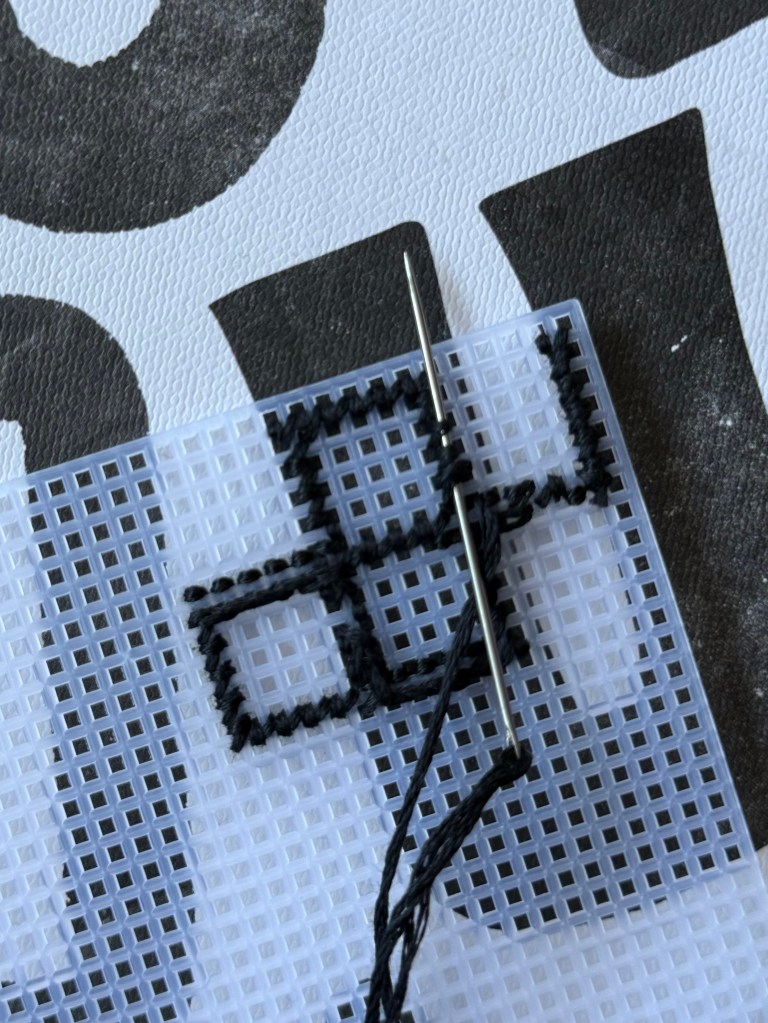
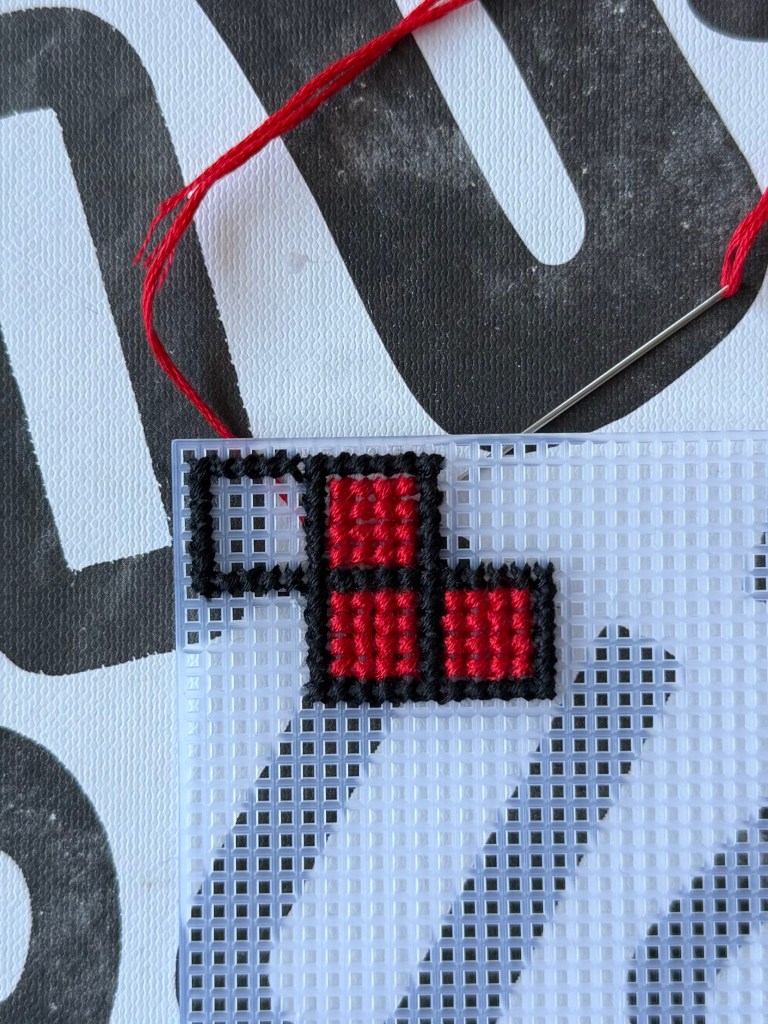
Keep following the black in the template to build the outline of the cubes 5 stitches at a time. You could do this in any order you’d like, as long as each border gets filled in!
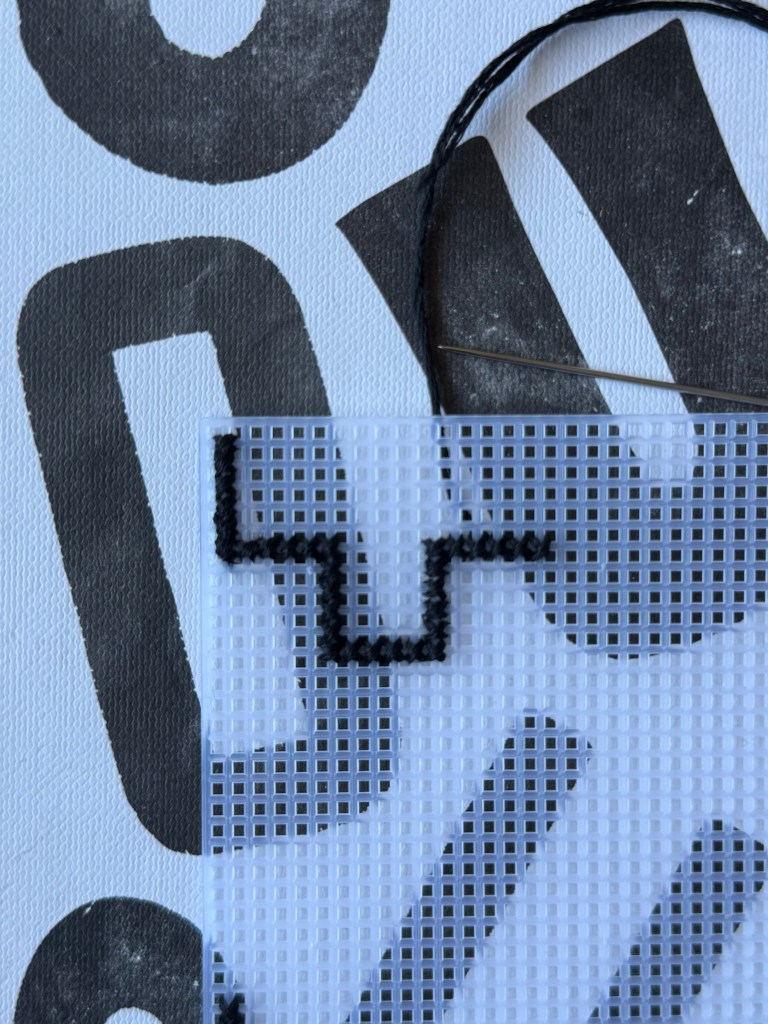
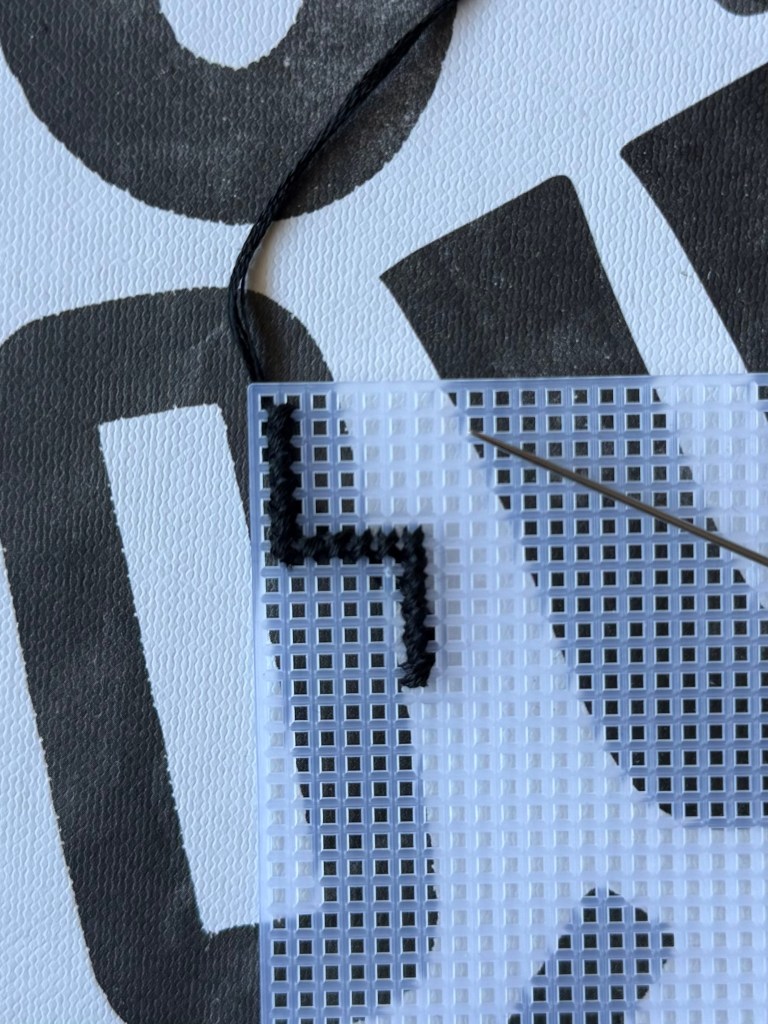
When I reached this part, I was running out of thread, so I decided to fasten it off and grab some more black thread to finish the outline. This is the way I like to do that:
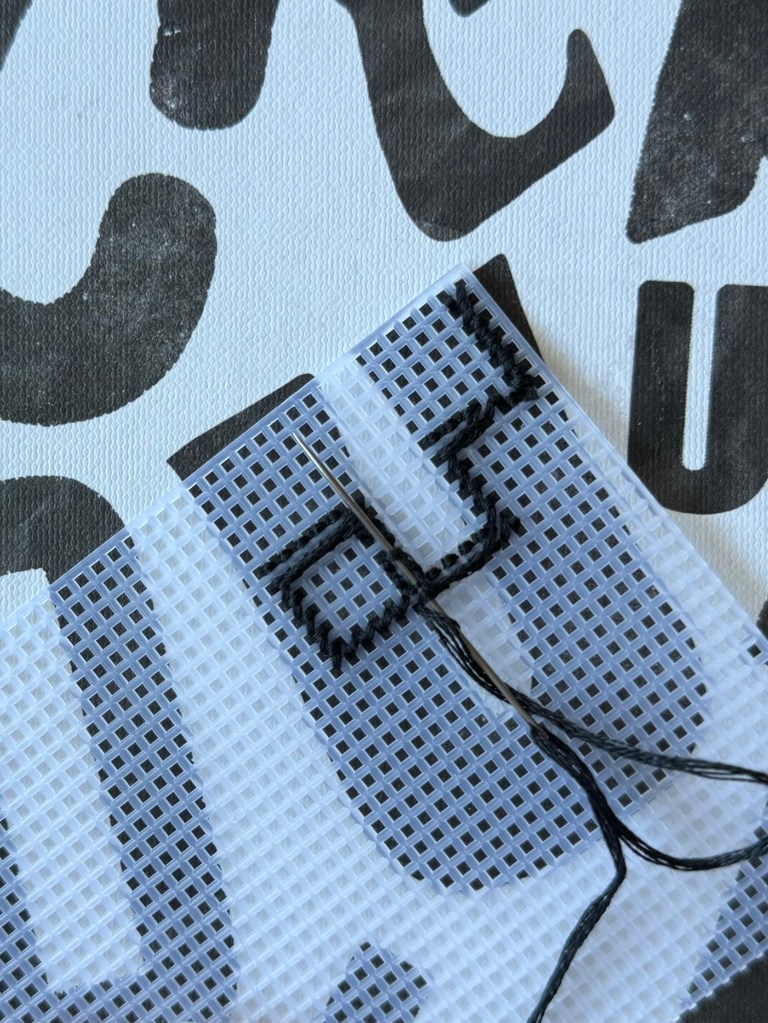
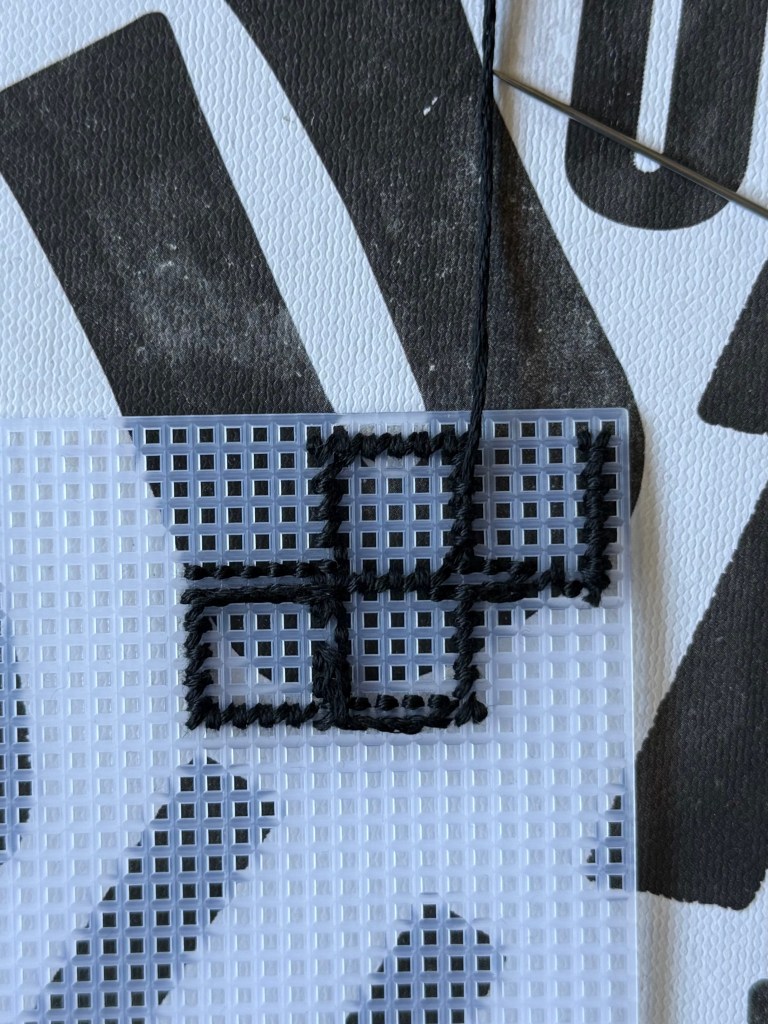
After pulling the needle through and cutting off the remaining thread, I replaced by needle with some fresh thread and kept going.
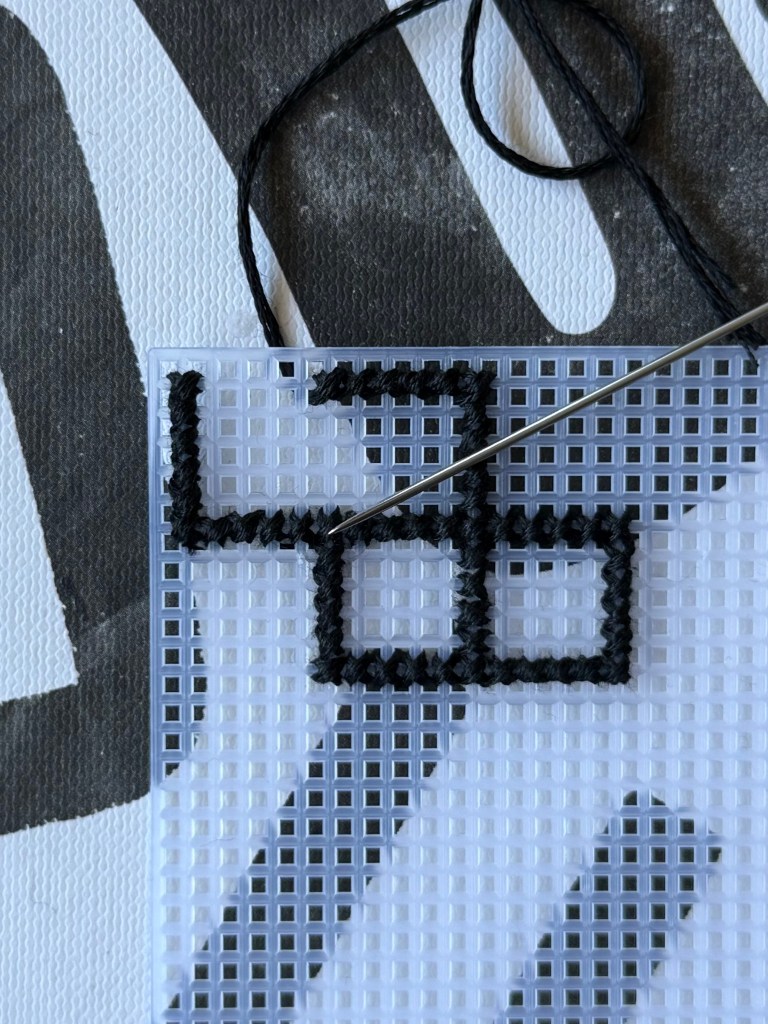
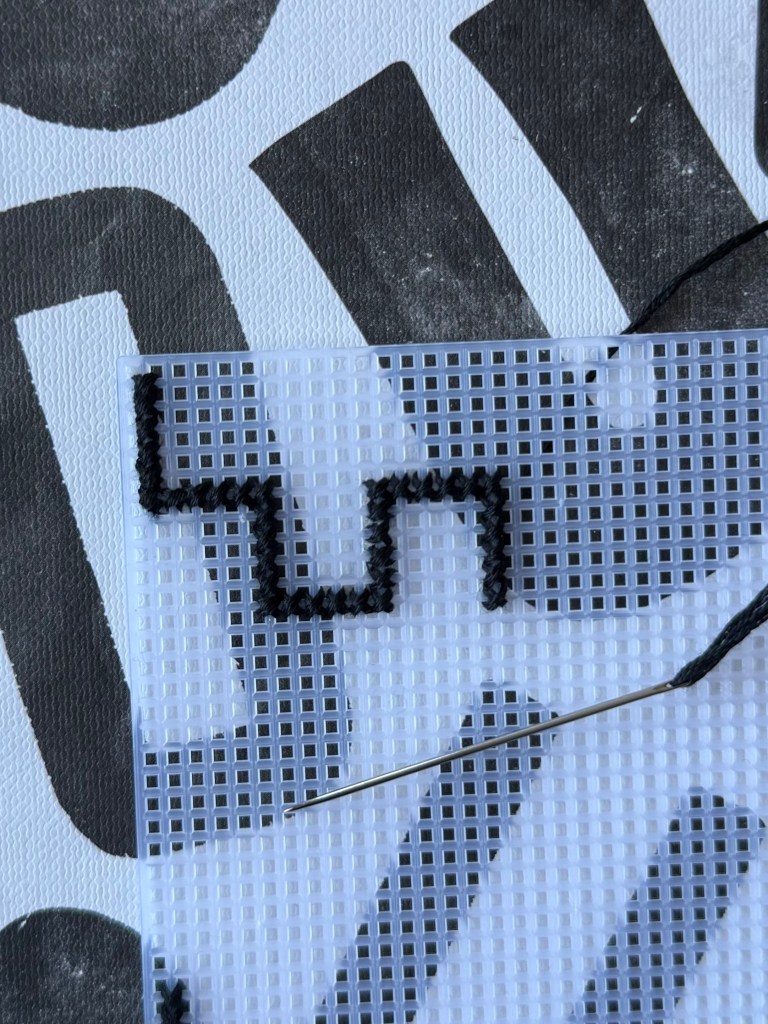
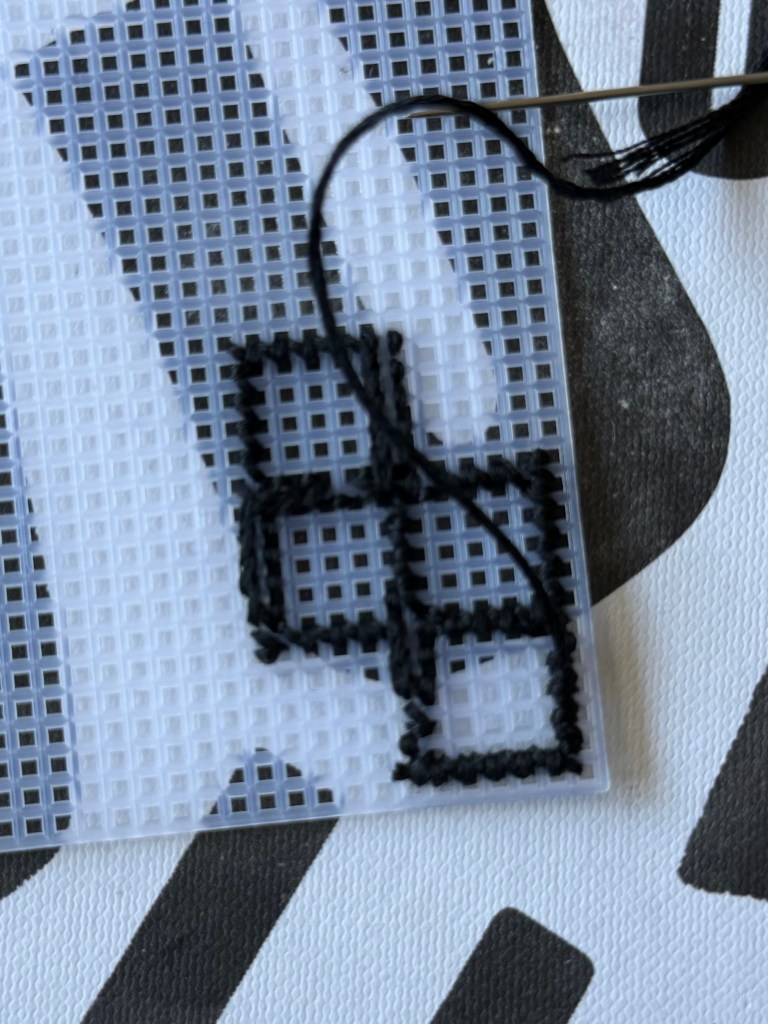
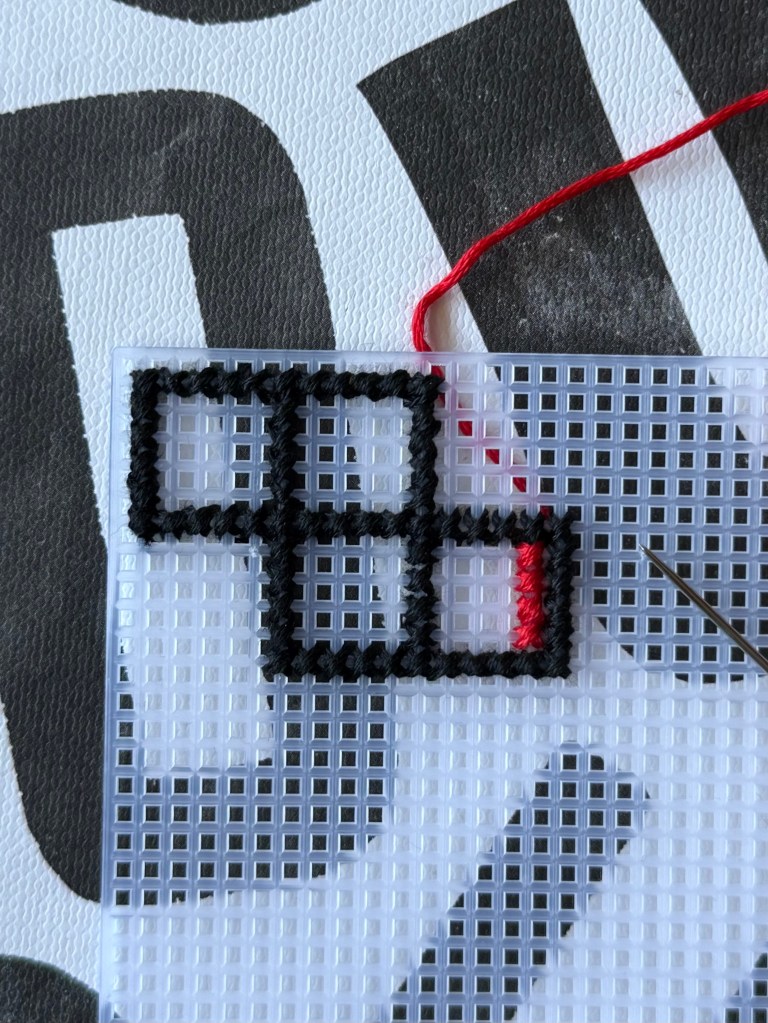
After this row, my needle was at a point where it wasn’t directly next to where the next stitch needed to be. You could choose to move your needle over to where you need it and leave a trail of thread on the back, or you could pull the working thread through some finished stitches on the back to tuck it in closer to where your next stitch will be.
I personally like to do that second method, which looks a lot like fastening off your work, just not cutting anything.
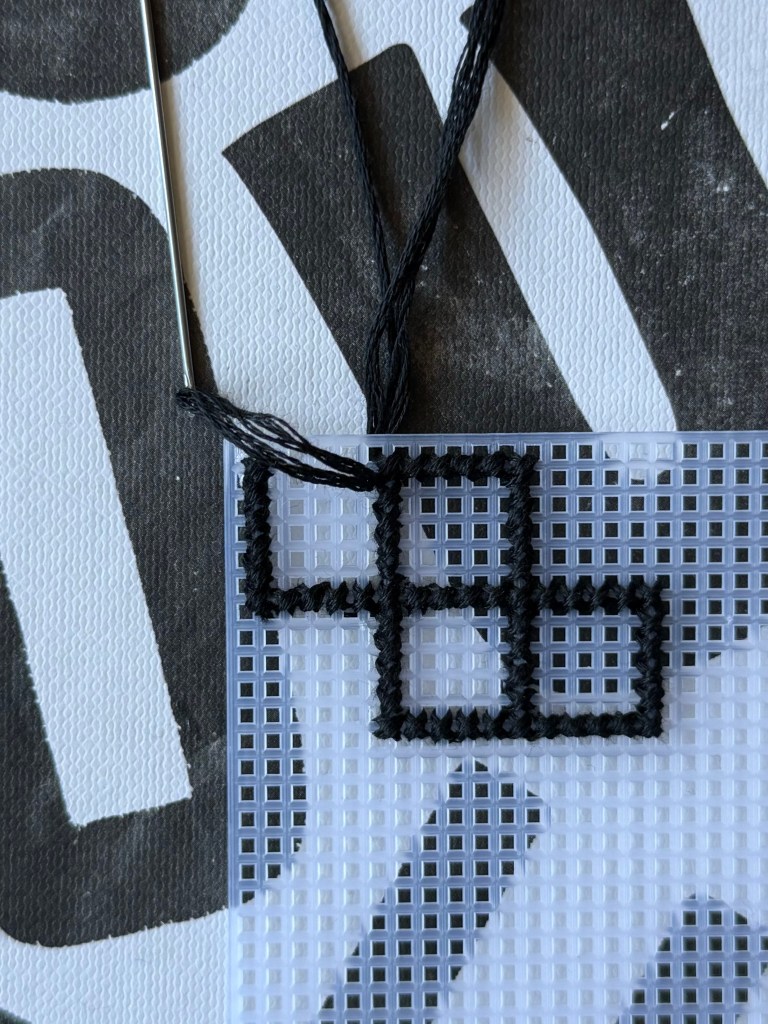
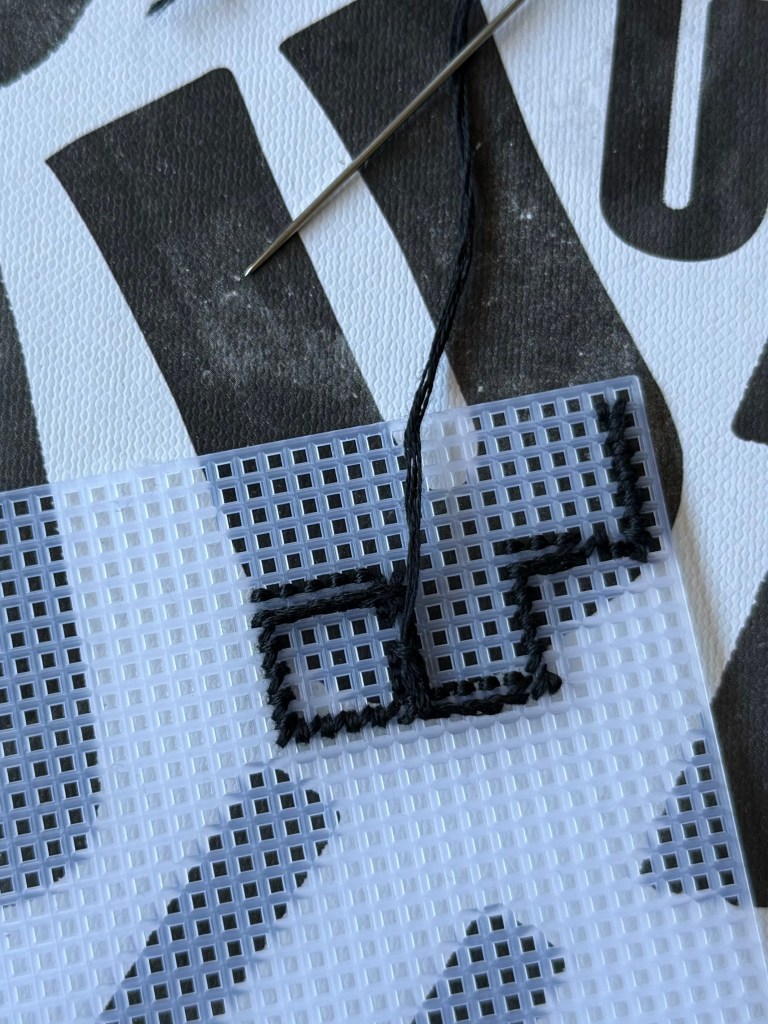
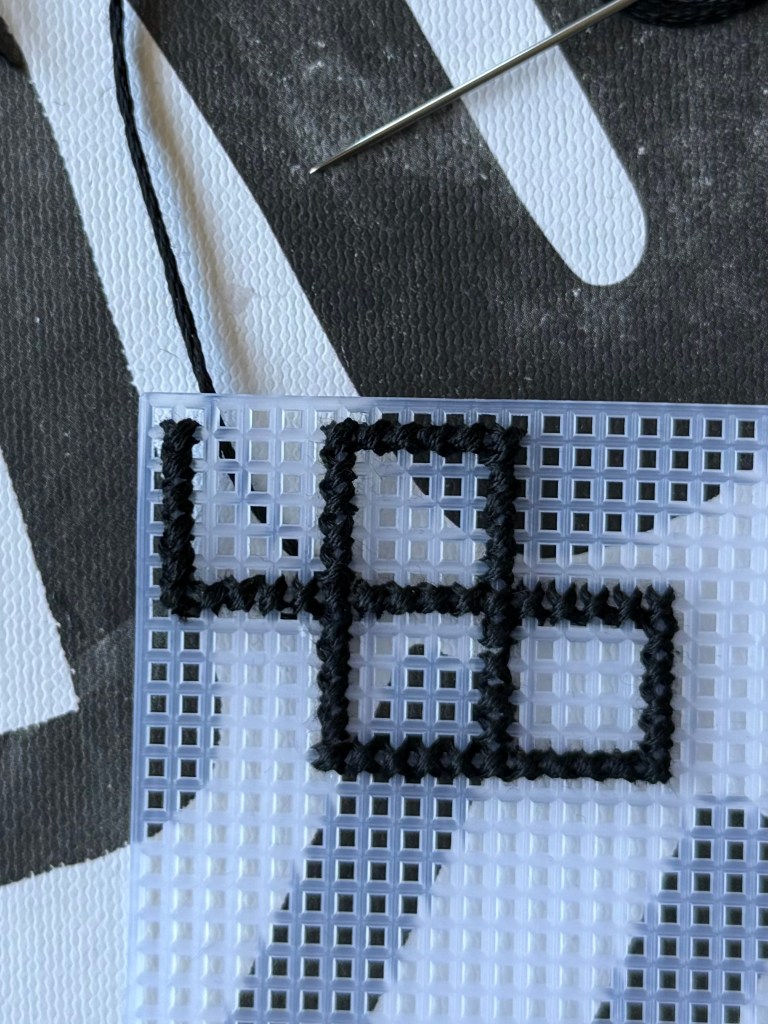
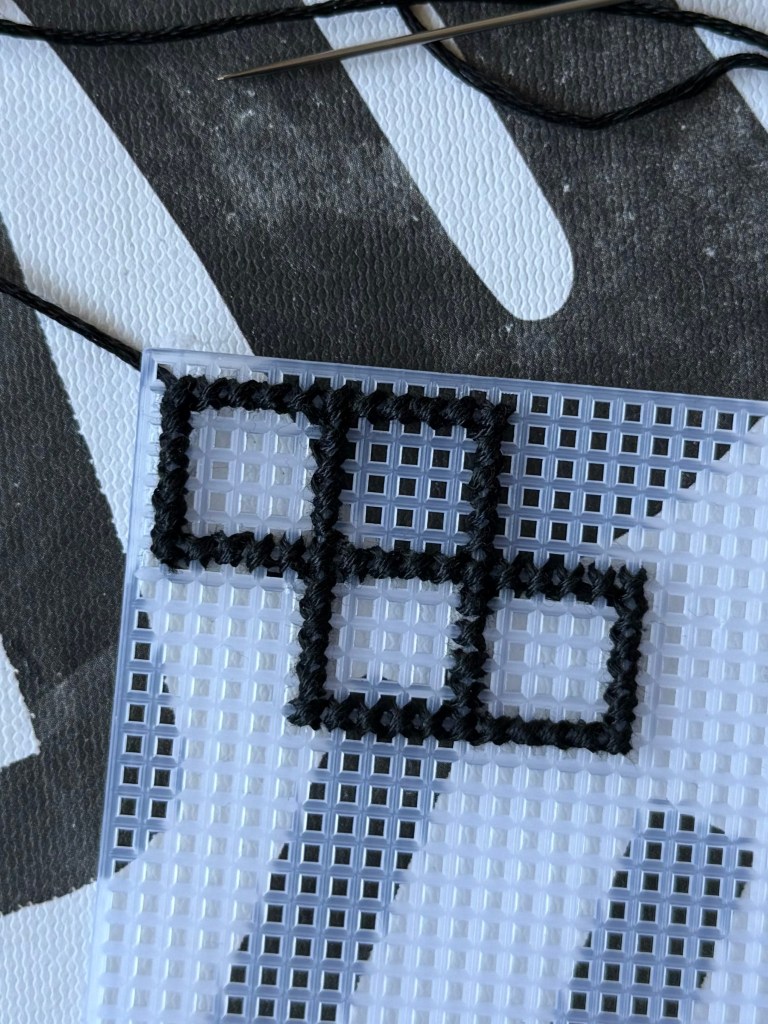
Rather than cutting the thread after pulling it through the stitches, just continue your next stitch. The next row is the final set of stitches to complete the black outline, so it’s time to fasten off and get ready to color the blocks in.
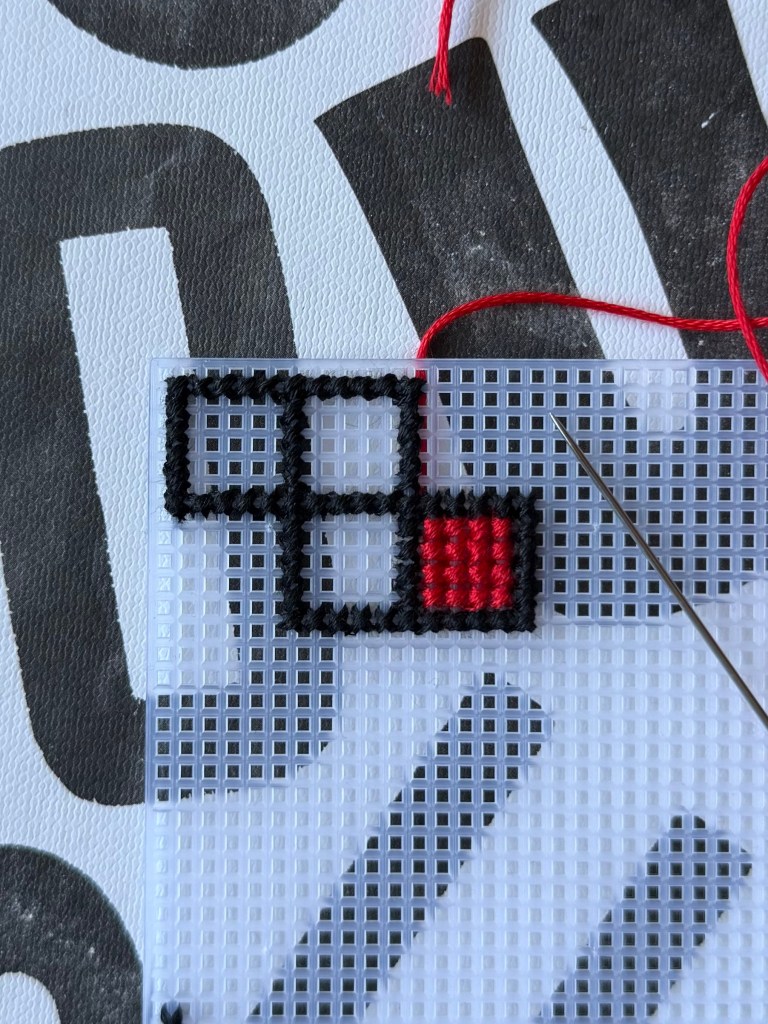
For the color, I’ve found that pulling three lengths of the skein is the perfect amount to complete each magnet.
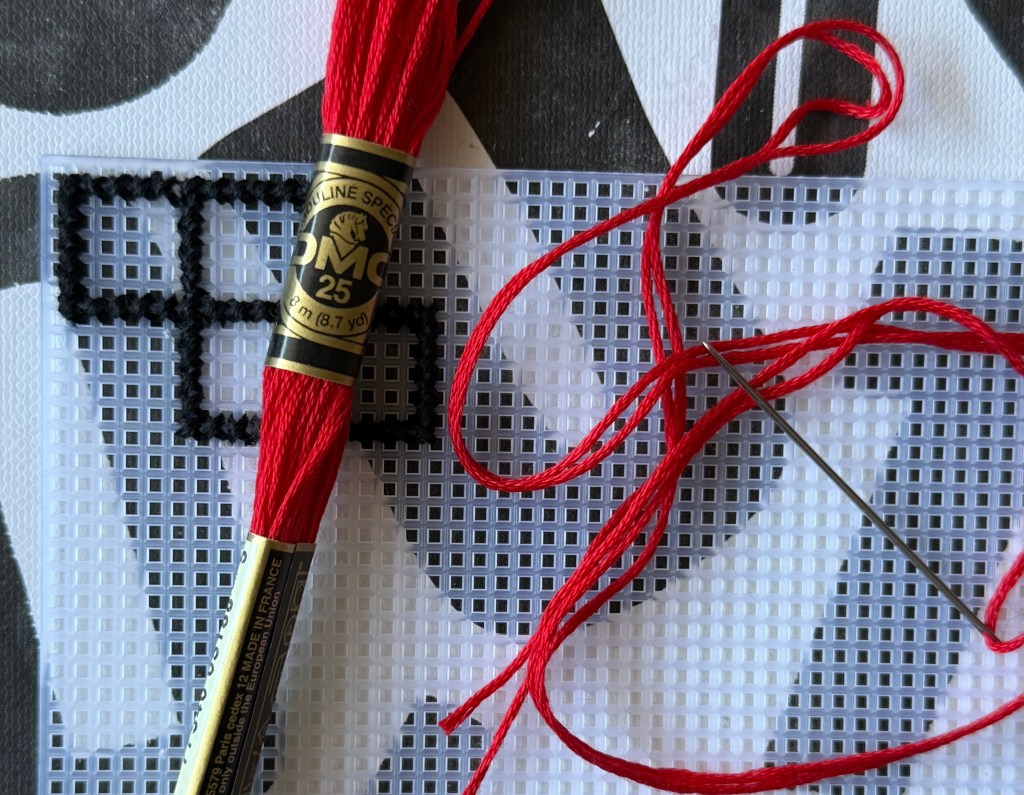
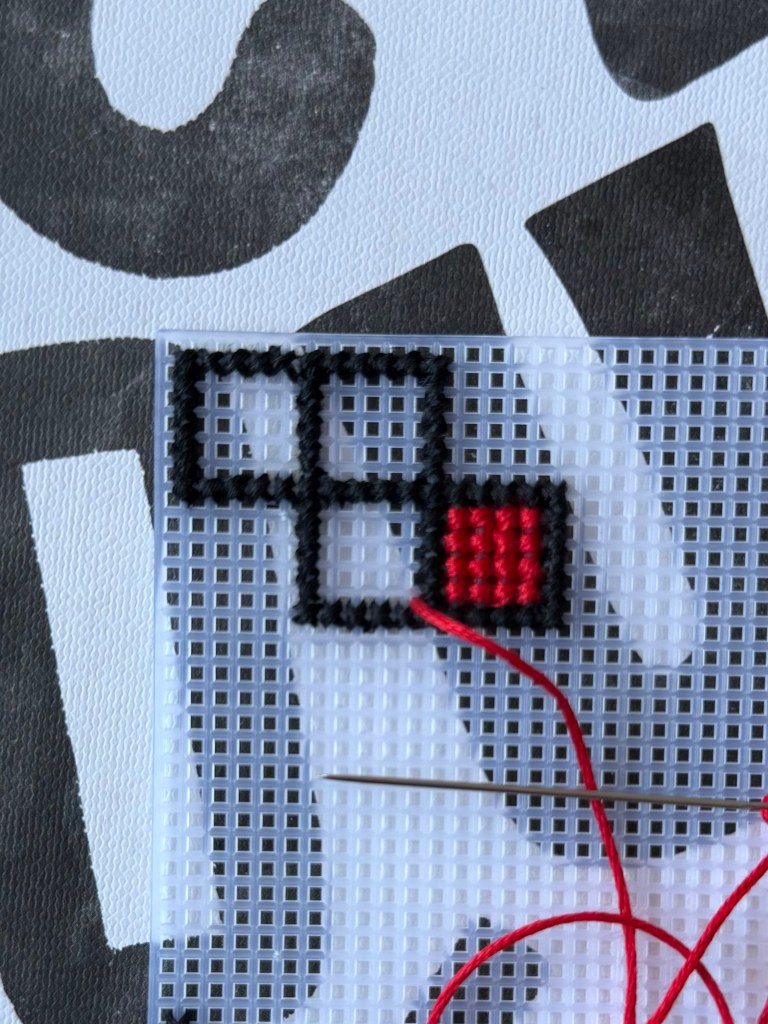
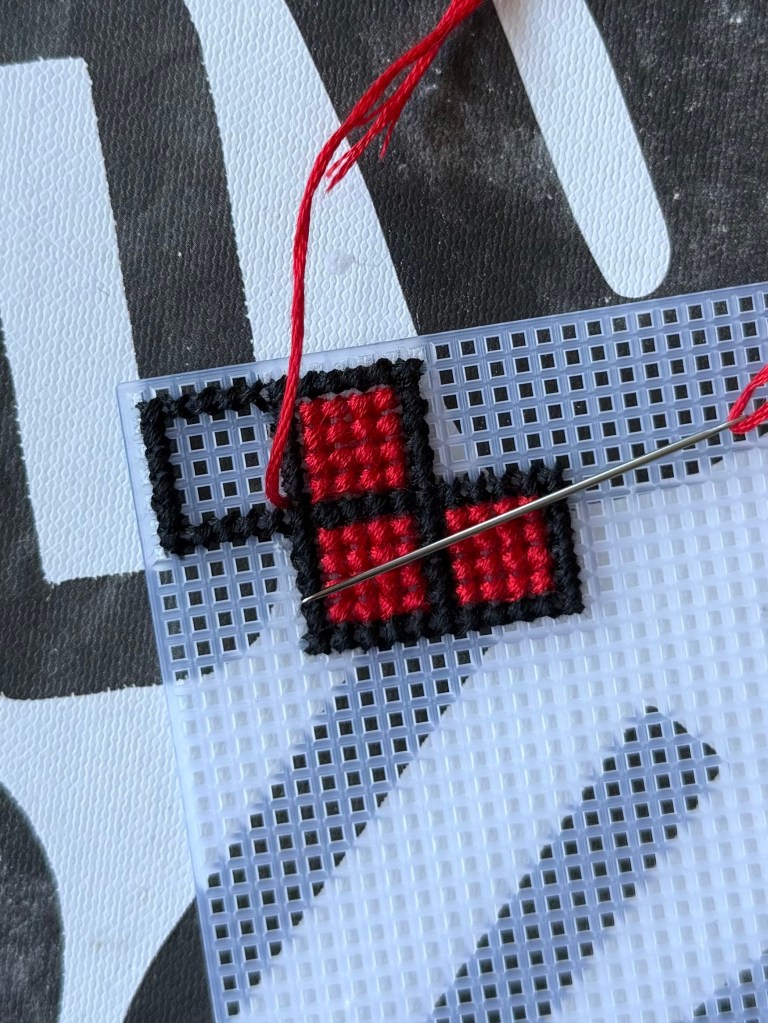
Choose which block you’d like to start with, and fill in the gaps with your color!
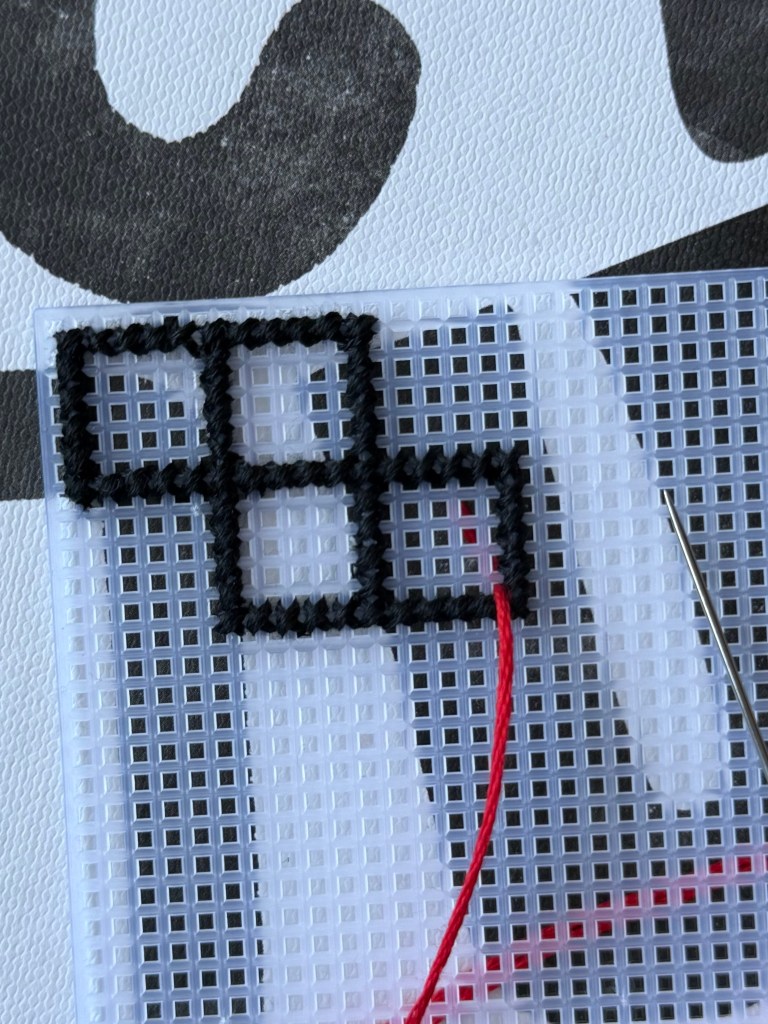
You don’t need to fasten off after each block unless you would like to. Instead, you can just bring your thread over on the backside and continue filling in the next block.
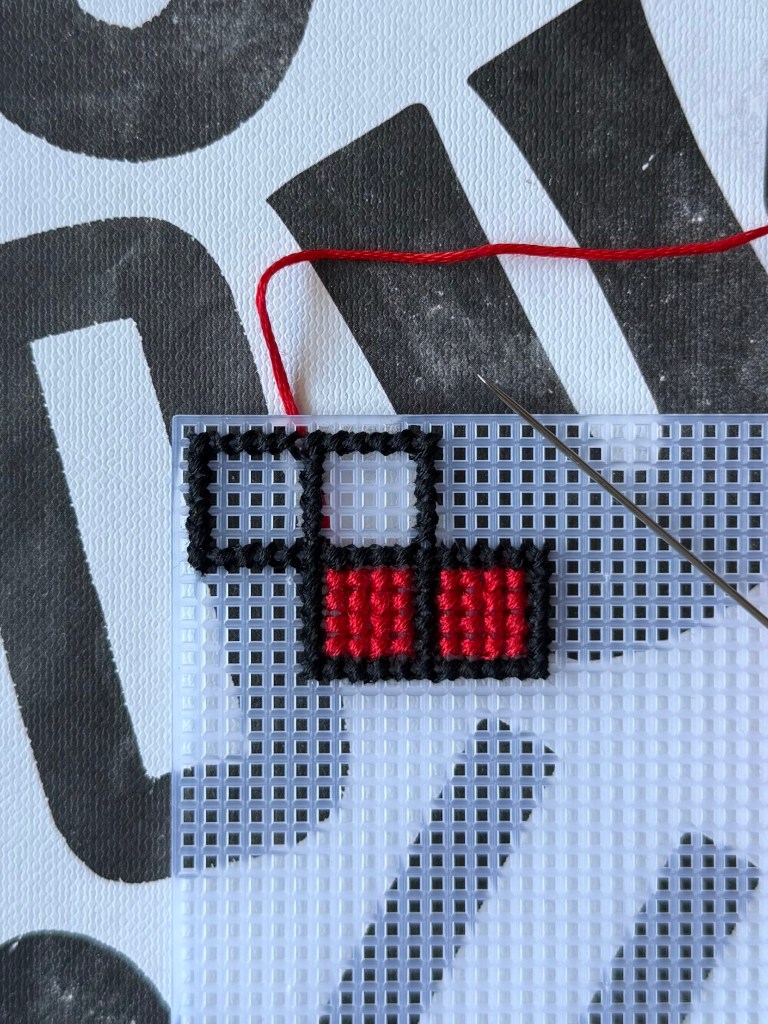

Now fasten off your work, and you’re nearly done!!!
The final steps are just cutting out the block’s shape and adding your magnet. Cut along the edge of the plastic squares to get a nice clean outline of your work. Then, grab one of your 0.5 inch magnets, add some super glue to it, and place it in the middle of the block’s backside.
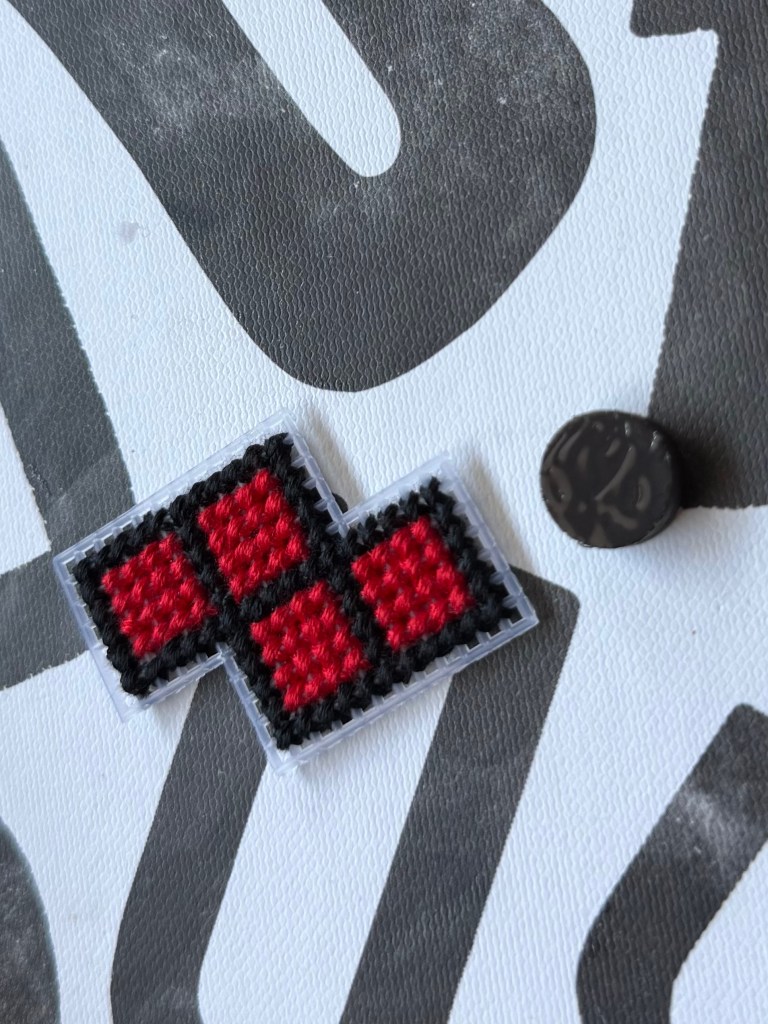
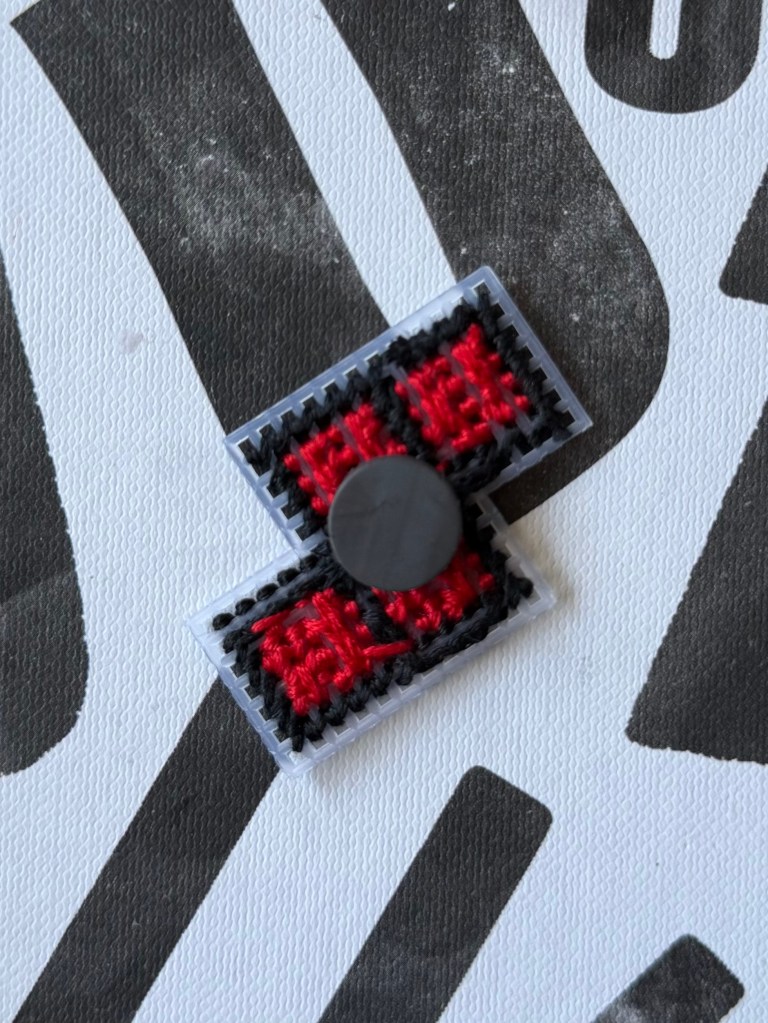
All that’s left is to find a nice home for this magnet on your fridge, magnetic calendar, white board, or any other magnetic surface of your choosing!!
Now, what is your next project going to be!?
If you would be interested in purchasing a completed magnet set (5 blocks per set), please visit my Etsy page!
